Mar 8, 2012

Dark Chocolate & Bailey's Truffle Tart with Oatmeal Cookie Crust & Bailey's Whipped Cream


Hello Beautiful.

Do you have one of those desserts that is your signature dish?  You know the one you get special requests from your friends to bring over for a dinner party?  Then people say 'ooh did you see what she brought?  How did she ever find the time, it looks so decadent and amazing!  I bet she bought that at a fancy bakery and put in it her serving dish.'  Hah!

If you don't have one of those recipes, well you do now.  You can be the belle of the Chocolate Ball.  And if you're a guy reading this, well you can be the belle of the ball too...you know if you're into that sort of thing...I can dig it.

And here is the best part.  This dessert is damn easy.  Really, it's easier than making chocolate chip cookies.  I swear.  And it gets better.  There is LOTS of booze here.  In the tart AND the whipped cream.  Whoo-frickin-hoo.

Once you prepare the tart you need to let it chill for at least 6 hours (or overnight in the fridge).  I prepared this before I went to bed and when I woke up in the morning I whipped up the cream and took the photos.  See the thing about taking these photos is you MUST eat what you photograph immediately,  I mean you're taking all sorts of close-up shots getting personal with the pie...how could it ever be avoided?

So here I am before 9am eating this tart filled to the max with Baileys.  Yep I had a great little buzz going before I even had my coffee.  What more of a reason do you need to go out and make this for yourself?

The original recipe didn't call for a crust, which is fine if you're in a rush.  BUT, I would say that the crust is more than worth the time and effort.  The chocolate ganache is so elegant and silky and rich beyond belief.  I found that the crunchy, sweet crust add a nice contrast to the smoothness of the chocolate.  You need a bit of texture here to help balance out the plate.  Then of course a hearty dollop of the whipped (and boozed up) cream is the cherry on top.

One last note.  The recipe calls for 'good quality milk chocolate' aka Valrhona or something similar I suppose.  Well, all I had was good ole' chocolate chips in the house and let me tell you what you'd never know the difference.  I am always a pusher for quality products but the chocolate chips worked just fine.

Dark Chocolate & Bailey's Truffle Tart with Oatmeal Cookie Crust & Bailey's Whipped Cream

*for a printable version click here

For the crust:

Ingredients:
2 cups ground oatmeal cookies (in a food processor)
3.5 oz. melted butter

For the tart:

Ingredients
15 oz. good quality dark chocolate (or 1.5 bags dark chocolate chips)
12 oz. heavy cream
4 oz. Bailey's Irish Cream (I used the Hazelnut flavor but any of them will do)
Shaved chocolate for garnish (I used dusted cocoa as I didn't have any chocolate on hand)

For the whipped cream:

Ingredients
1 cup heavy cream
1/4 cup Bailey's Irish Cream
2 tablespoons powdered sugar
1/4 teaspoon vanilla extract

Directions:

Preheat oven to 375 degrees Farenheit.  Lightly grease a 9-inch springform pan with butter or Crisco.  I use a sandwhich baggie as a glove to easily cover the pan.


Place ground up cookies in a medium size bowl and add melted butter.  Using your fingers or a spoon incorporate butter into cookies until evenly coated and forms a crumbly mixture.  If the cookies seem too dry you can add a little bit more melted butter, 1 teaspoon at a time until you've reached the desired consistency.


Press cookie crumbles into the bottom of the greased pan and press down to compact.  Make sure you've got a nice, even layer.  Bake for 4-5 minutes or until top is light brown.  Remove from oven and place on wire rack to cool.


Place chocolate in heat safe bowl and microwave for 30 seconds and stir with rubber spatula.  Heat for another 30 seconds and stir.  Additional you can melt the chocolate in a double broiler if you prefer.  Continue microwaving in 10 second intervals until smooth.


As you can see I had some help with the next step...


Combine the heavy cream and Bailey's in a small saucepan and heat on low to medium heat.  You want the mixture to be warm to the touch but not boiling (then you'd cook away the alcohol, oh no no)


Add melted chocolate to the cream mixture and whisk thouroughly until fully incorporated, about 5 minutes.  Pour chocolate oven baked crust.  Refrigerate for 6 hours or overnight.


Once cooled, sprinkle with chocolate shavings or dust with cocoa powder.


To prepare the whipped cream, combine heavy cream, Bailey's, and vanilla extact in the bowl of an electric mixer.  Beat on high until peaks form.  Add powdered sugar (be sure to sift in so you won't get any lumps!).  Beat to incorporate sugar.  Give yourself a dollop and enjoy.  This one is spectacular.  

Sorry for so many photos but I felt like I was photographing a super model.


 Enjoy!

Recipe adapted from How Sweet It Is

Mar 7, 2012

Nutella Chow

PARTY FOOD!!!

This is the first recipe I've tried off of Pinterest, my new bestie.  I'm completely and totally addicted.  Everything you've been looking for your whole life is there, mostly things you never even knew you loved, until now.

Like Nutella Chow.

This one is so stinkin' easy your kiddos could help you whip it up.  Well, not mine...he's still a peanut but I let him lick the bowl anyway.

Next time I make this (and there will for sure be a next time) I will be a bit more adventurous.  I think you could add just about anything to the mix and it would be awesome.  For example, throw in some mini marshmallows, nuts, M&M's, choco chips...you get me.

Just be aware, this makes a HUGE amount.  Like a whole cereal box worth.  So be generous and spread the love to everyone you know.  There is plenty to go around.

Nutella Chow

*for a printable version click here

Ingredients:
1/2 cup (4oz.) butter
1 cup Nutella
3/4 cup chocolate chips
3/4 cup white chocolate chips
2/3 cup hazelnuts
13 cups (12oz) box of cereal, Crispix, Oat Crisp, or Chex.  Really your preference here.
3 cups powdered sugar

Directions:
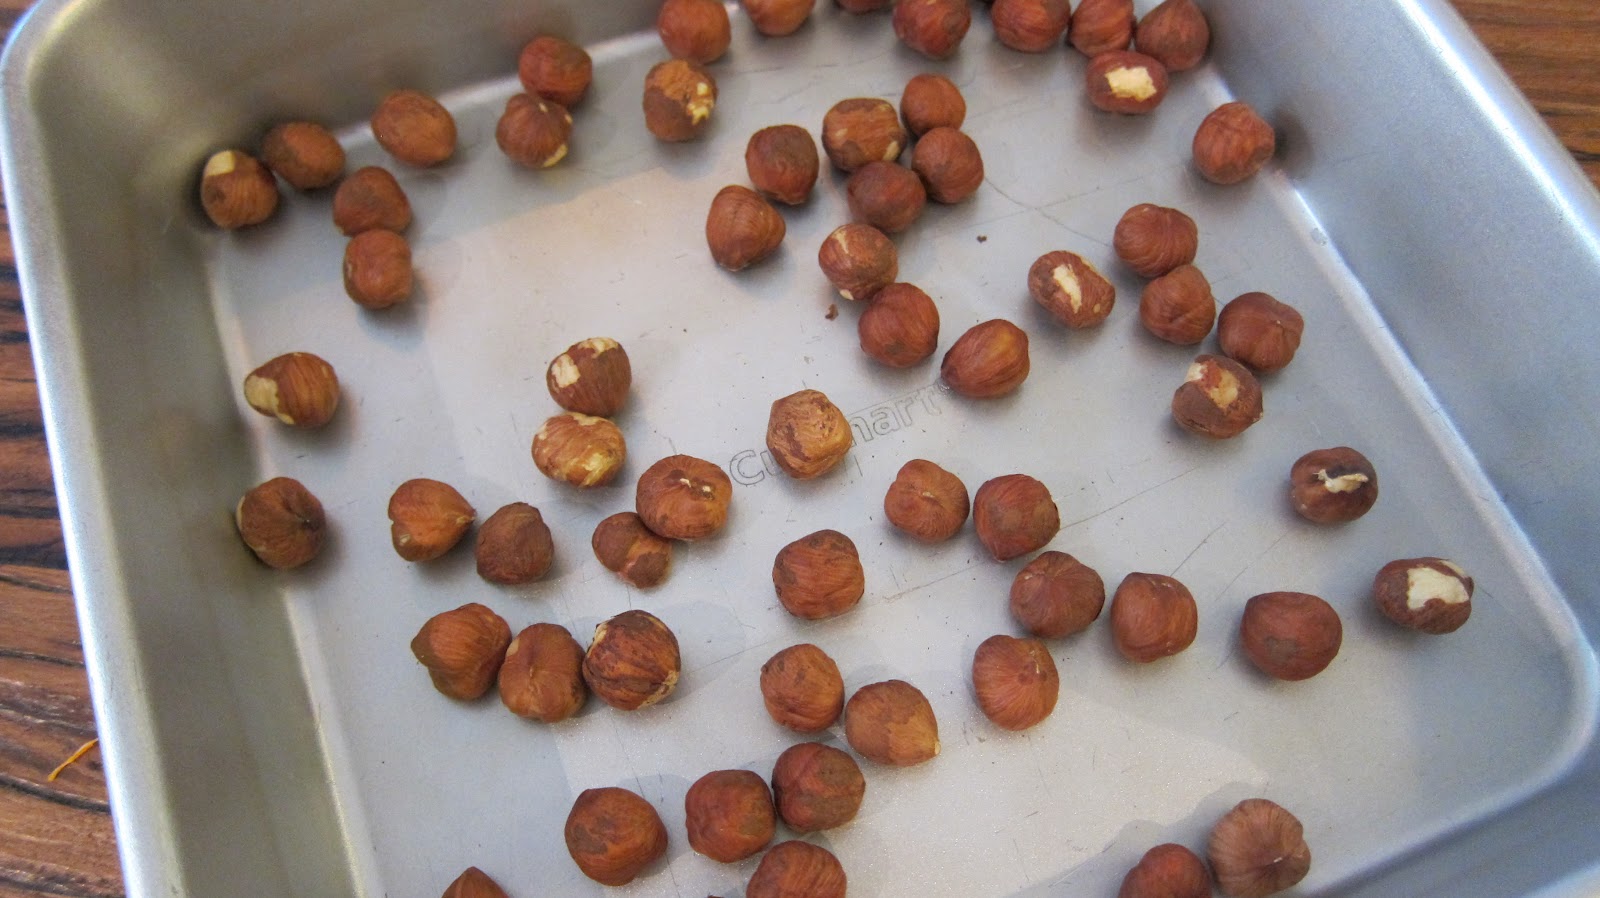
Preheat oven to 350 degrees Fahrenheit.  Roast hazelnuts in a shallow pan (so they don't roll all over the place) until fragrant and light brown, about 8 minutes.


Allow to cool and remove as much of the skin as possible.  I found a nifty trick to help with this tedious process.  Take a rubber jar opener and place some of the nuts inside.  Fold like a taco and rub the nuts with the sides of the rubber.  Peels off the skin in no time.


Finely grind nuts in food processor, set aside.  Place cereal in LARGE bowl and set aside.  The bigger the better.  In a pan over medium heat, melt butter, chocolate, and white chocolate chips, stirring constantly.  Once melted remove from heat and add Nutella.  Stir until well incorporated.  Add ground hazelnuts and mix well.


Pour over cereal.  Roll up your sleeves and get a mixin'.  Really it's best to use your (clean) hands.  It makes the whole process much easier.


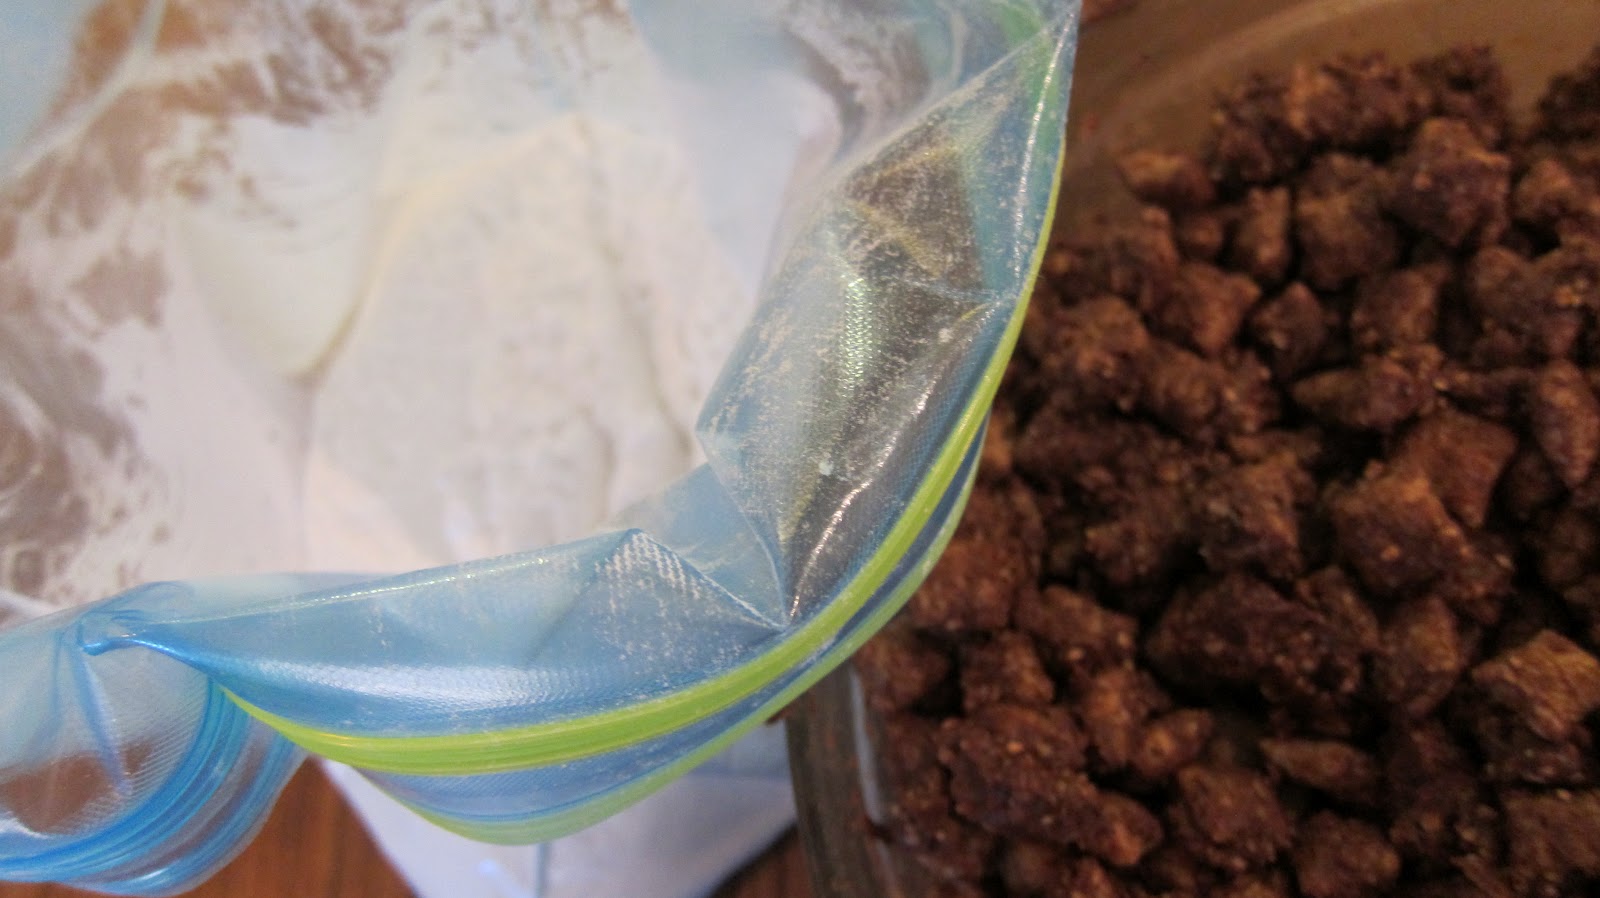
Once the cereal is thoroughly coated with the chocolate mixture, spoon into a zip lock bag with the powdered sugar already inside (fold over the sides of the bag, makes it easier to spoon the cereal in).  Shake.  Shake.  Shake.  I found you cannot add all the cereal at once, so I used a slotted spoon to remove the coated cereal and then transferred it to a serving bowl.  This was really helpful so you won't end up with lots of extra powdered sugar in the bottom of the bowl.


Make sure you're not wearing anything white when you eat this.  People will know you wiped your hands on your pants, tee-hee.


 Enjoy! 

Recipe courtesy of Chef In Training

Mar 6, 2012

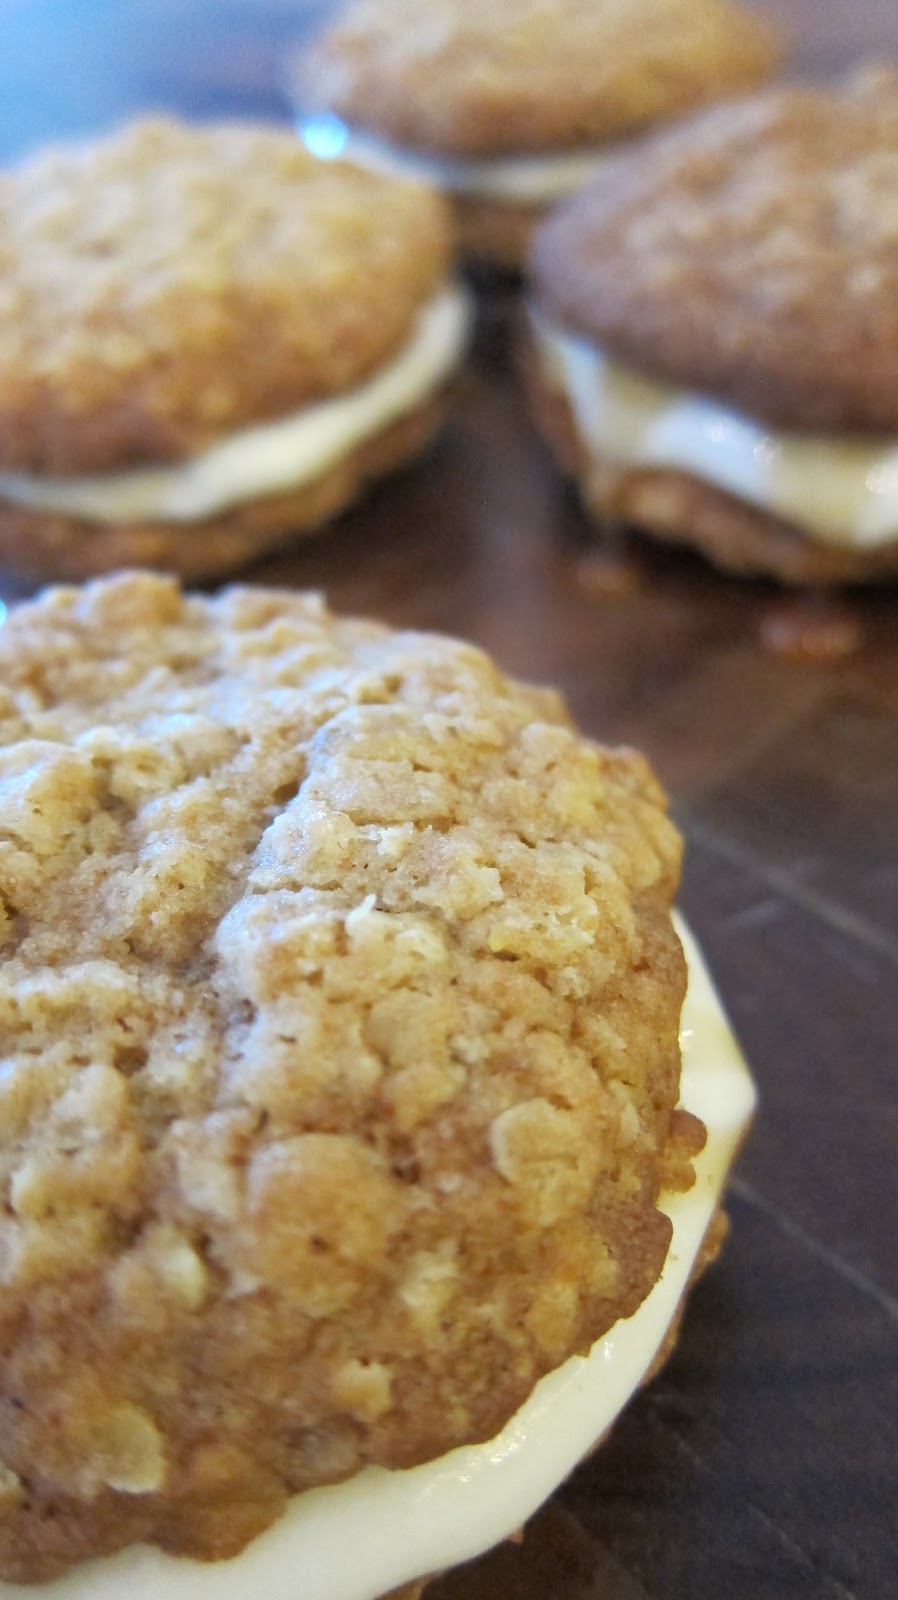
Oatmeal Cream Pies with Mascarpone Honey Filling


For someone who loves to bake and truly appreciates all things sweet made from scratch, I have a confession...I really, REALLY like to eat those overly processed, what-the-hell-I-can't-even-pronounce-the-ingredients AND they have a ten year expiration date snack cakes. 

You know what I'm talkin' about...


Tastykakes are without a doubt my childhood favorite...I will recreate the Peanut Butter Kandy Kake later on.  I found an insanely gooey sheet cake version which you will devour.  But today we're talkin' Oatmeal Cream Pies.

I am a firm believer in 'if it ain't broke don't fix it.'  And for me, there is nothing wrong with Little Debbie Oatmeal Cream Pies.  They are sweet, chewy, and most importantly the frosting doesn't squish out the sides when you bite into it.  Must be all the additives and preservatives that keep everything 'in place.'  I really don't care how or what goes inside these cookies, they are damn good and one of the ultimate comfort foods.  

The recipe I'm sharing here is the 'grown-up' version of the Oatmeal Cream Pie.  If you ask Little Debbie what Mascarpone is, she'd probably tell you it's her Italian neighbor. 

   
isn't she cute


Oatmeal Cream Pies with Mascarpone & Honey Filling

*for a printable version click here

For the cookies:

Ingredients:
1 1/4 cup butter (10 oz.)
1 cup brown sugar
1/2 cup sugar
1 1/2 cup all-purpose flour
3 cups oats
1 egg
2 teaspoons vanilla
1 teaspoon baking soda
1/2 teaspoon salt
1/2 teaspoon cinnamon
1/4 teaspoon nutmeg

For the filling:

Ingredients:
8 oz. mascarpone
4 oz. cream cheese
3-4 tablespoons honey, depending on your taste
1 teaspoon vanilla
1/2 to 4 cups powdered sugar *see note below

The original recipe called for only 1/2 cup of powdered sugar.  This is probably because the cream cheese she used had much less water than the brand I tried.  The cheese I used was the spreadable kind, more for toast and crackers.  So if you are using block cream cheese (like Philadelphia for example), start out with 1/2 cup powdered sugar and add (if needed) 1/2 cup more until you reach your desired consistency.  Yeh, I needed 4 cups.  I added the extra 4th tablespoon of honey so you could still taste it under all that damn sugar.  Once I got the balance of ingredients right it was perfect, don't be scared to tweek things in the kitchen as you go. 

Directions:

Preheat oven to 375 degrees Fahrenheit.  Beat butter and sugars until creamy.


Add egg and vanilla and mix well.


Sift flour, baking soda, salt, cinnamon, and nutmeg in a bowl.


Whisk to combine.


 Gradually incorporate dry ingredients into butter mixture and mix well.


Add oats and mix well.


Using a cookie scoop, drop rounded dough onto cookie sheet lined with waxed paper, 2 inches apart.


Bake for 10 minutes.  Let cool for two minutes on the sheet then transfer to wire rack to cool.


For the filling, combine mascarpone and cream cheese in mixer and beat until light and fluffy and lump free, about 2 minutes. 


Add honey and vanilla.  Mix to combine.


Sift in powdered sugar, mix well to combine but don't over-beat.


To assemble, slather one cookie (bottom side up) with a dollop of the filling.  Drizzle with honey and top with another cookie.


Enjoy!

cookie recipe adapted from Blooming on Bainbridge
filling recipe adapted from Lick The Bowl Good


Feb 27, 2012

Guittard Smooth & Melty Blondie with White Chocolate Ganache


Last week I attended the Gulf Food expo here in Dubai.  If you're not familiar with Gulf Food, how can I describe it…hmm try to imagine every single last food supplier on earth (and not to mention suppliers of industrial kitchens, serving-ware, kitchen tools...I could just keep going on and on) all crammed into the massive yet bursting at the seams convention center.

I steered myself toward the international section hoping to find some new products from the US and surprisingly I ran into the lovely people from Guittard Chocolate Company.  Guittard's baking products (hello cappuccino baking chips I love you) are one of the many things I always stash in my suitcase after a trip back home.

I was so stoked to find out that soon enough they will be selling some their products here in Dubai (gourmet grocery shop in jbr!). They were also kind enough to give me a bag of Smooth and Melty Mints (and the #1 best seller on amazon):


All I wanted to do was say 'thank you sooooo much' and walk away so I could eat the bag but then I remembered the kind gentlemen that I spoke with said I should blog about the mints.  And I'm sure you'd much rather see them in a recipe than have me talk about how I ate the whole bag before I got to the parking lot.  

So I thought to myself, what shall I do with these little minty pastel beauties?  The obvious thing to do would be to throw them in a batch of cookies and call it a day but I was feeling a bit more inspired.  Maybe it had to do with seeing all those giant stainless steel mixers at the expo that could easily sleep 4 people comfortably. 

I decided on using a blondie recipe for the bars, then topping them off with a white chocolate ganache.  I have never been a huge fan of the blondie.  I mean, why not just make a brownie?  Why have vanilla when you can have chocolate?  I don't trust those 'I prefer vanilla ice cream' people. 

But these Smooth & Melty Mints are intense.  They don't need a chocolate base.  They just need a subtle background so you can enjoy their strong, creamy flavor.  I decided on the white chocolate ganache because, well…it's like spending hours on your makeup and not putting on any lipstick.  They needed a bit of glitz and glamour.

Another favorite of mine from the show was seeing my loving, generous friends at President (who gave me enough samples to last at least until winter).  You may have noticed I ALWAYS use President butter in my recipes.  That's because I know their brand stands for quality.  When you've got over 75 years of experience in the dairy biz you must be doing something right. 


Guittard Smooth & Melty Blondie with White Chocolate Ganache
*for a printable version click here
Blondie:

2 3/4 cup all purpose flour
2 1/2 teaspoons baking powder
1/2 teaspoon salt
2/3 cup butter, softened
1 lb. light brown sugar (16 oz)
3 eggs
1 teaspoon vanilla

(1) 1 pound bag Guittard's Smooth & Melty Mints (if you can't find these in your area you can easily substitute for chocolate chips)

Ganache:

8 ounces (227 grams) white chocolate, cut into small pieces
3/4 cup heavy cream
2 tablespoons butter

Directions:

*the original recipe calls to mix by hand, however if you prefer to use a mixer that's fine.

Preheat oven to 350 degrees Fahrenheit.  Grease a 9x13 pan (I only had a 9x9 and it worked fine).

 Sift the flour, baking powder, and salt.  Whisk to combine.  Set aside.


Stir brown sugar into softened (not melted) butter until well incorporated.  Using the back of a rubber spatula really helps.


Add eggs one at a time to the butter mixture.  Mix well after each addition. 


Add vanilla and mix well.

Add dry ingredients to butter mixture in three additions.  Never dump ALL your dry ingredients into a wet mixture.  Two reasons.  One, you will just make a mess and then curse because you'll have flour everywhere (especially if you have your mixer on turbo speed).  Two, and more importantly by adding the dry ingredients slowly you are guaranteeing a thoroughly combined mix.


Take HALF of the dough and place into the greased pan.  Sprinkle mints on top of dough and make sure they are distributed evenly.


Spread remaining half of dough on top of mints.


Bake for 30 minutes or until top is golden brown.  Cool completely on wire rack.


 For the ganache, place chopped white chocolate in large glass (or heat safe) bowl.


Heat heavy cream and butter in saucepan over medium heat.  Bring to almost a boil and remove from heat.  Pour cream and butter mix over chopped chocolate and let sit (don't touch or stir!) for one minute.


Gently stir until all the chocolate has melted and you're left with a bowl of liquid satin.  Pour over cooled blondies and let sit in the fridge to firm up, at least 2 hours.


Cut into squares and enjoy!


Blondie recipe adapted from Bakerella
Ganache adapted from Joy of Baking