Nov 15, 2012

Peanut Butter & Chocolate Ganache Tart in a Chewy Oat (HobNobs) Crust


My oven died this week.  Like total shut-down.  It's something electrical in the wiring, nothing to do with the oven so you know that will take FOREVER to fix, especially here in Dubai.  I called the husband in a state of panic, you know one of those phone calls where as soon as you hear them pick up on the other line you say (without even waiting for them to say hello) 'you-must-come-home-the-oven-is-broken-no-wait-maybe-it's-just-better-if-we-move!!!'  I got a prompt 'we'll get it fixed over the weekend, goodbye' answer.  Ok probably deserved that, but the only way I could get my husband to understand the magnitude of this situation so he'll can call the fix-it guy (who doesn't understand my white-girl English, apparently I talk way over his speed limit) and get my 'office' up and running again is to put it into man-terms. 

Me: 'Honey, would you be able to breathe without your blackberry for even an hour?' 

Husband: Impatiently looks at me with the phone already stuck in his ear

Me: 'Because you see the oven is my equivalent to your blackberry.  I cannot function or think properly when it's busted.'

Husband: 'Hello, Jaber? (on the phone calling Mr Fix-It aka Jaber)  This is Jad, can you please come over tomorrow and take a look at our oven?'

Man-terms, ladies.

So rather than waiting for Jaber to come God knows when, the show must go on.  So here you go, a 'no-bake' tart that is spectacular, no heat required. 

There are loads of contrasting textures going on here, which always makes for a happy pallet.  The crust is soft and chewy, just like an oatmeal cookie.  The peanut butter filling is sweet and creamy, however don't let the photo deceive you, it firms up and cuts quite nicely once left in the fridge over night.  A sprinkling of the salty peanuts on top of the lightly-sweetened whipped cream adds a welcoming crunch amongst all the heavenly pillows of flavor.  A winner for any picky pallet.  Heck, I bet Jaber would even appreciate it...assuming he ever shows up.

Peanut Butter & Chocolate Ganache Tart in a Chewy Oat (HobNobs) Crust
makes a 9" round tart or a 13 3/4-by-4 1/4-inch tart
printable version

Ingredients

For the Crust:
6 1/2 ounces HobNob biscuits (or 12 whole graham crackers), finely ground, about 1 1/2 cups
2 1/2 ounces (5 tablespoons) unsalted butter, melted
1/4 cup sugar
1/8 teaspoon salt
 
For the Filling:
6 tablespoons unsalted butter, melted
3 ounces good-quality milk chocolate (I used semi-sweet chocolate chips)
1 3/4 cups heavy cream
3/4 cup creamy peanut butter
1/2 cup  (4 ounces) cream cheese
1/3 cup sweetened condensed milk
1 teaspoon vanilla
2 tablespoons sugar
 
salted peanuts, chopped, for garnish
 
Directions
 
Place biscuits (or graham crackers), sugar, and salt in the bowl of a food processor, and pulse until fine crumbs are formed. 


Transfer to a medium bowl, and add melted butter. Stir with a fork until thoroughly combined.


Place crumbs in a 13 3/4-by-4 1/4-inch rectangular tart pan with a removable bottom (I only had a 9-inch round which also worked fine).


Press crumbs evenly over the bottom of the pan. Place in the refrigerator while making the filling.
 
 
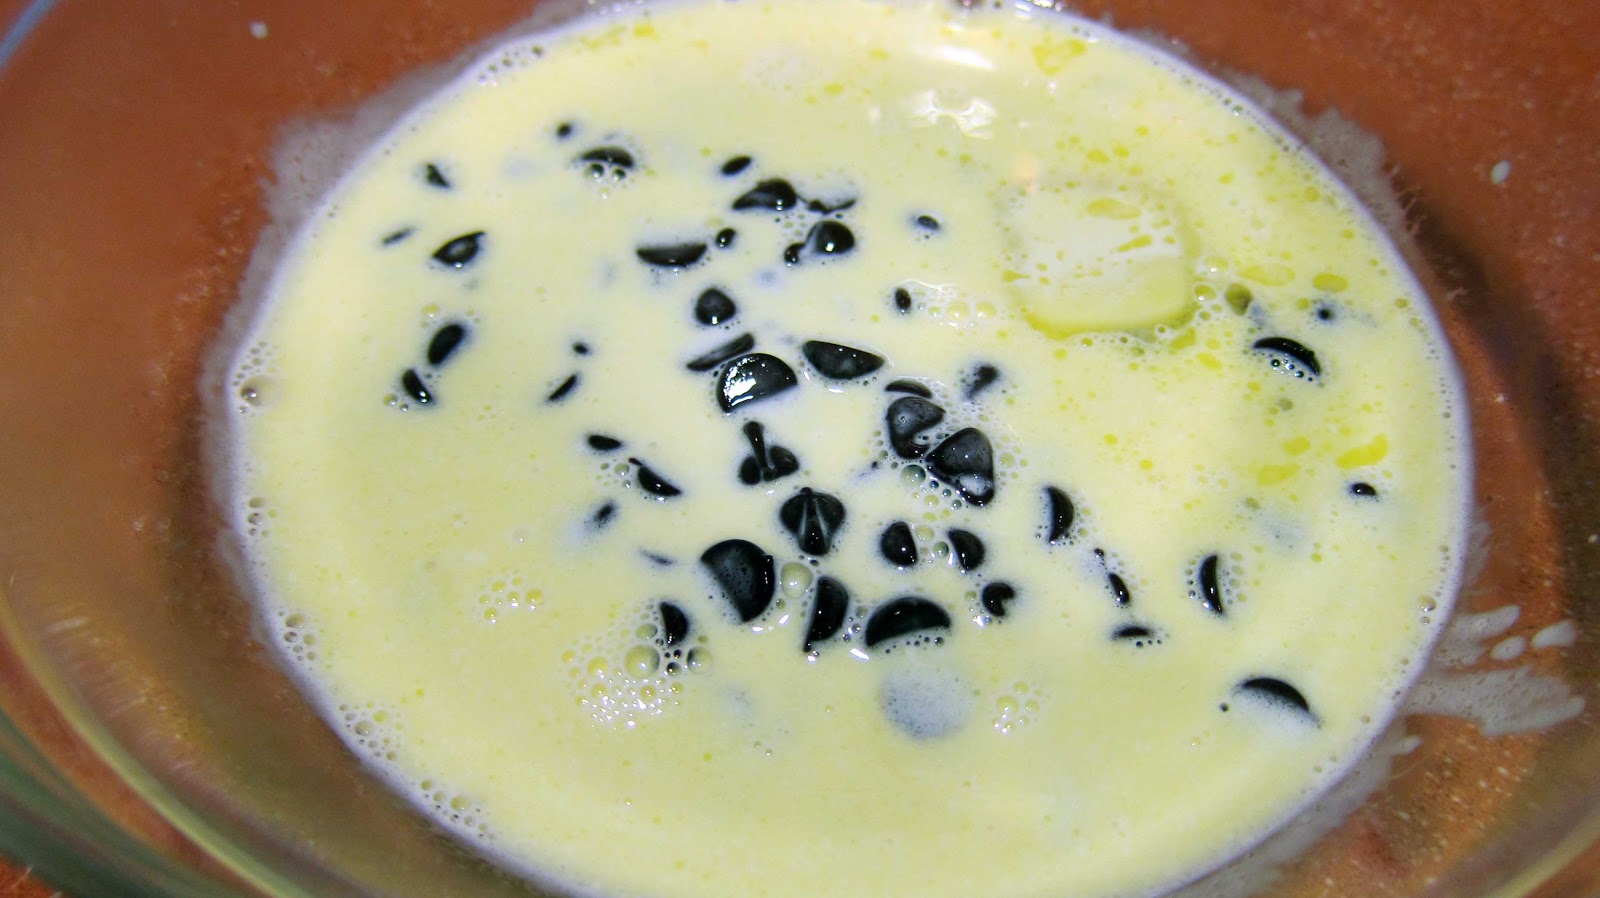
Fill a large bowl with ice and water. Finely chop chocolate, and place in a medium bowl. Place 1/2 cup cream in a small saucepan over medium heat, and bring to a boil. Pour over chopped chocolate, and set aside for 5 minutes to yield chocolate ganache.
 
 
Whisk to combine.
 
 
Set in ice bath until ganache is cool, whisking constantly.  Once cool, remove from ice bath, and whisk until ganache is just thick enough to hold its shape; do not over beat. Spread in the bottom of the prepared crust, and return to the refrigerator until set.
 
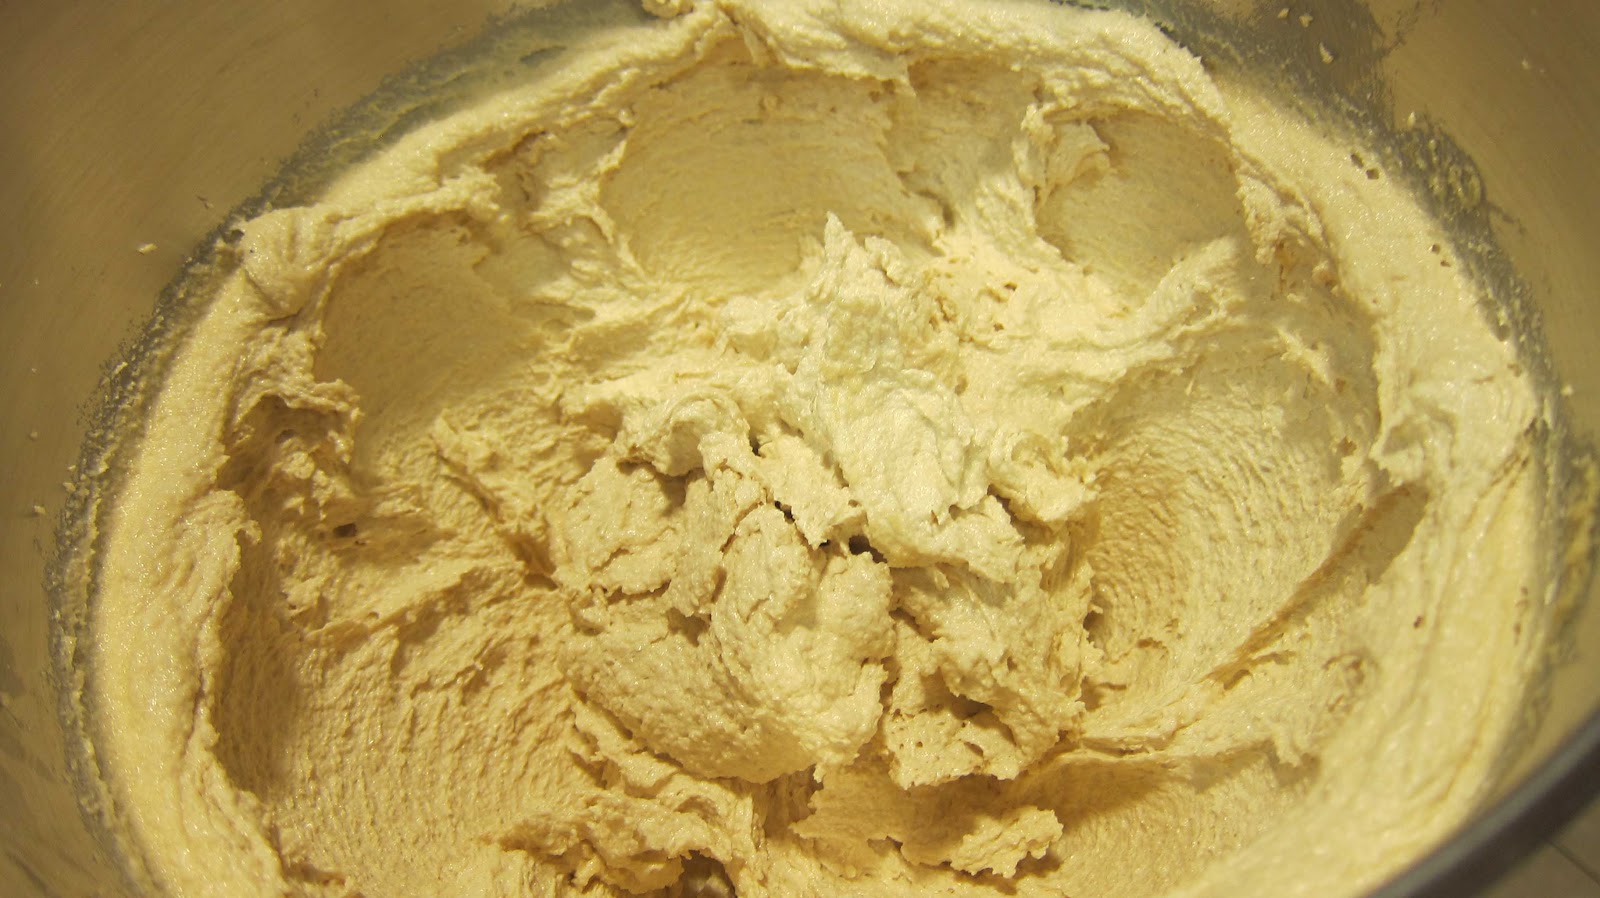
Combine peanut butter, cream cheese, and sweetened condensed milk in the bowl of a food processor; process until smooth. Transfer to a mixing bowl.
 
 
Whip 3/4 cup heavy cream to soft peaks.  Add whipped cream to peanut butter mixture; whisk to combine.
 
 
Spoon mixture into prepared crust; return to the refrigerator for 2 hours or overnight. Remove tart from refrigerator, and transfer to a serving platter 10 minutes before serving. Whip remaining 1/2 cup cream.  Add the vanilla and sugar, whip to combine. 
 
 
Top tart with dollops of whipped cream and sprinkle with the chopped peanuts.
 
 
Enjoy!
 
Crust recipe and Filling Recipe slightly adapted from Martha Stewart

Nov 6, 2012

Chocolate Sour Cream Bundt Cake


Happy Election Day!  Did you go out and vote?  Good.  God Bless America.  Now it's time for cake.

I must say, bundt cakes have never been my fav.  For me, cake should be layered with loads of butter cream then slathered with it too.  In fact, if the ratio of butter cream to cake is 60% frosting 40% cake then we're cool.

And then comes the bundt.  So naked.  And what's with the hole?  Trying to look skinny or 'light'?  I don't think so.  My favorite bundt moment is from the movie My Big Fat Greek Wedding, you remember this one don't you...

 
However, this chocolate sour cream bundt cake meets and exceeds my standard of what a calorie-ridden diet disaster should be.  I think it has to do with the 1 1/2 cups of sour cream incorporated into the cake.  I mean how wrong can you go there?  Anything with that much sour cream HAS to be good (just a side note here, you can now find locally produced sour cream from the UAE, only 4.5dhs for 200 grams, score!  Previously I could only find the $$$ imported brands).  The addition of the sour cream provides a moist and tender texture that just sort of melts in your mouth.  If you've never tried a cake with sour cream you will be in for a pleasant surprise here. 
 
Another plus with this cake, you know I am always insisting to buy pricey, high quality chocolate (which you should!) however this recipe calls for semi-sweet which is not always easy to find with the high-end brands.  Instead I used Hershey's semi-sweet chocolate chips for the cake and the ganache... and it turned out like a dream!  A sour cream chocolate dream.  Wow.
 
This recipe is calculated for a 15-cup bundt pan.  Mine is only a 10-cup so I had a lot of batter left over and was actually able to make 2 cakes.  Not sure how many cups your bundt pan holds?  It's okay it doesn't matter, just fill your pan no more than 3/4 of the way full.  If you have batter left over, then you've probably got a 10 cupper too.  You can either refill the pan a second time if you've got enough or use the remaining batter for cupcakes if you wish.
 
And lastly...just what to do with that hole?  Well, flowers are always an idea.


Chocolate Sour Cream Bundt Cake
make (1) 15-cup bundt cake
 
Ingredients
 
For the cake:
1 cup cocoa powder, sifted, plus more for dusting pan
7 1/2 ounces semisweet chocolate chips (plus 1 1/2 cups semisweet chocolate chips)
1 cup boiling water
2 1/4 cups all-purpose flour
1 1/2 teaspoons baking soda
1 1/4 teaspoons kosher salt
2 1/2 sticks (10 ounces) unsalted butter
2 1/2 cups firmly packed light brown sugar
5 eggs, lightly beaten
4 teaspoons vanilla extract
1 1/2 cups sour cream

For the ganache:
6 ounces semisweet chocolate chips
2 tablespoons (1 ounce) unsalted butter
1/2 cup heavy cream

Directions
Have all the ingredients at room temperature (ugh I always forget to do this, but really it's quite important.  Click here for an excellent lesson from Fine Cooking on the topic of baking science and temperature).

Grease your bundt pan with butter or shortening.  I use a sandwich baggie as a glove to grease all the nooks and crannies. 


Dust with cocoa powder; tap out the excess.  This is a big f'ing pain and makes a mess.  Be patient.  Also VERY IMPORTANT!  Don't use your fancy-shamcy expensive cocoa for this part, it's not worth it.  I used regular ole' Hershey's to dust (nothin' wrong with Hershey's, just saying don't use the scharffen berger that costs an arm and a leg...save that for the inside of the cake, not the outside).


To prepare the cake, in a medium bowl, sift 1 cup cocoa powder and add the first 7-1/2 ounces of chocolate chips.  Add the boiling water and whisk until the chocolate melts and the mixture is smooth and blended. Set aside.


In another medium bowl, sift together the flour, baking soda and salt. Set aside. 
 
In the bowl of an electric mixer fitted with the flat beater, beat the butter on medium speed until smooth and creamy, 30 to 45 seconds. Reduce the speed to low, add the brown sugar and beat until blended.


Increase the speed to medium and continue beating until the mixture is light and fluffy, about 5 minutes, stopping the mixer occasionally to scrape down the sides of the bowl. Add the eggs a little at a time, beating until incorporated before adding more and stopping the mixer occasionally to scrape down the sides of the bowl. Beat in the vanilla until incorporated, about 1 minute.


Reduce the speed to low and add the flour mixture in three additions, alternating with the sour cream and beginning and ending with the flour, beating just until blended and no lumps of flour remain.


Slowly pour in the chocolate-cocoa mixture and beat until no white streaks are visible, stopping the mixer occasionally to scrape down the sides of the bowl.


Using a rubber spatula, gently fold in the remaining 1 1/2 cups of chocolate chips.


Pour the batter into the prepared pan, spreading the batter so the sides are about 1 inch higher than the center.


Bake until a toothpick inserted into the center of the cake comes out with only a few moist crumbs attached to it, 60 to 65 minutes. Transfer the pan to a wire rack and let the cake cool upright in the pan for 15 minutes.


Invert the pan onto the rack and lift off the pan. Let the cake cool completely, at least 1 hour.


Return the cooled cake to the pan. Using a serrated knife, gently saw off any excess cake that extends over the edge of the pan. Transfer your cake to its serving platter.  I lined the sides of the platter with pieces of waxed paper.  This keeps your platter clean when adding the ganache. 


To prepare the ganache, combine the chocolate and butter in a heatproof bowl.  In a small saucepan over medium-high heat, bring the cream just to a boil. Immediately pour the cream over the chocolate and butter.


Combine slowly with a spoon until the mixture melts and is smooth.  You can whisk if you prefer, just do so slowly.  Whisking can add air bubbles to the ganache.

If you do ever have air bubbles in your ganache and need a quick fix, pour the mixture through a fine sieve to release the bubbles.  Works like a charm.


Allow the ganache to cool slightly and pour over the top of the cake, allowing to drip down the sides. Let the cake stand until the ganache is set, at least 15 minutes. 


Enjoy!  
 
Recipe courtesy Williams-Sonoma via Lick the Bowl Good

Nov 2, 2012

Jumbo Ginger Chocolate Chunk Cookies


When you're having a down-in-the-dumps kind of day, comfort food is of the utmost importance.  Chocolate chip cookies and Mac n' Cheese are two of man kinds ultimate healers.  So when I was having a crapola-kind-of-day last week I decided the best remedy was to whip up a batch of cc-cookies and drown (devour) my sorrows.

And then I realized I was out of butter. 

And sugar.

Seriously? 

Then I remembered I had 'butter' flavored Crisco in the pantry.  Ooh the thought of that stuff makes me shudder.  It's so yellow and bizarre, like someone gave Crisco a spray-tan.  I can't even remember how or why it came into my house.  I am a butter fanatic and believe shortening should be used only for greasing pans and occasionally when making pie crusts.

But boy-oh-boy I am kicking myself in the butt now.  I've had this recipe stashed away in my endless to-do baking pile and realized it called for shortening.  I was desperate and figured, oh what the heck, my day can't get much worse.  And as it turned out these are some of the best damn cookies I've ever made.  Yep, 'butter' flavored Crisco and all.  The recipe called for white sugar but I only had brown on hand.  In any case the brown sugar really did the cookie justice by providing a nice chewy texture.  You may recall my post for The Last Chocolate Chip Cookie Recipe You'll Ever Need also only uses brown sugar.  Just be sure to store in a air-tight container so they won't dry out.

Lastly and as always, use a high quality chocolate for these cookies, preferably dark chocolate.  I used Ghirardelli 60% Cacao Chocolate Chips (actually they are more like chunks as they're about double the size of a regular chocolate chip).  Also make sure you're using fresh spices as the ginger, cloves, and cinnamon really are the backbone of this cookie.  If your spices have been lingering in the pantry since before you had your first child, give them a toss in the bin and pick up some new jars, trust me it will be worth it.

Jumbo Ginger Chocolate Chunk Cookies
makes about 10-12 jumbo cookies
printable version

Ingredients

1 cup brown sugar (white sugar is fine but brown sugar will produce a chewier cookie)
3/4 cup shortening
1/4 cup dark molasses
1 egg
2 cups all-purpose flour
2 teaspoons baking soda
1 teaspoon baking powder
1 teaspoon cinnamon
1 teaspoon ground cloves
1 1/2 teaspoons ginger
3/4 teaspoon salt
2 cups dark chocolate chunks (or chips)

Directions

Preheat oven to 350 degrees F.  In the bowl of an electric mixer fitted with the paddle attachment, cream sugar and shortening until light and fluffy, about 5 minutes.


Add the molasses and egg and continue to blend until fully incorporated.


Sift in the flour, baking soda, baking powder, salt, and spices and mix until just incorporated.


Add the chocolate and blend until thoroughly incorporated.


Drop heaping scoops (about 1/4 cup each) of cookie dough onto a baking sheet lined with parchment paper or silicone liners.  Sprinkle each cookie with some sugar (I forgot this step).  Bake until cookies are puffed and just started to brown, about 11-13 minutes. Transfer cookies to a rack to cool completely.  *Note: With the first batch I moved the cookies to a cooling rack about 5 minutes after I took them out of the oven. However the cookies are so soft and started to sink through the wire rack, making a lumpy cookie once cooled.  I recommend to cool on the baking sheet until the cookies firm back up, about 15 minutes.  Then move to a cooling rack to finish.


And of course make sure your sous chef/taste tester is never too far away.  Mine likes to play at my feet in the kitchen...with his frogs.


Enjoy!


recipe adapted from  Blue-Eyed Bakers

Oct 24, 2012

Chocolate Whiskey Tart


This tart contains two of my favorite components related to baking:

 
Chocolate with booze (or anything with booze)

and

Recipes from Baked 


If you're not familiar with Baked, ooooh you are missing out.  Baked, a bakery located in Brooklyn was founded in 2005 by two friends Matt Lewis and Renato Poliafito. These guys know, understand, and appreciate 'Americana' baking.  You may remember my Gentleman's Apple Pie post, another recipe from the Baked, New Frontiers in Baking cookbook.

The guys just came out with their 3rd cookbook titled Baked Elements which features recipes prepared with their all-time favorite ingredients and each chapter is dedicated to a particular ingredient close to their heart.

This Chocolate Whiskey Tart (from the Booze chapter...amazing!) is one of the most sinful desserts I've made yet.  The chocolate is smooth, deep, and rich.  I've never tasted chocolate quite this intense, mostly due in part to the addition of Jack Daniel's, amping up the flavor and richness.  The crust (made of shortbread cookies) is crisp and slightly salty, contrasting effortlessly with the smoothness of the chocolate.

And then the whipped cream...infused with Jack Damn Daniel's.  I got a buzz before lunchtime preparing this cream.  Highly recommended if you ask me.

Lastly, this tart was beyond easy.  Don't roll your eyes at me and say 'yeh right you bake all the time.'  Really, nothing to it I swear.    However, I must make one very important note before we get baking.  Please do yourself a favor and purchase a high quality chocolate for this recipe.  As we're not working with many ingredients, the taste of the chocolate will inherently shine through and it's quality is key to achieving a silky texture. 

Ok I know I once told you it's okay to buy chocolate from Ikea, but that's for practicing or making s'mores.  This tart deserves a little splurge.

Simple Chocolate Whiskey Tart with Whiskey Whipped Cream
makes one 9" tart
printable version

Ingredients

For the Shortbread crust:
8 ounces (about 1 3/4 cups) shortbread cookies
1 tablespoon sugar
1/2 teaspoon salt
2 ounces (1/2 stick) unsalted butter, melted

For the Chocolate Whiskey Filling:
3/4 cup heavy cream
1/3 cup whole milk
5 ounces good quality dark chocolate (60 to 72%), coarsely chopped
4 ounces good quality milk chocolate, coarsely chopped
1 large egg PLUS 1 large egg yolk
1 tablespoon all-purpose flour
2 tablespoons good quality whiskey (I used Jack Daniel's)

For the Whiskey Whipped Cream:
1 1/4 cup heavy cream
2 tablespoons superfine sugar
2 tablespoons good quality whiskey (I used Jack Daniel's)

cocoa for dusting

Directions

To prepare the crust, preheat oven to 300 degrees F and position the oven rack in the center.  Lightly spray a 9" spring form pan with non-stick cooking spray.

In a food processor, pulse the cookies into very fine crumbs. 

 
Place crumbs into a bowl, add sugar and salt. Stir to combine.
 
 
 Pour melted butter over the crumbs and use a fork to mix to combine. 


Turn the mixture out onto the prepared pan and press it into the bottom and up the sides of the pan (using your fingers or the bottom of a metal measuring cup).


Place pan in the freezer for about 5 minutes to firm up.

Place the pan on a baking sheet and bake the crust until it is just dry to the touch, about 12 minutes (you do not want it to brown).  Remove the baking sheet from the oven and place on a wire rack to cool.

Increase the oven temperature to 325 degrees F.

To prepare the filling, in a medium saucepan oven medium low heat, stir together the heavy cream and milk.  Bring the mixture just to a low simmer (bubbles will start to form around the edge of the pan) but do not scald or boil.  Remove the pan from the heat.  Add the chopped chocolate and whisk gently until the mixture is completely smooth. 


Continue stirring to release excess heat.  Set aside for 5 to 10 minutes, or until the mixture is only slightly warm or has cooled to room temperature.

In a small bowl, use a fork to lightly beat the egg, egg yolk, flour, and whiskey. 


Use the tip of your finger to make sure the chocolate mixture has come to room temperature (not too hot or the eggs will cook).  Add the egg mixture and whisk until completely blended.


Pour the filling into the tart shell.


Place the baking sheet in the oven and bake for 20 to 25 minutes, until the edges are slightly set but the middle is still slightly jiggly.  Remove the baking sheet from the oven and transfer the tart pan to a wire rack to cool for at least 15 minutes.  Gently push up on the tart bottom to release the tart from the pan and cool completely.

To prepare the whipped cream, pour the cream into a chilled metal bowl and beat vigorously with a chilled whisk for about 1 minute or until soft peaks form (I mix on max speed on a kitchen aid mixer).


 Sprinkle the sugar and whiskey over the cream and continue whisking vigorously until stiff peaks form.


 Give your tart a generous dollop of cream, dust with cocoa and enjoy!

 
 Chocolate Whiskey Tart recipe from Baked Elements