Aug 19, 2013

Chunky Hunky Peanut-Buttery Happy Chow


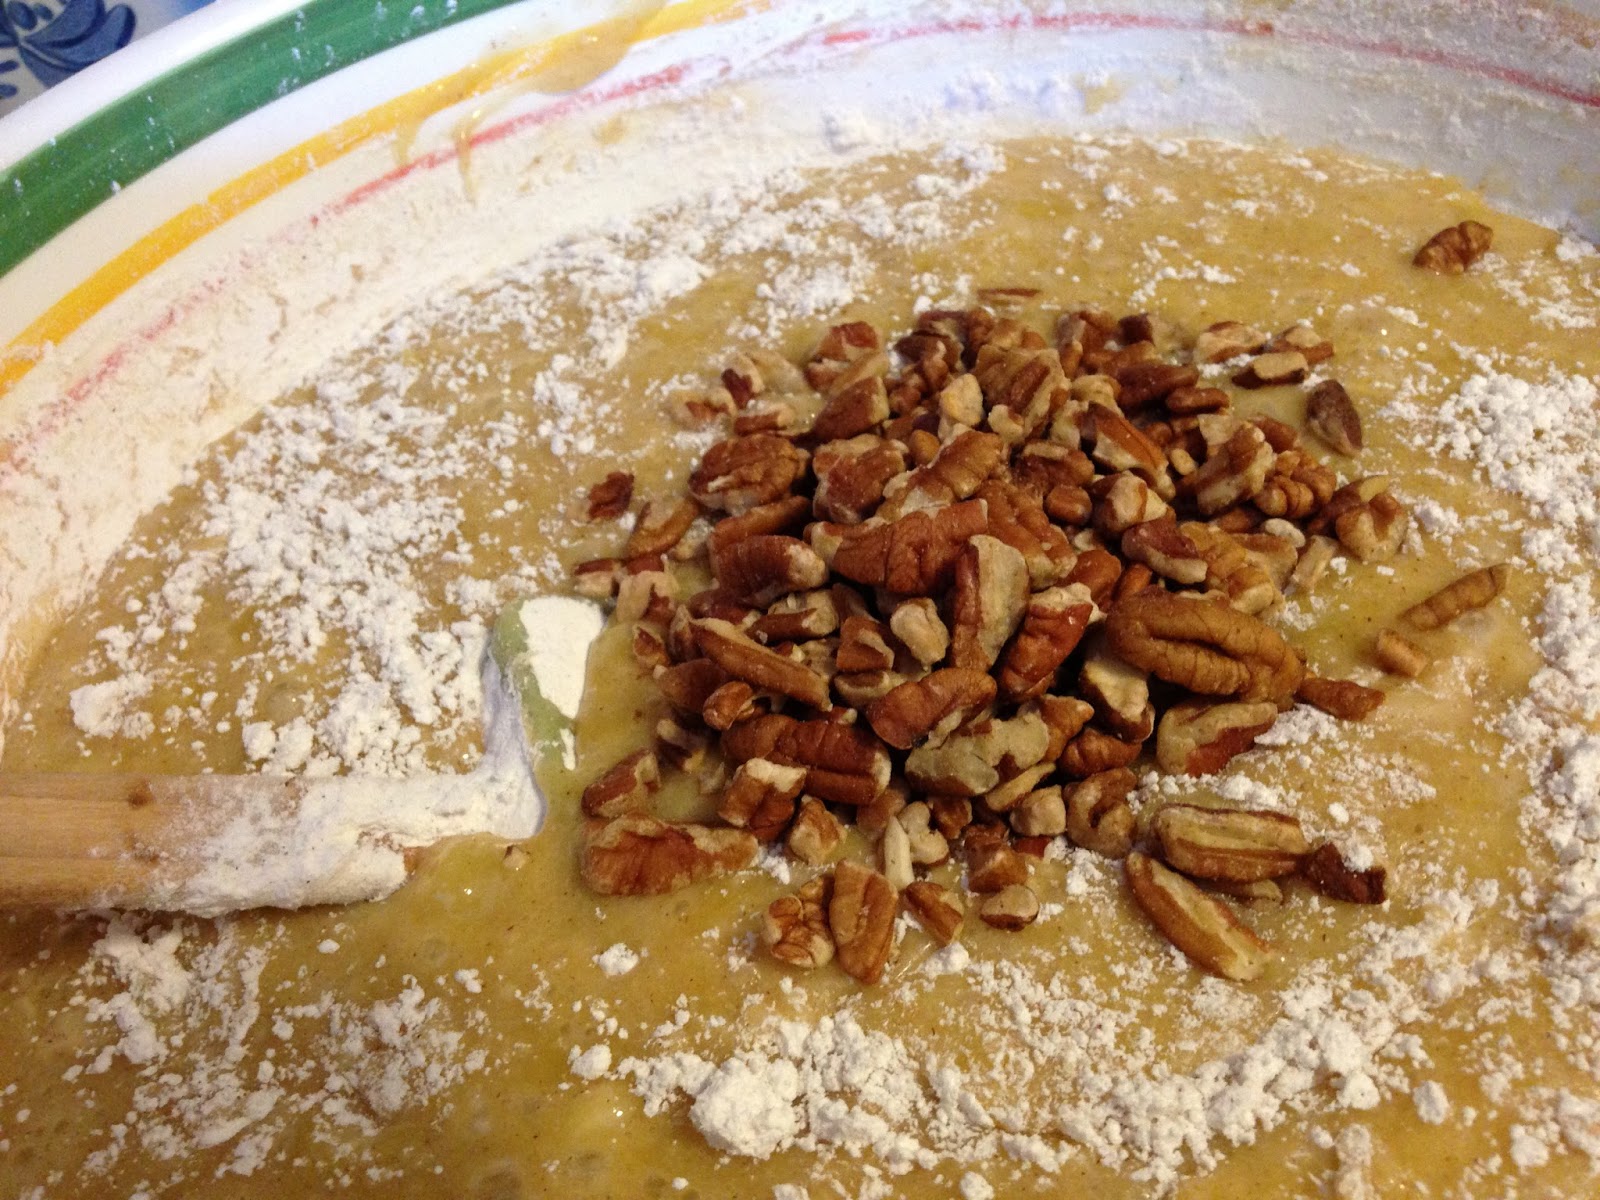
Ok not the best photo here, BUT geeze I must have tried to photograph this 50 different ways and it just kept coming out slightly blurry and looking, well…hmm healthy.  Not a look I go for on this blog.  Heath nuts keep clicking…you’re not going to like what you see here.
 
Anyway, this is yet another take on the famous ‘Puppy Chow’ drowning the boards on Pinterest.  But there is a reason this ‘God take it away from me I can’t stop picking’ snack is so popular, it’s insanely good, and equally easy to make.  Not gonna lie, I pretty much cleaned out my pantry to put this one together.  Really anything works with Puppy Chow (ick I hate calling that, if you didn’t know better you’d seriously think I’m whippin’ up dog food).  
 
Here’s my all-star lineup for the recipe:
 
 
Chow mein noodles
Kri-Kri (peanuts covered in a cracker coating, made by most Lebanese nut manufacturers)
Mini marshmallows
Mini chocolate digestive biscuits
The best part about making a batch of Puppy Chow (::sigh:: let’s just call it Happy Chow instead, okay?) is you can substitute any of the additions.  Swap out the biscuits for cereal, marshmallow for M&M’s, peanuts for pretzels…get where I’m going here?  Anything is possible; add whatever you love (or in my case, whatever is hangin’ around)

Chunky Hunky Peanut-Buttery Happy Chow
printable version
 
Ingredients
3 cups chow mein noodles (the snacking kind, not ones that need to be pre-cooked)
1 ½ cups salted peanuts (I used Lebanese Kri Kri)
3 cups mini marshmallows
3 cups mini chocolate digestive biscuits (or mini Oreo’s/cereal/anything you’ve got on hand)
1 cup chocolate chips
½ cup Skippy Dark Chocolate Peanut Butter (or regular or Nutella will work too)
¼ cup butter
¼ cup shortening
2 cups powdered sugar

Directions:

In a microwave safe bowl, combine the chocolate chips, peanut butter, and butter. 

 
Microwave for 1 minute and then stir.  Add the shortening and microwave for another 30 seconds and stir again. 

 
*If the mixture has remaining lumps, continue microwaving for 10 second intervals, stirring afterwards, until smooth and melted.

Combine the chow mein noodles, peanuts, marshmallows, and biscuits in a large bowl and gently toss with your hands to combine.

 
Pour the chocolate mixture over the dry mix.  Use a large spoon to gently combine.  Be careful not to break the noodles and biscuits.


Add powdered sugar to a large zip bag. Spoon in the chocolate mixture. Close bag and toss until fully coated.


Pour mixture onto baking sheets lined with wax paper. 

 
*If you find some of your mix has clumped up, dust with additional powdered sugar and break apart with your fingers.

 
Allow to set up on waxed paper until chocolate is no longer melted and hardened slightly.  Store in air-tight container.


recipe adapted from Inside BruCrew Life


Aug 14, 2013

Crockpot Chocolate Marshmallow Bomb


Crock pots.  They're not just for Stroganoff anymore.

Desperate times call for desperate measures; hence a crock pot cake.  I didn’t even know this was possible until yesterday.  Usually I only pull the crock pot out when I am too lazy to stir/saute/chop.  I love the dump and forget-it mentality of crock pot cooking.  And everything and I mean everything always turns out fan-f’ing-tastic in a crock pot.  Except for that one time I tried to make over-night oatmeal…I woke up with a cardboard pillow in there.  Oh it was horrid.

We recently bought a new house and since we are the first ones to ever live here, there are lots of little quarks to fix.  Like the contractor never thought to set up writing for an oven.  Nope, he just left space for one and assumed, ‘they’ll figure something out’.  So here we are a month into the new place and still no oven.  If you live in Dubai you know what I’m talking about.  Things take ages to get done.  Anything.  Everything.  A G E S.

And since the blog must go on, I figured let’s experiment.  Besides the crock pot has been my only friend and means of cooking in the kitchen these last few weeks so I wanted to see what she was capable of.  Any oh boy did she deliver (because aren’t all crock pots female?  Otherwise they’d be called cock pots, no?)

If you love Molten Cake (also known as Lava Cake or Fondant) you will adore this recipe.  It’s simply one giant portion of Molten Cake.  Say you're having a dinner party/BBQ, I would prep the cake and turn on the crock pot as soon as your friends arrive.  It takes about 2 hours to cook and best served hot and bubbling.  I had a serving for breakfast today and it was still great and gooey, but nothing compared to how melty and chocolaty it tasted served hot straight from the pot. 
 
Lastly let me mention, this is one of THE easiest cakes to throw together.  I bet it’s even husband proof…or wife proof, depending on who is reading this post…

Ingredients

Non stick cooking spray
1 cup all-purpose sugar
1/3 cup sugar
2 tablespoons unsweetened cocoa powder
1 ½ teaspoons baking powder
¾ teaspoons salt
½ cup chocolate or regular milk
2 tablespoons canola oil
2 teaspoons vanilla extract
1 cup chocolate chips (I used half semi and half milk chocolate but either is fine)
½ cup salted peanuts, chopped
¾ cup sugar
2 tablespoons unsweetened cocoa powder
1 ½ cup boiling water
1 tablespoon instant espresso powder (instant coffee is okay too, just combine with the boiling water to dissolve the crystals)
2 cups mini marshmallows
½ cup chocolate chips 

Directions

Lightly spray inside of crock pot with non-stick spray.  Be sure to get up the sides as well. 

In a medium bowl, sift together the flour, 1/3 cup sugar, 2 tablespoons cocoa powder, baking powder, and salt.


Whisk to combine.


Add milk, oil, and vanilla.  Stir until just combined and moistened.


Add the chocolate chips and peanuts.  Mix to combine.


Transfer mixture (it will be very thick) into prepared crock pot and spread evenly over the bottom of the dish.


In another medium bowl, sift in the cocoa powder and espresso powder.  Add sugar and whisk to combine.


Slowly whisk in boiling water.


Carefully pour liquid over the batter in the crock pot.  *The liquid should be floating on top.  Do not stir into the batter.

 
sorry about the green reflection, that's my window sill
 
Cover and cook on high for 1 ½ hours.

Remove lid and evenly sprinkle on the marshmallows and ½ cup chocolate chips. 


Replace lid, turn down to low and cook for about 20-30 minutes until marshmallows are completely melted and gooey. 


Turn off crock pot, remove ceramic liner and place on wire rack to cool.

Let the pot sit for about 10-15 minutes to cool down and serve immediately. 


Enjoy!
 
recipe adapted from Better Homes & Gardens

Aug 11, 2013

Hummingbird Cake & Vanilla Cream Cheese Pudding Trifle


If you've never heard of Hummingbird Cake, don't worry I hadn't either.  The best way to describe one is a fusion between a banana and carrot cake (minus the carrots).   Hummingbird cake is almost always frosted with cream cheese icing and flavored with pineapple bits, cinnamon/nutmeg, bananas, and pecans.  Win-win all around.  Add 4 eggs and we're talkin' flavor city.

This trifle was prepared especially for my Dad's birthday.  This was the first time I had been home in nearly 6 years to celebrate the occasion, so something massive was in order.  And since trifle's and I are BFF's these days, I figured my Dad would probably love them too. 

Just a bit about trifle's if you've never made one.  First, a trifle is almost always fool-proof.  Anyone can make a trifle look good, even if you are a hot mess in the kitchen.  Just pick a base (a cake or brownie), pick a filling (pudding, cool whip, frosting, whipped cream) and then layer in between a crunchy texture (candy, nuts, cookies).  As long as your layers are somewhat even, your trifle will be just dandy, promise.

And since frosting a cake is my least favorite task, I tend to make trifles instead whenever I can.  In my opinion trifles pack WAY more flavor and texture than any ole' ho-hum cake.  You can literally layer-in any cookie, candy, fruit, chopped nut, ANYTHING!  Seriously the combinations are endless.  It's a great way to get creative during the holidays too...for example, you can use my Oh-Ho-Ho Now that's a Christmas Trifle recipe for ANY holiday, just use different food colorings and candy combinations depending on the holiday - genius, I know.

Hummingbird Cake & Vanilla Cream Cheese Pudding Trifle
printable version

Ingredients

For the Cake:
3 cups self-rising flour
1 teaspoon cinnamon
1/2 teaspoon nutmeg
1 teaspoon salt
2 cups sugar
3/4 cup vegetable oil
4 eggs, beaten
2 very ripe large bananas, mashed
1 (8 ounce) can crushed pineapple, with juice
1 teaspoon pure vanilla extract
1/2 cup pecans, chopped

For the Pudding:
1 and a half tubs (8 ounce each) Cool Whip - 12 ounces total
1 (14 ounce) can sweetened condensed milk
8 ounces cream cheese, softened
2 cups milk
1 (4 to 5 ounce) box instant vanilla pudding (very important to buy instant only!)

1/4 cup Malibu Rum
10-15 Keebler's brand Sandies Pecan Shortbread Cookies, crumbled
1 bag Hershey's HEATH Milk Chocolate English Toffee Bits

Remaining half tub of cool whip (left over from pudding), for garnish

Directions:

Preheat oven to 350 degrees Fahrenheit.  Grease a 9x13 inch cake pan.  I use a sandwich baggie as a glove to make this step easy:

 
Dust with flour and knock out excess.  Set aside.

 
Sift together the flour, salt, cinnamon, and nutmeg.

 
Whisk to combine.

 
I typically use a potato masher for my bananas:

 
In a large bowl combine the bananas, sugar, oil, pineapple, beaten eggs, and vanilla. 

 
Gradually fold in the dry ingredients in 3 additions.

 
Just before the dry ingredients are fully incorporated, fold in the pecans to combine.

 
Pour batter into the prepared pan and bake for 35-40 minutes or until the top springs back when gently pressed with your finger tips.
 
 
Allow cake to fully cool on a wire rack.

 
*Note: Although I didn't do this step with my trifle, I would HIGHLY recommend to brush the cake with the Malibu Rum once it's cool.  I found the finished cake needed a kick and I think the rum would have done the trick.  Just be sure to poke the cake all over with a fork before brushing on the rum.  This step ensures the alcohol will be fully absorbed into the cake.  Also, do not remove cake from pan as it helps to keep the moisture in.  Place cake in the fridge for at least 2 hours prior to assembling the trifle to allow the rum to penetrate.
 
Once the cake has cooled (and marinated if using the rum), prepare the pudding.  In a medium bowl whisk together the milk and pudding mix.  Be sure to beat well to dissolve the powder.

 
In a large bowl, beat together the sweetened condensed milk and cream cheese with a hand mixer until smooth and no lumps remain (it's important to use room temperature cream cheese to avoid any lumps). 
 
 
Fold in the Cool Whip.

 
Fold in the pudding mixture (which should be slightly thickened by now).  Combine until no streaks remain.  Do not over-mix.

 
To assemble the trifle, place a layer of crumbled cake in the bottom of your trifle dish (crumble with your hands).  *Note: I cut off the edges of the cake as they were a bit tougher than the center, thus making it more difficult to crumble.  

 
Crumble about 4-5 cookies on top of the cake layer:

 
Sprinkle approx. 1/4 cup of the HEATH Toffee Bits over the cookies:

 
Spread HALF of the pudding mixture over the toffee.  Use the back of a spoon to smooth it out.

 
Follow with another layer of cake, cookies, toffee, and remaining pudding.


Top with the remaining Cool Whip (I leave a small border so the pudding shows under the Cool Whip) and top with the remaining toffee bits and a full cookie as garnish.
 
 
Enjoy!

 
cake recipe adapted from Martha Stewart
pudding recipe adapted from Paula Deen
 

Jul 11, 2013

Kiwi, Lime, & Mint Sorbet with Raspberry Sauce in a Cookie Cup


I recently received another oh-so-amazing and damn-I’m-lucky shipment of Zespri Kiwi.  However, this time I was sent a box of Zespri Gold Kiwifruit:
 
 
You may recall a few weeks back they sent me a shipment of their green kiwis which I used to make the Malibu Rum Glazed Kiwi & Coconut Cake:
 
 
And seriously not trying to brag but check out the goodies they sent along with the gold kiwi...I didn't even want to share with my kid. Horrible mother I am. 


The Zespri Gold Kiwifruit is a totally unique and one-of-a-kind type of kiwi.  It was bred from one seedling planted in 1992!  From that single vine grew 4,000 hectares of Zespri Gold Kiwi worldwide.


And this may look like a kiwi, but the taste is nothing what you would expect.  First they are much softer and sweeter than your average green kiwi (and I found easier to peel).  But the tastiest surprise was they have a tropical undertone; a sweetness almost like a pineapple.  Total Bahama-Mama party for taste buds.


Kiwi’s are one of my top favorite Super Foods.  They are LOADED with Vitamin C (almost twice as much as an orange, who knew?!) and 3 more times than a lemon!  They are also filled to the brim with antioxidants (your skin with thank you) and are rich in fiber too (think more fiber than 4 stalks of celery…and who wants to eat celery?!?)  And if you’re looking to add more potassium to your diet, kiwis have almost as much as one banana.  All that goodness in one cute, fuzzy lil kiwi, amazing.
 
The idea for this recipe actually came from my husband.  Shocking, since you can label him as Mr. 'I-would-only-eat-from-cans-if-it-wasn’t-for-my-wife.’  I sliced him up a gold kiwi shortly after they were delivered and he said ‘wow this is the best kiwi ever’ (promise I’m not just saying that to be nice) and then goes on to say, ‘but they would be even better frozen, like in a cocktail.’  Well, yeh I agree but I’m 5 months pregnant so that wasn’t going to work.  So the next best thing to happy hour is sorbet.  And with the gold kiwi’s being so sweet, a sorbet would for sure be a hit.
 
And if you’re a reader of my blog, you know I either go big or go home, so I wasn’t going to stop at a cute little scoop of sorbet, that’s a bit too dainty even for me.  I also knew the sorbet would need a brightly contrasting sauce since the color of the kiwi’s are a pale yellow.   Then, why not finish it off with an edible bowl, since you know cones are soooo last season.
 
 
Kiwi, Lime, & Mint Sorbet with Raspberry Sauce in a Cookie Cup
makes 8 servings
 
Ingredients

For the Sorbet:
12 Zespri Gold Kiwifruit, peeled and coarsely chopped
2-3 tablespoons lime juice (or more to taste)
2 tablespoons mint (or more if you prefer), coarsely chopped
1 cup water
¾ cup sugar 
 
For the Raspberry Sauce:
One (15 ounce) package frozen or fresh raspberries *a slightly larger package is okay, it won’t impact the flavor and you can always add more sugar to taste
1/3 cup granulated sugar
 
For the Cookie Cups:
1/4 cup Butter flavored Crisco*
1/4 cup butter, room temperature*
1/3 cup white sugar
1/3 cup brown sugar
1 egg
1 teaspoon vanilla extract
1/2 teaspoon salt
1/4 teaspoon baking powder
1½ cups all purpose flour
¼ cup crushed McVitie's HobNob cookies (or anything similar…you can also leave it out all together)
 
*no substitutions for the Butter flavored Crisco or the butter.  You can't sub one for the other; the recipe requires both.  If you use all butter, the cups will spread too much during baking.  If you use all Crisco, that won't taste good either, plus it helps make the cups easier to form.  I am not a fan of Crisco but for this recipe it works AND tastes good, promise.
 
Directions

Before starting the sorbet, prepare a simple syrup using the water and sugar.  Mix together in a small saucepan over medium-high heat and bring to a boil.  Boil for about 5 minutes or until it thickens and no granules of sugar are left.
 
Transfer to a measuring cup with a spout and refrigerate to take the heat off.  It doesn't have to be very cold, but don't use it hot.
 
 
Add the kiwi, lime juice, and mint to the bowl of a food processor.  Process until smooth and no chunks of kiwi remain (I think a blender would work great too).

 
Slowly pour the simple syrup down the tube of your food processor and blend until combined, about 5-10 seconds.
 
 
Transfer mixture to a loaf pan.  Cover tightly with aluminum foil and freeze for about 1 hour.
 
 
Remove pan from freezer.  At this point the sorbet will be semi-solid.  Give it a good stir and place back in the freezer until firm, about 2-3 hours.
 
 
Meanwhile, to prepare the cookie cups, preheat oven to 375 degrees Fahrenheit.   Combine the butter and sugars in the bowl of a stand up mixer and beat until light and fluffy, about 5 minutes.
 
 
Add the egg and vanilla and mix to combine.
 
 
Place a sieve over the mixer bowl and sift in the flour, salt, and baking powder.
 
 
Place a kitchen towel over your mixer (to help avoid flour flying everywhere) and mix in the dry ingredients until just combined.  Do not over-mix.

 
Add the cookie crumbles and mix to combine.
 
 
Form dough into disc and wrap tightly with plastic wrap.  Refrigerate for at least an hour to firm up. 
 
 
Take two standard sized cupcake pans and turn them upside down.  Cover every other one with foil.
 
*The original recipe said to roll out the dough and cut into circles to form the cups over the muffin tin.  I tried this but my dough was way too sticky.  In Dubai the temp has been almost 110F with 80% humidity, so this could have been a factor.  In any case, my cups still worked by taking a portion of dough a little larger than a golf ball and pressing/forming it around the muffin tin, smoothing the sides and top.  I think either method will work just fine.


Bake for 10-12 minutes until slightly golden brown.  Let the pans cool for 5 minutes.  Gently remove the cups from the pan.  If you find one of the sides is stuck, gently use a sharp knife to help remove.  
 

 You’ll see here that a portion of my aluminum foil baked into the cup…don’t worry if this happens it’s an easy fix!  Gently take a sharp knife and pull the foil out (it shouldn’t tear and will easily come out).  However you must do this asap, do not wait for the cups to cool!!!  They are still soft at this point and somewhat pliable.  If you wait to do this step after they cool the cups could break.  Gently remove all the foil. 
 
 
Leave the cups to finish cooling on a wire rack.
 
 
To prepare the raspberry sauce, place frozen raspberries in a medium sized fry pan over medium heat and cook until defrosted.  *If using fresh berries, you can add the sugar right away.

 Once the berries start to break down, add the sugar.
 

Cook until the mixture begins to thicken, about 3-4 minutes.  Stir occasionally to prevent sticking. 
 

Remove berries from heat.  Place a fine sieve over a bowl and transfer berries to sieve.  Using a small spoon or spatula, press the mixture through the sieve.  You want to remove all the seeds from the sauce.  Be sure to scrape the underneath of the sieve as sauce will accumulate there.  Cover bowl with plastic wrap and refrigerate until cool.
 
 
To assemble, use an ice cream scoop to scrape out the sorbet from the pan.  About two scoops will fit inside the cookie cup.  Pour the raspberry sauce and top with fresh kiwi.


Enjoy!


 Cookie Cup recipe adapted from Coleen's Recipes