Showing posts with label Brownies and Bars. Show all posts

Dec 1, 2013

Sweet n' Salty Peanut Butter Candy Corn Bars with a Shortbread Crust


The pure insanity of an idea like this one came from an over-abundance of candy corn in the house.  Plus Mellowcreme pumpkins (which are made from the same who-knows-what-the-heck-chemical-over-load-but-damn-they're-tasty ingredients of candy corns...just manufactured in a different shape) lose their wow factor after Halloween and mid-November as you start to change gears into Christmas mode.  Halloween candy step aside...all things peppermint and eggnog all aboard.

So, just to what to with ALL that candy corn (or mellowcreme pumpkins)?  Melt them of course.  Once melted a plethora of options are on the table.  I had come across a recipe for homemade butterfingers using melted candy corn which is where the idea for these bars started.  I figured since the pumpkins were so sweet already why not add some salty undertones (the shortbread crust and salted peanuts) to balance things out.  Then of course melted chocolate on top...I mean it would be silly to have salty shortbread, peanuts, marshmallow, peanut butter, and NO chocolate?  Oh no, that's not how we run things around here.

Lastly these are super easy...just a few steps along the way but really they are pretty fool proof.  Just be careful when melting the pumpkins/candy corn in the microwave.  Treat them like you would chocolate.  You don't want to heat them for too long or they'll burn and seize. 

Then you'll be left with a giant bowl of grumpy-hardness that will be impossible to salvage. 

Then you'll wish you never melted them at all since it will be another year till they'll be back on the shelves and at that point all you'll want to do is eat them but they're melted (burned).

Then you'll blame me for tempting you with my sassy bars. 

So just take it easy with the microwave is all I'm sayin.


Sweet n' Salty Peanut Butter Candy Corn Bars with a Shortbread Crust
makes about 16 large bars
 
Ingredients
 
For the crust:
1 1/2 cups crushed shortbread cookies
3 ounces unsalted butter, melted
1/4 cup sugar
1/2 teaspoon salt
 
For the filling:
3 cups candy corn or mellowcreme pumpkins
1 1/2 cups creamy peanut butter
2 teaspoons vanilla extract
 
For the topping:
2 cups chocolate chips
1/2 tablespoon vegetable shortening
3/4 cup dry roasted peanuts, coarsely chopped
 
Directions
 
Spray a 9x9 pan with non stick spray and set aside.  Combine the crushed shortbread cookie crumbs with the butter, sugar, and salt in a medium sized bowl. 
 
 
Use a fork to combine until the mixture resembles coarse sand.
 
 
Press crust mixture into the bottom of the pan and freeze for about 30 minutes until firm.
 
 
Remove pan from freezer.  Place pumpkins and/or candy corn in a large heat safe bowl. 
 
 
Microwave for one minute.  Stir and reheat for an additional 30 seconds.  Stir and continue to heat for 10 second intervals (stirring after each) until no lumps remain and mixture is smooth.


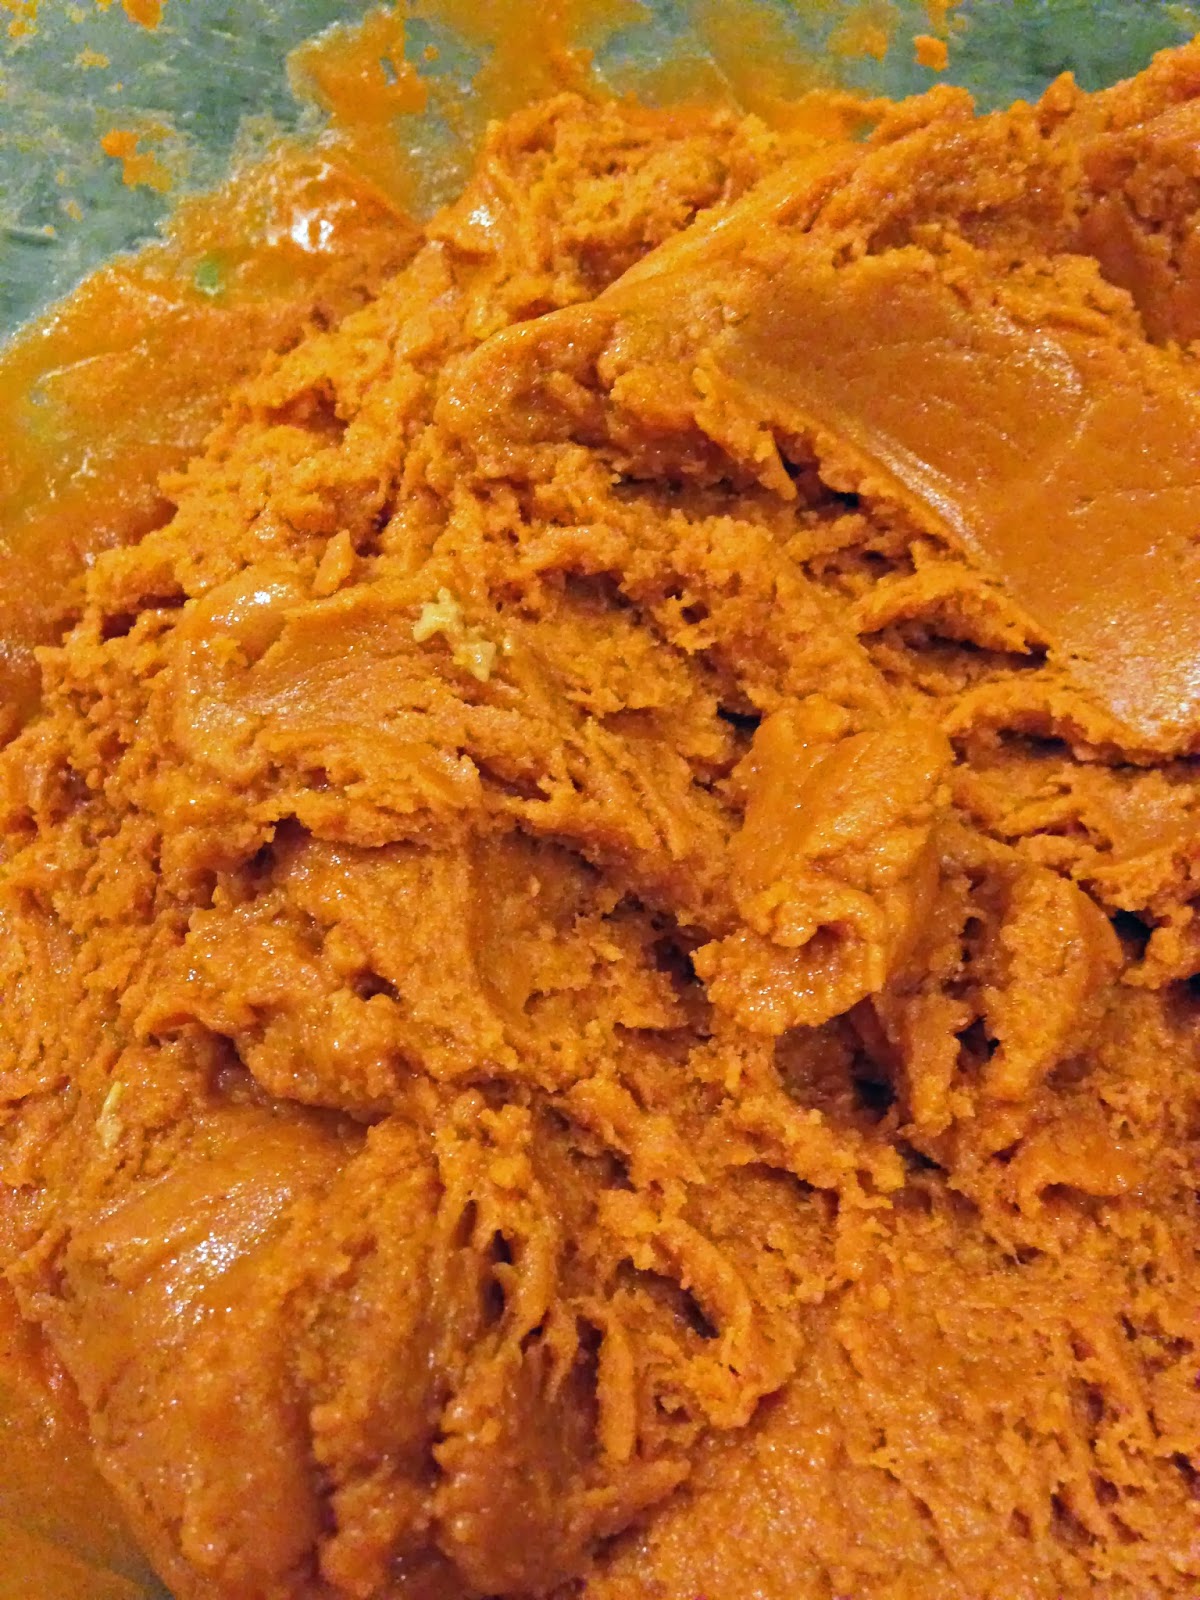
Add peanut butter and vanilla extract and mix till combined.  Mixture will be very thick and almost dough-like.


Press filling mixture into the pan using your fingers making sure it's even and smooth (it will feel almost like modeling clay).
 
 
Place pan in the refrigerator to chill for about 30 minutes.
 
To prepare the topping, place the chocolate and shortening in a microwave safe bowl.  Heat for one minute, remove and stir.  Reheat for an additional 30 seconds, remove and stir.  Continue to heat for 10 second intervals (stirring after each) until smooth and no lumps remain.
 
 
Add the chopped peanuts to the melted chocolate and stir to combine.
 
 
Pout melted chocolate and peanuts over the filling layer.  Use an offset spatula to make sure the chocolate is even.
 
 
Place pan back in the refrigerator for about 30 minutes to allow the chocolate to firm up.  Remove from fridge and allow to sit at room temperature for about 15 minutes (making them easier to cut). 
 
 
Cut into bars and enjoy!
 
Filling recipe adapted from Elizabeth LaBau

Nov 19, 2013

Arabic Sweets (aka Baklava) Magic Bars


Do you ever end up with too many sweets in the house?  You start to shake knowing your willpower has no chance of survival and diabetes will eventually kick in if you don't do a massive sweep of the pantry?  This typically happens to me at the holidays...or any time I open up my freezer.  See I'm baking so often that my husband cannot keep up.  He tries, bless him.  But for the most part everything ends up in the freezer safely kept for guests or anyone willing to take it home.

So after scoring on Halloween, having both our mother's here visiting to see the new baby (coming armed with treats from back home) and my non-stop baking parade...we officially over-dosed on sugar.  My MIL brought us a giant box of Arabic Sweets from Lebanon this past week and I just thought oh God please no.  Arabic Sweets (aka Baklava) are the supreme sweet: crunchy, flakey, gooey, and oh-so-nutty...the ultimate temptation on top of the Willy Wonka sugar-fest I've got happening in the house I knew something had to give.


So what the hell did I do?  I took something so amazingly sweet and amped it up, oh a million.

I guess I figured if I incorporated these sweets into another type of dessert at least they'd be off my counter...and eventually into the freezer.  Out of sight, out of mind.

Magic Bars (also known as Seven Layer Bars) are an American classic.  The recipe is pretty standard but can be easily changed up depending on the season or what you have in the pantry.

The original recipe uses graham cracker crumbs and melted butter for the crust.  In my recipe I swapped out the graham crackers for chopped up Arabic sweets.  Let me tell you it killed me to chop up all those sugar-syrup-sinfuls but it had to be done.  And trust me it was oh-so worth it.  Next up is a layer of sweetened condensed milk that's topped with chocolate chips, walnuts (I used pistachios since they were also used in the Arabic sweets), and coconut.  Bake it off and let the milk do it's magic and what you're left with is heavenly gooey goodness.  They turn out perfect every single time, it's definitely a foolproof recipe.
 
Seriously you gotta try these.  Revolutionary if you ask me.  I like to think of this recipe as the perfect example of my multi-cultural family.  Half American, half Lebanese...but 100% awesome. 
 
Arabic Sweets (aka Baklava) Magic Bars
makes about 15 bars
printable version

Ingredients:
 
3 1/2 cups coarsely chopped Arabic sweets (baklava)
2 ounces unsalted butter, melted
1/4 cup plus 2 tablespoons granulated sugar
1 (14 ounce) can sweetened condensed milk
2 cups white chocolate chips
1 1/3 cup coconut flakes
1 cup pistachios, toasted

Directions:
Preheat oven to 350 degrees Fahrenheit (325 if using a glass dish).  Spray dish with non-stick spray.

Coarsely chop up Arabic sweets (don't use a food processor, by hand is fine.  The crust should be somewhat chunky) and transfer to a medium sized bowl.  Add the melted butter and sugar.  Mix to combine.

 
Firmly press crust mixture into the bottom of the prepared dish. 

 
Pour sweetened condensed milk evenly over the crust.  Use a spatula to ensure it reaches the corners and sides of the dish.


Evenly layer the white chocolate chips, coconut, and pistachios over the milk.


Using the back of a fork press down firmly to compact.

 
Bake for 20-25 minutes until slightly golden.

Remove from oven and allow to cool completely on a wire rack.  I find these are much easier to cut when cool.  Place in the fridge for at least 30 minutes prior to serving.

 
Enjoy!


recipe adapted from Eagle Brand

Oct 17, 2013

Chewy Cocoa & Oatmeal Bars with Peanut Buttery Milk Chocolate Topping


These bars are based off of a recipe I came across for Oh’Henry Bars.  After doing a big of research on the O-bars…I realized the two are not even close. 
 
Let’s recap.
 
Oh’Henry Bars:
 
Awesomeness of peanuts, caramel, AND fudge covered in Milk Chocolate.  I mean come on look at it…even Superman’s willpower couldn’t deny inhaling that one.
 
So I changed the name to the recipe I found, added some Hershey’s Special Dark Cocoa and tweaked the recipe slightly.  And the results?  Oh damn these ones are good too.  Maybe not as close to perfection as the Oh’Henry Bar, but as close as one can get in a domestic kitchen.  And don’t they look healthy?!  They are soooo not, but just sayin’.  Look at all those healthy oats, how could you feel guilty eating oats?!  Just tell yourself you’re snacking on a granola bar.  But like a really fantastic peanut buttery chocolate one. 
 
 
Chewy Cocoa & Oatmeal Bars with Peanut Buttery Milk Chocolate Topping
Makes about 15 bars
 
Ingredients 
 
For the Bars:
4 cups rolled oats
1 cup brown sugar, packed
2/3 cup unsalted butter, room temperature
½ cup corn syrup
2 teaspoons vanilla extract
½ teaspoon salt
1/3 cup cocoa 
 
For the Topping:
1 cup smooth peanut butter
1 ½ cups milk chocolate chips
 
Directions 
 
Preheat oven to 350 degrees F.
 
Combine oats, brown sugar, butter, corn syrup, vanilla, and salt in the bowl of a stand-up mixer (hand mixer is okay too). 
 
 
Sift in the cocoa.
 
 
*Always be sure to sift your cocoa to remove lumps like these.  Gently push them through the sieve.
 
 
Mix on medium until thoroughly combined.
 
 
Transfer and press mixture to a 9x13 pan that has been greased well (I used spray Pam but shortening or butter would also work). 
 
 
Bake for 12 minutes and remove from oven.  Let cool for about 15 minutes.
 
To prepare the topping, combine the peanut butter and chocolate chips in a microwave safe bowl and microwave for one minute. 
 
 
Remove and stir. If you’re mixture is still quite lumpy, heat again for 10 seconds.  Remove and stir until no lumps remain and the mixture is smooth.  *If you still have remaining chocolate pieces in the bowl, continue to heat on 10 second intervals stirring after each until topping is smooth.  Be careful not to over-heat as the chocolate can burn easily in the microwave.
 
 
Pour topping over the slightly cooled bars and let cool on the counter for about 15 minutes.  Cover with plastic wrap and place in the fridge until topping has completely hardened, about 1-2 hours.  Cut into bars and enjoy! 


Bars adapted from allrecipes.com

Oct 4, 2013

Cap'n Crunch Berries Marshmallow Bars with Sweetened Condensed Milk Buttercream

Ideas for recipes like this occur after 8 and half months of pregnancy and healthy eating.  Oh I’ve just had it.  It’s my last couple of weeks, why not party like you have the metabolism of an 8 year old.

AND it’s not my fault.  Usually I don’t buy sugar loaded cereal.  Really I don’t!  I try to start out my day healthy at breakfast; however it usually goes downhill from there.  So the other day while I was grocery shopping at a store known for its American imports, I spotted that big happy Captain just calling my name.  Plus it was lunch time and I hadn’t eaten yet.  So in the cart he goes and before I know it we’re rolling down the freeway with my hand shoved happily into the box not caring about all those freaky E numbers.  They must mean E for Excellent!  Am I right?
 

Okay so I also bought a bag of marshmallows AND two jars of marshmallow fluff…like I said, it was lunch time and I was hungry. Once I got home it was like the marshmallow Gods were calling to me and said, Crunch Berries Bars

Yes we could have easily stopped there, but every bar needs an accessory (aka frosting) so I thought why not let the topping have a milky flavor so you can somewhat tell yourself it’s just like a bowl of cereal in bar form. But like way, way better.
Ahoy Matey, let’s get crunchin.

Crunch Berries Marshmallow Bars with Sweetened Condensed Milk Buttercream
makes approx. 15 bars

Ingredients
For the bars:
4 tablespoons (2 ounces) unsalted butter
1 (10.5 ounce) bag mini marshmallows
6 cups Cap’n Crunch Berries cereal

Non-stick spray

For the Buttercream:

6 tablespoons (3 ounces) unsalted butter, room temperature

3 cups powdered sugar

¾ cup sweetened condensed milk (plus 1-2 tablespoons if frosting is too thick)
2 teaspoons vanilla extract
 
Directions:
To prepare the bars, spray a large stock pot with non-stick spray.  Add butter and melt over medium heat.
 
Add marshmallows and stir until melted.


Remove pot from heat and add cereal.  Using a spatula that’s been sprayed with non-stick spray, gently stir cereal into marshmallow mixture until thoroughly coated.
 
 
Transfer mixture into a 9x13 inch pan that has also been sprayed with non-stick spray.  Use the back of the spatula to compress the cereal mixture into the sides of the pan making sure the surface is even.  Let sit about 30 minutes to cool.
 
 
To prepare the buttercream, beat butter in the bowl of a stand up mixer until light and creamy, about 2-3 minutes. 
 
 
Sift in the powdered sugar and mix on medium speed, one cup at a time. *It's very important to sift your sugar to avoid lumps in the frosting.  Scrape down the sides of the bowl after each addition.
 
 
With the mixer running on low, slowly add the sweetened condensed milk and vanilla to the butter mixture.  Turn off mixer, scrap down sides of bowl and mix on medium speed for about one minute until frosting is light and fluffy.  *If you find the frosting is too thick, add an additional one tablespoon of sweetened condensed milk until desired consistency is reached.


Using an offset spatula, spread buttercream over the cooled bars.  Top with sprinkles if desired.

 
I found the bars are much easier to cut if they are refrigerated for about 30 minutes after they’re frosted.
Enjoy!