Showing posts with label snackies. Show all posts

Aug 19, 2013

Chunky Hunky Peanut-Buttery Happy Chow


Ok not the best photo here, BUT geeze I must have tried to photograph this 50 different ways and it just kept coming out slightly blurry and looking, well…hmm healthy.  Not a look I go for on this blog.  Heath nuts keep clicking…you’re not going to like what you see here.
 
Anyway, this is yet another take on the famous ‘Puppy Chow’ drowning the boards on Pinterest.  But there is a reason this ‘God take it away from me I can’t stop picking’ snack is so popular, it’s insanely good, and equally easy to make.  Not gonna lie, I pretty much cleaned out my pantry to put this one together.  Really anything works with Puppy Chow (ick I hate calling that, if you didn’t know better you’d seriously think I’m whippin’ up dog food).  
 
Here’s my all-star lineup for the recipe:
 
 
Chow mein noodles
Kri-Kri (peanuts covered in a cracker coating, made by most Lebanese nut manufacturers)
Mini marshmallows
Mini chocolate digestive biscuits
The best part about making a batch of Puppy Chow (::sigh:: let’s just call it Happy Chow instead, okay?) is you can substitute any of the additions.  Swap out the biscuits for cereal, marshmallow for M&M’s, peanuts for pretzels…get where I’m going here?  Anything is possible; add whatever you love (or in my case, whatever is hangin’ around)

Chunky Hunky Peanut-Buttery Happy Chow
printable version
 
Ingredients
3 cups chow mein noodles (the snacking kind, not ones that need to be pre-cooked)
1 ½ cups salted peanuts (I used Lebanese Kri Kri)
3 cups mini marshmallows
3 cups mini chocolate digestive biscuits (or mini Oreo’s/cereal/anything you’ve got on hand)
1 cup chocolate chips
½ cup Skippy Dark Chocolate Peanut Butter (or regular or Nutella will work too)
¼ cup butter
¼ cup shortening
2 cups powdered sugar

Directions:

In a microwave safe bowl, combine the chocolate chips, peanut butter, and butter. 

 
Microwave for 1 minute and then stir.  Add the shortening and microwave for another 30 seconds and stir again. 

 
*If the mixture has remaining lumps, continue microwaving for 10 second intervals, stirring afterwards, until smooth and melted.

Combine the chow mein noodles, peanuts, marshmallows, and biscuits in a large bowl and gently toss with your hands to combine.

 
Pour the chocolate mixture over the dry mix.  Use a large spoon to gently combine.  Be careful not to break the noodles and biscuits.


Add powdered sugar to a large zip bag. Spoon in the chocolate mixture. Close bag and toss until fully coated.


Pour mixture onto baking sheets lined with wax paper. 

 
*If you find some of your mix has clumped up, dust with additional powdered sugar and break apart with your fingers.

 
Allow to set up on waxed paper until chocolate is no longer melted and hardened slightly.  Store in air-tight container.


recipe adapted from Inside BruCrew Life


Apr 22, 2013

2nd Birthday Treats!

If you're a follower of my blog, you may have noticed I have been MIA...I have a very decent alibi...I'm pregnant!

I had a nasty month of morning sickness (hah! what man invented that phrase, it's been all-day long sickness, thank you very much) that sentenced me to lots of downtime with little desire to bake...or even get out of bed for that matter.

But I'm back, and I'm hungry.

Before I get back into the kitchen I want to share a few treats with you that I made for my son's 2nd birthday last week.  There was no way I was going to let his special day go by without making one hell of a birthday cake, regardless of how I felt.

As you may know I pride myself on always sharing with you step-by-step photos of my creations, but I'm sorry lovely readers I just didn't have the energy with these ones to post photos along the way (except for the White Trash Monster Mix...that was pretty painless to throw together).  However thankfully I borrowed the recipes from two other amazing mom's and food bloggers who have excellent photos to show you how to get there.

Lemony Funfetti Cake with Vanilla Bean Buttercream

(covered with Smarties that I just could not get to angle properly...I should have just said I let my son decorate it!!!)


Lemony Funfetti Cupcakes (same recipe as the cake) with Marshmallow Buttercream


White Trash Monster Mix (shown lower left)


Ingredients
 
3 1/2 cups Cheerios
6 cups Chocolate Chex cereal (or any combination of your favorite Chex flavors)
16 ounces Plain M&M's
2 cups mini marshmallows
2 cups pretzels, broken into bite sized pieces
2 (11 ounce) packages white chocolate chips *(I used 2 white chocolate bars since I only had one bag of chips)
 
Directions
 
 
Find the largest bowl you have. Like a HUGE one. Mix all of the ingredients together, except for the white chocolate.  

 
Divide the mixture onto cookie sheets lined with waxed paper.  


Melt the white chocolate in the microwave or in a double broiler until smooth and no lumps remain. Melt slowly and stir often to avoid burning. Divide the white chocolate among the three pans, simply pour over and eye-ball the amount for each. 


 I used two spatulas, one in each hand to coat the cereal/candy mixture.

 
Allow to sit at room temperature until the chocolate has solidified again.  Break into pieces and try not to each the entire batch.  This stuff is deadly addictive.  A word of caution however, I stored mine in large zip-lock bags and I found on the second day it was starting to get soft.  Try storing in an air-tight container if you're not eating this right away.  Which is almost next to impossible.
 
I found myself nibbling on this in the mornings...I mean it's cereal, so it's okay. 
 
Recipe Links:
 
Lemony Funfetti Cake (and cupcakes) from Baked Bree
 
Vanilla Bean Buttercream from Glorious Treats
 
Marshmallow Buttercream also from Baked Bree
 
White Trash Monster Mix adapted from Alton Brown 


Apr 29, 2012

Home Made Vanilla Marshmallows

Yes it is true.  Once you've tried a home-made marshmallow, the bagged kind will be a forgotten memory.  Well, maybe except during the holidays when Jet-Puffed makes the pumpkin ones.  Those are pretty darn good too.


Now I am not going to lie to you.  These are kind of a pain to make.  They were a bit of a tease actually.  The ingredients came together fairly easily and once you pour the mixture into the pan you are giving yourself lots of pats on the back, yay me!  Then you wait.  6 hours to be exact.  You've got to give them time to cool down and firm up.  6 long hours of staring at that pan thinking 'aren't you done yet?!?'

Then comes the time to cut.  There you stand with your sharp knife, powdered sugar, and goofy grin.  Then, it happens.  You stick the knife in and it doesn't come out.  *uck.  So you saw back and forth a bit to get the knife loose and then the marshmallow really gets fussy and start to stretch like Gumby.  Goofy grin fades, lower lip protrudes.  Not a good time.

Gumby

I had to make two batches to be honest.  The first batch I rushed through and didn't convert the gelatin properly (the original recipe calls for sheets of gelatin, not the powdered like I was using).  So I ended up with WAY too much gelatin and the m.mallows jiggled like jello.  Icky white jello.

After doing a bit of research I sorted out what the problem was.  You should ALWAYS weigh gelatin.  Forget volume measurements, it's all about the weight here.

The second batch was better but still not puffy and thick like the picture in my cookbook.  By the way this recipe comes from my favorite bakery ever (and I haven't even visited them yet) Baked


Baked is located in Brooklyn and was founded in 2005 by two friends Matt Lewis and Renato Poliafito. These guys know, understand, and appreciate 'Americana' baking. Every single recipe is something I would love to share with you.  If you live near Brooklyn, go pay their shop a visit. I can guarantee they will not disappoint. If you can't make it out, please pick up their cookbook...I'd love to test all their recipes but damn then I'd give it all away for free. Gotta show these boys some love.

aren't they so stinkin' cute.


Anyway, where were we? Baked & Boys threw me off.  Oh yeh, the puffyness.  They looked a bit deflated, almost like they were in desperate need of a marshmallow viagra...yikes.  I'm really not sure where I went wrong here.  If anyone out there is a marshmallow magician, please email me and let me know what you think?

For sure it's not the recipe so don't let that discourage you from giving these sweet puffs a try.  Although mine were a bit on the flat side they still tasted quite spectacular.  They have that very specific marshmallow sweetness but it's completely intensified compared to the store-bought kind.  I found they were much easier to handle the next day after they had time to rest and harden up a bit.

I'm not sure what one would do with a whole plate full of deflated marshmallows.  These were supposed to be a gift for a very ready-to-pop pregnant friend, but I'd feel a bit silly sharing them with anyone in their sad state.  I might use them in this popcorn cake recipe...makes rice krispy treats look so last season.


Vanilla Marshmallows
for a printable version click here

12 sheets of gelatin (or .75 ounces of powdered gelatin)
2 cups sugar
1 cup light corn syrup
2 teaspoons vanilla extract
1/8 teaspoon salt
1/2 cup sifted powdered sugar, plus more for dusting

Grease a 9 x 13 x 2 inch pan with vegetable shortening.  I used a sandwich baggie as a glove.  Be sure to coat the pan well and don't miss any of the edges or sides.  Set aside


If you are using the gelatin sheets, place them in a medium or large heatproof bowl.  Fill bowl with very cold water and set aside.  Add a few ice cubes to keep the water cold.

If you are using powdered gelatin, place about 1 cup of ice cold water in a medium sized heatproof bowl.  Lightly sprinkle the gelatin over the surface of the water.  Do this slowly and don't just dump it in as it could cause the gelatin to clump.


In a medium saucepan, gently stir together the sugar, 1/2 cup of the corn syrup, and 1/2 cup water.  Be careful not to splash the mixture around as it will harden up on the sides of your pan.  Put the saucepan over medium-high heat and clip a candy thermometer on the side of the pan.


Fill a medium size saucepan half way with water and place on the stove over medium-high heat (aka a double broiler).

Put the remaining 1/2 cup corn syrup in a bowl of a stand up mixer fitted with the whisk attachment and set aside.

Return to the saucepan of water and check the temperature.  When the temperature reaches 220 degrees F drain the water from the bowl of gelatin and gives the sheets of gelatin a quick wringing out.

If you are using the powdered gelatin, pout the entire bowl (ice water and gelatin) through a strainer with very very tiny holes.  Don't use a pasta or vegetable strainer otherwise you'll lose the gelatin down the drain.


Place the bowl of gelatin over the saucepan on simmering water and stir the gelatin with a heat safe spatula until it is completely melted.  Remove the bowl from the pan.


Turn the mixer on  low speed and slowly pour the melted gelatin into the corn syrup.  Keep mixer on low.

Bring the sugar mixture to the soft ball stage on the candy thermometer (235-240 degrees F), then remove from heat.  Remove the thermometer from the pan.  Turn up the mixer to medium for 1 minute, then slowly pour the sugar mixture into the gelatin mixture.  When all of the sugar has been added, turn up the mixer to medium-high and beat for about 5 minutes.

The marshmallow mixture will finally start to look like marshmallow and become white and fluffy. 


Add the vanilla and salt and turn the mixer up to its highest speed for another minute.  This was the first time I've ever used that speed.  I thought the mixer was going to take off.

Working very quickly, pour the marshmallow into the prepared pan.  Use an offset spatula to spread the mixture evenly.  Sprinkle with a bit of powdered sugar and let sit for about 6 hours. 


Lightly dust your kitchen counter with powdered sugar.  Use a knife to loosen the marshmallow from the edges of the pan and use your hands to pull the marshmallow (it will come out in one big piece) out of the pan onto your counter.


Place 1/2 cup of the powdered sugar into a bowl.  Use a chef's knife to cut the marshmallows into a 6 x 8 grid.  Roll each marshmallow in the powdered sugar.  I found that the best way to cut was to really chop down hard with a lot of powdered sugar sprinkled on top.  When I say a lot, I mean it.  You can't over-do it with the powdered sugar while you're cutting as it won't absorb into the marshmallow.  If you feel your knife sticking, sprinkle powdered sugar on top of it (even if it's stuck, this will help it loose).


Store in an air-tight container for up to 1 week.


Marshmallow recipe from the cookbook Baked: New Frontiers in Baking by Matt Lewis and Renato Poliafito

Mar 7, 2012

Nutella Chow

PARTY FOOD!!!

This is the first recipe I've tried off of Pinterest, my new bestie.  I'm completely and totally addicted.  Everything you've been looking for your whole life is there, mostly things you never even knew you loved, until now.

Like Nutella Chow.

This one is so stinkin' easy your kiddos could help you whip it up.  Well, not mine...he's still a peanut but I let him lick the bowl anyway.

Next time I make this (and there will for sure be a next time) I will be a bit more adventurous.  I think you could add just about anything to the mix and it would be awesome.  For example, throw in some mini marshmallows, nuts, M&M's, choco chips...you get me.

Just be aware, this makes a HUGE amount.  Like a whole cereal box worth.  So be generous and spread the love to everyone you know.  There is plenty to go around.

Nutella Chow

*for a printable version click here

Ingredients:
1/2 cup (4oz.) butter
1 cup Nutella
3/4 cup chocolate chips
3/4 cup white chocolate chips
2/3 cup hazelnuts
13 cups (12oz) box of cereal, Crispix, Oat Crisp, or Chex.  Really your preference here.
3 cups powdered sugar

Directions:
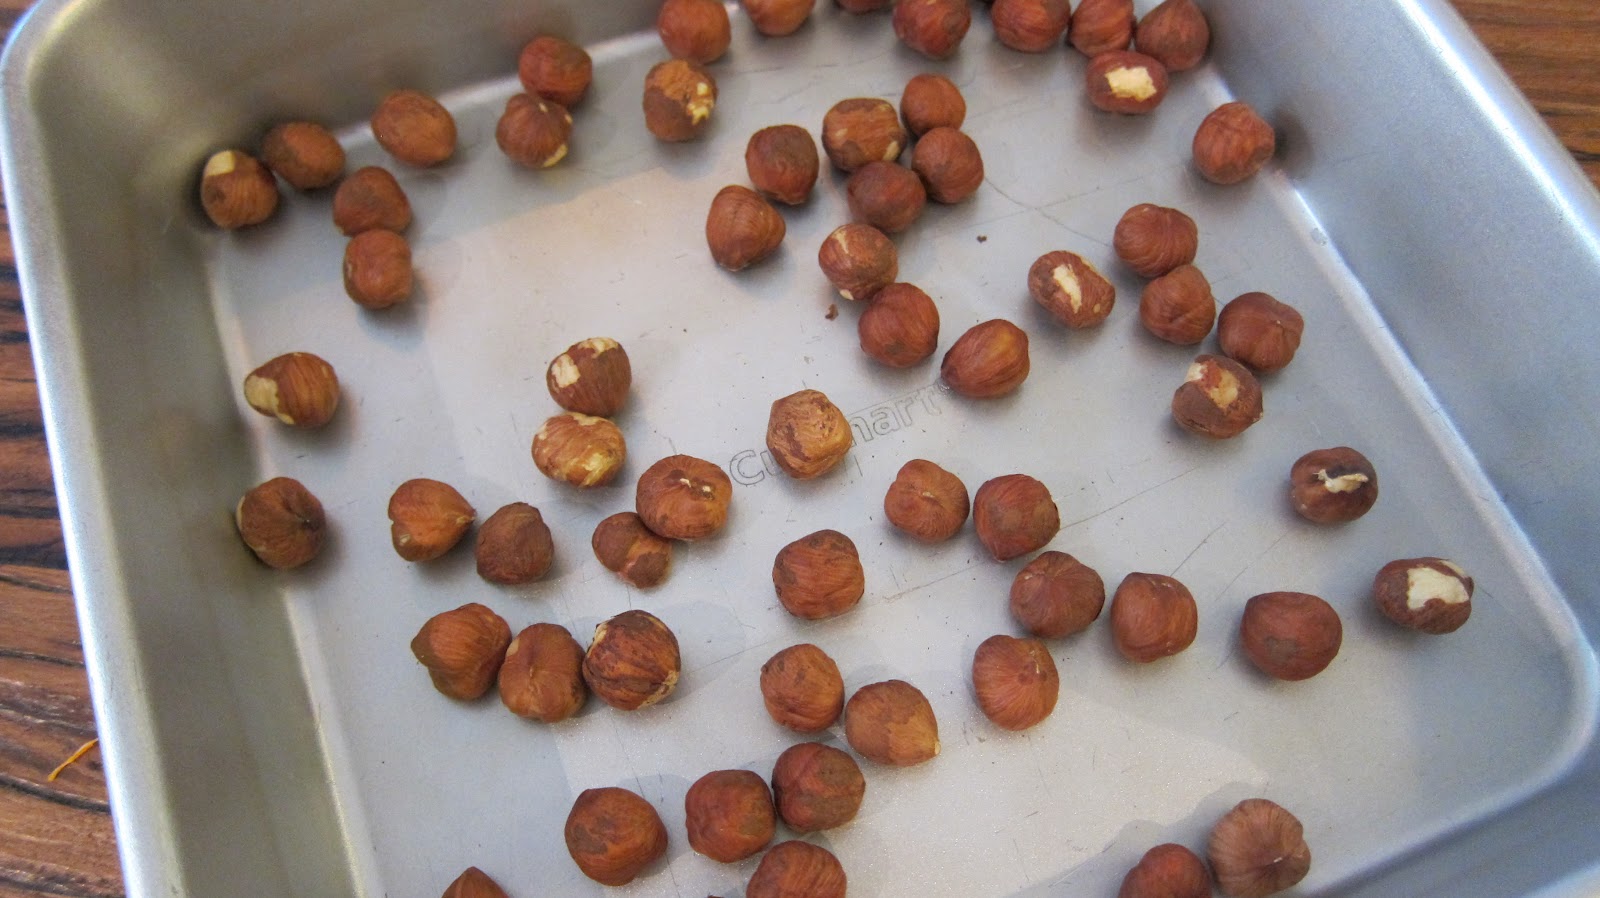
Preheat oven to 350 degrees Fahrenheit.  Roast hazelnuts in a shallow pan (so they don't roll all over the place) until fragrant and light brown, about 8 minutes.


Allow to cool and remove as much of the skin as possible.  I found a nifty trick to help with this tedious process.  Take a rubber jar opener and place some of the nuts inside.  Fold like a taco and rub the nuts with the sides of the rubber.  Peels off the skin in no time.


Finely grind nuts in food processor, set aside.  Place cereal in LARGE bowl and set aside.  The bigger the better.  In a pan over medium heat, melt butter, chocolate, and white chocolate chips, stirring constantly.  Once melted remove from heat and add Nutella.  Stir until well incorporated.  Add ground hazelnuts and mix well.


Pour over cereal.  Roll up your sleeves and get a mixin'.  Really it's best to use your (clean) hands.  It makes the whole process much easier.


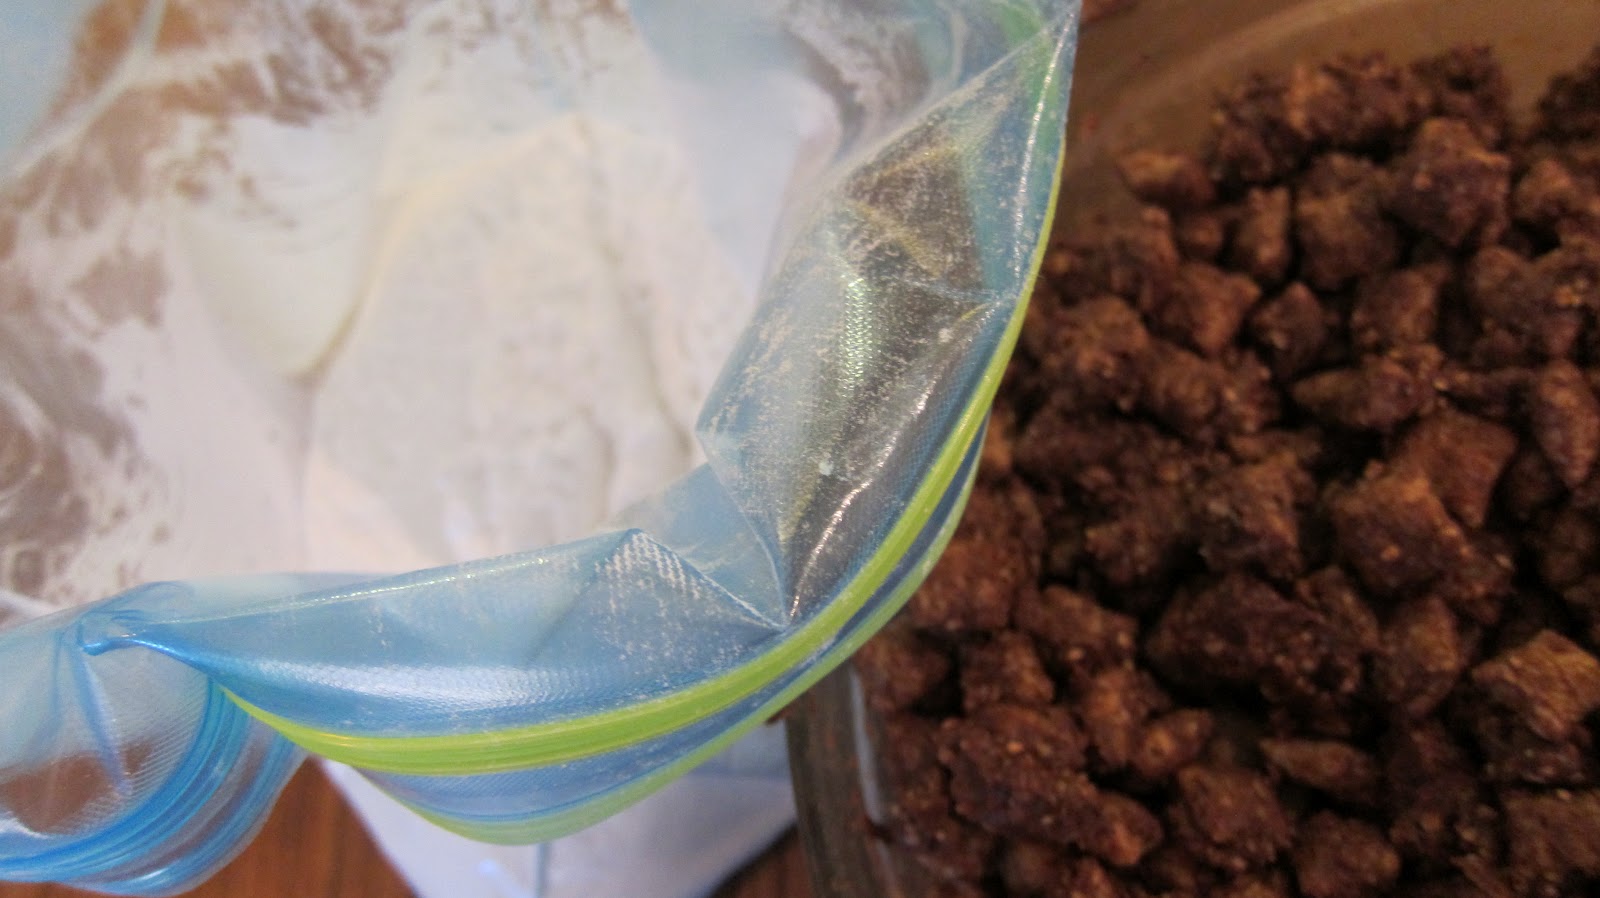
Once the cereal is thoroughly coated with the chocolate mixture, spoon into a zip lock bag with the powdered sugar already inside (fold over the sides of the bag, makes it easier to spoon the cereal in).  Shake.  Shake.  Shake.  I found you cannot add all the cereal at once, so I used a slotted spoon to remove the coated cereal and then transferred it to a serving bowl.  This was really helpful so you won't end up with lots of extra powdered sugar in the bottom of the bowl.


Make sure you're not wearing anything white when you eat this.  People will know you wiped your hands on your pants, tee-hee.


 Enjoy! 

Recipe courtesy of Chef In Training