Showing posts with label whoopie pies. Show all posts

Oct 6, 2013

Pumpkin Whoopie Pies with Cinnamon Marshmallow Fluff Buttercream

 
I, like many other bakers and bloggers out there whip out our can openers this time of year to pop the top on canned pumpkin.  And honestly it’s not even my most favorite ingredients.  Pumpkin this and pumpkin that, whatever it is, it usually has the same ho-hum flavor.  Oh…until now.
 
First, please…please, please toss that pumpkin pie spice jar that gets pushed to the back of the cupboard until October every year.  Then of course you’ve already bought a new jar since you’ve assumed you didn’t have any anyway.  Please tell me I’m not the only one that does this.  Really, when else throughout the year do we use it!?  The genius of this Whoopie Pie recipe is…ready?…it contains NO pumpkin pie spice!!!  You are only incorporating spices that you use on a weekly basis…and tons of them.  I think that’s the key to any pumpkin recipe – go heavy on the spices.  Pumpkin itself is pretty bland.  It needs sugar (tons) and lots of depth in the spice department to keep things interesting.
 
And instead of opting for the obligatory cream cheese frosting that is synonymous with Pumpkin-cake-anything, I’m switching things up and using Marshmallow Fluff.  You know the semi-solid-crack-in-a-jar.  So fluffy and sticky and sweet, just dangerously addictive stuff that fluff (oh I sound slightly Dr. Seuss, no?)
 
This frosting is riiiii-dic.  It comes together in a snap and can be flavored in a multitude of ways.  Think of it as your LBD of frostings.  Depending on the flavor of your cake you can add almond extract, maple, peppermint, or good ol’ plain vanilla.  It’s thick, rich, and spreads like a dream.
Whoop-Whoop, it’s Whoopie Time.
ps: I used my whoopie pie pan from Williams-Sonoma for this recipe.  If you find your pies tend to vary too much in size, I highly suggest picking one up for yourself!

Pumpkin Whoopie Pies with Cinnamon Marshmallow Fluff Buttercream
makes about 12 whoopie pies
 
Ingredients
 
For the pies:
3 cups all-purpose flour
1 teaspoon salt
1 teaspoon baking powder
1 teaspoon baking soda
2 tablespoons cinnamon
1 tablespoon ginger (powder)
1 tablespoon cloves
½ teaspoon nutmeg
2 cups firmly packed brown sugar
1 cup vegetable oil
3 cups chilled pumpkin puree (canned is fine)
2 large eggs
1 teaspoon vanilla extract
 
For the buttercream:
¼ cup (2 ounces) unsalted butter, room temperature
1 jar (7 ounces) marshmallow fluff
1 tablespoon vanilla extract
16 ounces powdered sugar
1 ½ teaspoon cinnamon
2 tablespoons milk
 
 
Directions
 
Preheat oven to 350F.  Line two baking sheets with parchment paper OR if using a whoopie pie pan, lightly grease with vegetable shortening.  Set aside.
 
In a large bowl sift together the flour, salt, baking powder, baking soda, cinnamon, ginger, cloves, and nutmeg.  Whisk to combine and set aside. 
 
 
In the bowl of a stand-up mixer (or using a hand mixer) whisk the brown sugar and oil together until combined, about one minute. 
 
Add the pumpkin puree and whisk to combine.
 
 
Add the eggs and vanilla, whisk to combine.   

 
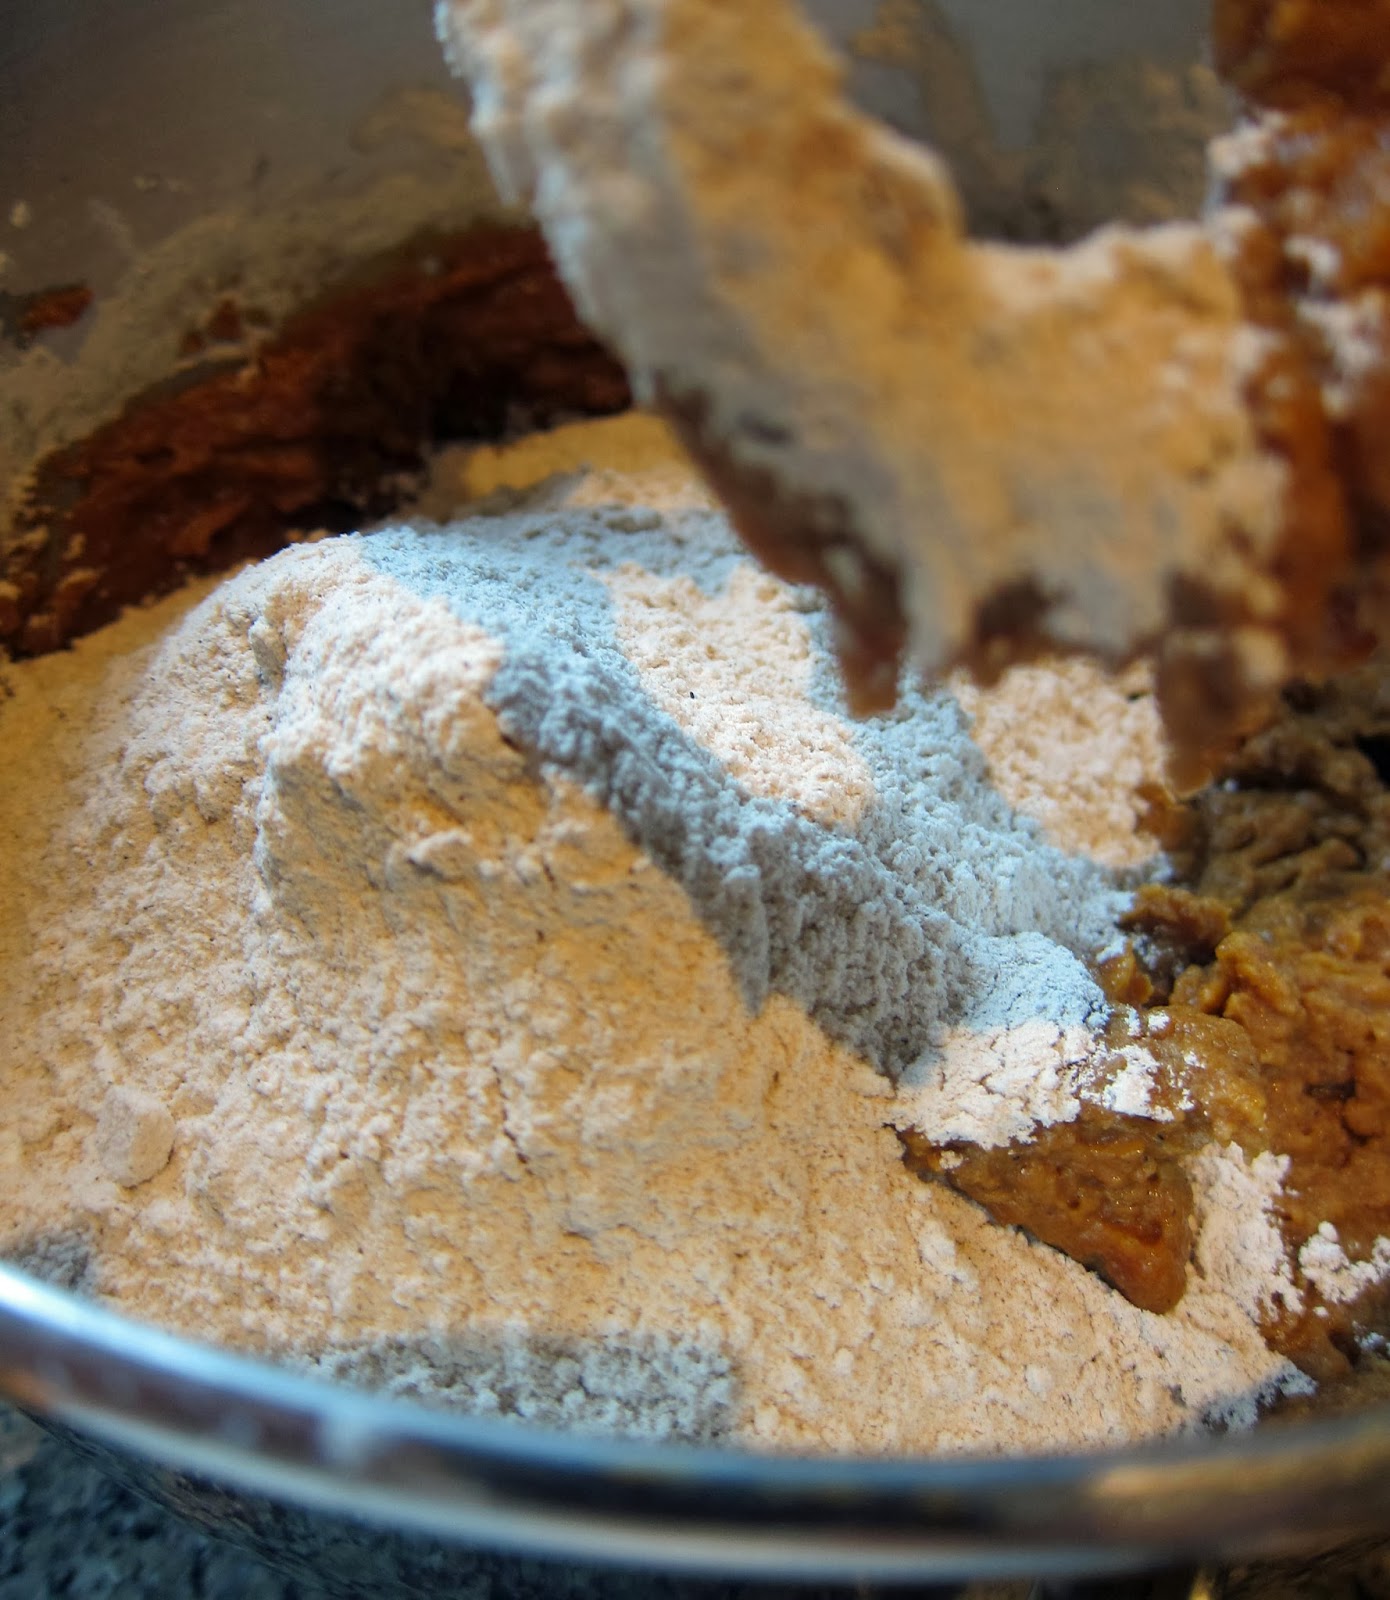
Add the dry ingredients in three additions, mixing until just combined.  Be sure to scrape down the sides of the bowl after each addition.  
 
 
*sorry I accidentally deleted the photo of this part!  Use a small ice cream scoop to drop heaping tablespoons of the dough onto your prepared sheet, about one inch apart.  *if using the whoopie pie pan, fill each pie compartment with a heaping tablespoon of dough and use the back of a spoon to smooth the tops.
Bake for 10 to 12 minutes until pies start to crack on top and a toothpick inserted into the middle comes out clean.  Let the pies cool for about 5 minutes on the pan then transfer to a wire rack to cool completely.   
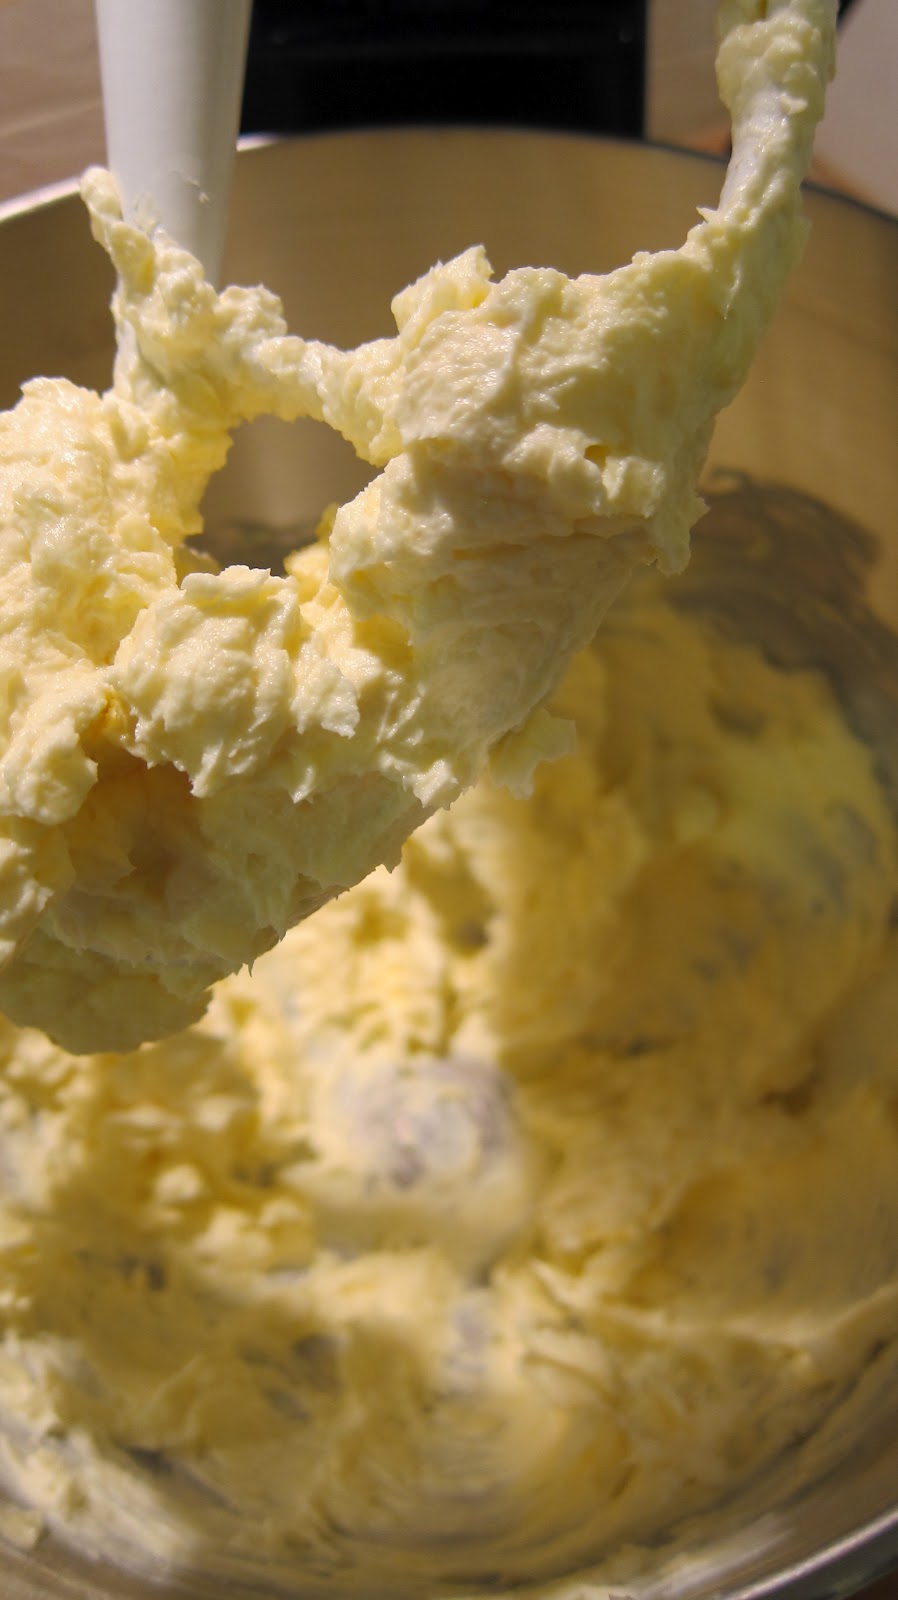
To prepare the buttercream, beat the butter, marshmallow fluff, and vanilla in the bowl of a stand-up mixer until thoroughly combined.

 
Sift the powdered sugar into the bowl in three additions. 

*it’s very important to sift your powdered sugar to make sure clumps like these won’t end up in your buttercream.  Simply break them up with your fingers and push them through the sieve. 
 
*here’s a handy little trick: place a kitchen towel over the top of your mixer when beating dry ingredients such as powdered sugar or flour.  The towel helps keep the tiny particles from floating all over your kitchen creating a dusty wonderland. 
Add the cinnamon and one tablespoon of milk.  Beat to combine.  If the buttercream is still quite thick, add the remaining tablespoon of milk.  


To assemble the pies, use an offset spatula to spread about 1-2 tablespoons of buttercream on the bottom of one pie (flat side).  Top with another pie.  I find they are best kept refrigerated. 
 
Enjoy!
 
 
Whoopie pie (cake portion) adapted from Baked: New Frontiers in Baking
Frosting recipe adapted from Kraft Recipes

Jan 16, 2013

Peanut Butter Cup Whoopie Pies with Chocolate & Peanut Butter Glaze


I have a confession.  I am in no way, shape, or form a fan of cupcakes.  Even a little.

Phew, I am feeling loads better.  Good confession.

The ratio of cake to frosting is too skewed in my opinion.  I would rather have a bite of cake, with a side of frosting.  A super-sized-side.  God, Mayor Bloomberg would hate me...although I do drink diet soda.

See, whoopie pies are different.  You are guaranteed frosting in each and every bite.

Sound familiar?  Remember Seinfeld's explanation of the Black & White cookie...same premise for whoopie pie nonetheless...

 
Another reason I cannot comply with the cupcake craze...STORAGE!  Those cupcake storage/stacking trays are bulky.  I don't like buying storage items that only facilitate one type of food, who has room for that?  Also, cupcakes cannot be stacked on top of each other or wrapped individually without worrying about denting-the-doo' (frosting). But whoopie pies...you can wrap these pie's-o-heaven in plastic wrap and they keep like a dream. 
 
I'm a a bit of a storage freak but that's because my kitchen is bursting at the seams.  You wouldn't believe the way I've managed to stack my Tupperware, bakeware, kid-ware, endless varieties of flours, sugars, you name it, I've got one of each.  All in a kitchen smaller than a 10 x 10 office.  If there was a storage-stacking-competition you better believe I'd win.  1st AND 2nd place.
 
The creation of these peanut butter whoopie pies came out of a necessity to use up some left over peanut butter cups from Christmas.  As always I can not leave well enough alone.  I whipped up a chocolate peanut butter glaze (which you cannot see in the photo above because it's 'sandwiched' in,  but trust me it's there.  And it's lethal.
 
I'm the reason belts have lots of holes.  Enjoy.
 
Peanut Butter Cup Whoopie Pies with Chocolate & Peanut Butter Glaze
makes 15-17 whoopie pies
 
Ingredients
 
For the cookies:
3 1/2 cups all-purpose flour
1/4 teaspoon salt
1 1/4 teaspoons baking powder
1 1/4 teaspoons baking soda
3/4 cup dark unsweetened cocoa powder
2 teaspoons instant espresso powder (NOT instant coffee)
1/2 cup hot coffee
2 cups firmly packed brown sugar
3/4 cup canola oil
1 large egg
1 teaspoon pure vanilla extract
1/2 cup buttermilk, shaken
 
For the filling:
3/4 cup butter
3/4 cup creamy peanut butter
3/4 cup powdered sugar
1/2 teaspoon salt
 
For the chocolate & peanut butter glaze:
2 tablespoons unsalted butter
2 tablespoons creamy peanut butter
3 tablespoons light corn syrup
1 teaspoon vanilla extract
6 ounces semisweet chocolate chips
1/4 cup  powdered sugar
20 miniature REESE'S peanut butter cups, coarsely chopped
 
Directions
 
To prepare the cookies, preheat oven to 350 degrees Fahrenheit.  Line two baking sheets with parchment paper.  Alternatively, you can use specially designed whoopie pie pans.  Just be sure to spray them well with non-stick cooking spray.
 
In a large bowl, sift the flour, salt, baking powder, and baking soda. 
 
  
Whisk to combine.  Set aside.
 
 
In another large bowl, sift together the cocoa powder and espresso powder.  Whisk to combine.


Add the hot coffee and 1/2 cup hot water and whisk until both powders are completely dissolved.

 
In a medium bowl, stir together the brown sugar and oil. 
 
 
Add this to the cocoa mixture and whisk until combined. 
 
 
Add the egg, vanilla, and buttermilk and whisk until smooth.


Use a rubber spatula to gently fold the dry ingredients into the wet ingredients.  Make sure to scrap down the bowl as you fold.

 
Use a small ice cream scoop with a release mechanism to drop heaping tablespoons of the dough onto the prepared pan, about 1 inch apart (if using baking sheets). 
 

Bake for about 10-15 minutes until the cookies are just starting to crack on top.  Let the cookies cool completely on the pan while you prepare the filling.  If you are using a whoopie pie pan, let the cookies cool for 5 minutes, then transfer to a wire rack to finish cooling (otherwise they will get stuck inside the pan).

 
For the filling, combine the butter and peanut butter in the bowl of a stand up mixer.  Mix on low until creamy.
 
 
Sift the sugar into the bowl and add the salt.  Mix on low to incorporate. 
 
 
Increase speed to medium and beat for about 4 minutes until the frosting is light and fluffy.
 
 
To prepare the glaze, combine butter, peanut butter, corn syrup, vanilla, and 2 tablespoons water in a microwave-safe bowl.
 
 
Heat in a microwave oven on High 1 to 1 1/2 minutes, until butter is melted and mixture is smooth when stirred.
 
Add chocolate chips and stir until completely melted and smooth.


  Sift in powdered sugar and stir until blended.


Refrigerate 10 minutes, or until glaze is of spreading consistency.
 
To assemble, transfer the peanut filling and glaze into separate piping bags.  I used a number 12 tip for the filling and a number 3 tip for the glaze.
 
Here is a tip to easily fill your bags.  With the tips in place, fold top cuff of the bag over the side of the glass.  Fill your bag half way full, twist securely and hold the end of the bag in place with a rubber band.  


*Instead of using piping bags you can alternatively use an offset spatula to ice the cookies with the filling.  Transfer the glaze to a small zip lock bag, cut off a tiny portion of the corner and pipe the glaze over the filling. 
 
Place one cookie flat side up.  Place a generous dollop of filling on the cookie (not a mountain or it will squish out the sides when you bite into it).  Add a drizzle of the chocolate peanut butter glaze.
 
 
 Top with another cookie and roll edges in the chopped peanut butter cups.
 
 
Wrap whoopie pies in plastic wrap and store in an air-tight container.  These also freeze beautifully.


Enjoy!
 
Cookie recipe courtesy of Baked Explorations
 
Filling recipe courtesy of Whoopie Pies by Amy Treadwell
 
Glaze recipe courtesy of Recipe Source 


Feb 8, 2012

Dark Chocolate Whoopie Pies with Salted Caramel Frosting & Salted Caramel Sauce


Go ahead and wipe the drool, it's okay I won't tell anyone.  Yes, I was pretty proud of myself.  This one's dandy.
 
I wanted to test two things here making these pies: one, that I could attempt making caramel from scratch.  And two, that I could make cream cheese frosting that didn't separate.  After a bit of trial and error (and cursing) I figured out the tricks. 
First, for the caramel you MUST, I repeat MUST not be interrupted during the sacred caramel process.  No phone calls, no potty breaks, no 'mommy I'm hungry.'  Yep you must devote 15 short minutes to watching that pan boil.  If you turn your back for one quick second it will scorch before you have the chance to say 'oh *uck!'  It's OK, it happened to me, not gonna lie.  But the second time around it was perfect.  Oh, and the use of a candy thermometer works immensely.   
For the cream cheese frosting, I finally figured out the secret.  Every time I try to prepare this 'delicious-sin-in-a-bowl', it separates.  And becomes gritty.  And is ugly and drippy.  Forget about piping, the consistency is non-existent.  But here is the trick.  Leave your cream cheese out overnight to guarantee it is room temperature.  Take the butter out of the fridge 3 hours before you're going to start preparing the frosting.  It shouldn't be cool, but it should still hold the shape of a cut cube.  Also, and this is equally as important…do not over beat.  The more you beat cream cheese the more it will start to separate.   Beat in the powdered sugar until it disappears, and then stop.   Sounds simple enough but these two tricks made all the difference in the world.  This was the first time I have EVER piped cream cheese frosting.  Whoopie.   
Whoopie Pies.
If you're not familiar, whoopie pies are pretty much the same thing as a cupcake, just layered differently.  A whoopie pie is composed of a cake top and bottom, with frosting in the middle.  Easy to eat and easy to store.

The origin of the name is hilarious, oh you're going to love this.  Whoopie pies are originally an Amish treat (I was surprised by this, isn't sugar a sin?).  The wives would put the pies in their husband's lunch pail and when they'd open it at lunch time they'd see the sin cake, ahem, whoopie pie and yell 'WHOOPIE!'  I guess sugar can do that to you when you don't have electricity.

No disrespect to the Amish, just having some fun.  My family is originally from Pennsylvania so the Amish are A-OK with me.    

I may have mentioned this before but I am somewhat of a sucker when it comes to kitchen gadgets.  I think it's because I really love to cook and if there is a tool out there that will help make my life easier, I'm all for it.

I don't know if the Williams-Sonoma Whoopie Pie Pan would make my life any easier, but I fell for it anyway.  SUCKA…I know.
BUT I did have a very good reason to buy this pan…I had recently made whoopie pies a few months back but they turned out more like whoopie chushions.  They were HUGE.  Like the diameter of pancakes.  Yes, yes delicious I know, but dainty – not even close.  The recipe didn't specify how much batter to place on the pan, so I eyeballed an amount.  Which must have been somewhere around 1/3 of a cup.  Too much.  WAY too much.
If you do decide to purchase the pan, here is a tip: To remove, gently turn the cake while still inside the pan and it will slide right out.  I only realized this on the last batch so lucky you!   
A note on salted caramel.

The salted caramel craze hit a few years back, but due to the overwhelming popularity it's become more of a staple with confectionary chefs.  Even Starbucks got in on the bandwagon and developed a salted caramel hot chocolate, yum.  Wal-Mart, yep Wal-Mart has introduced a salted caramel to their store brand selection of truffles.  Yowza.  I figured now that salted caramel has hit main-stream America, I better hurry up and learn how to make it before something new comes rolling into town.

So just how to describe salted caramel if you haven't encountered it yet?  Well, don't let the salt fool you.  It's not like potato chip salty.  It's more like a touch of salt on your tongue.  Just enough for you to notice, but not over-power.  The salt merely enhances the sweetness.

The ingredients are incredibly simple: water, sugar, heavy cream, butter, and fleur de sel.  But the technique, not so much.  As I mentioned earlier I burned the first batch.  It came together so fast I wasn't sure how long I should continue keeping it on the heat.  Something strange I noticed was that it burned in one spot in the pan.  This told me something fishy was going on.  See I was using kind of a cheap-o pan.  It's thin with no Teflon, maybe from Ikea.  It wasn't distributing the heat thoroughly and I think that is why I got the hot spot.  So for the second batch I used my special T-fal pan that I love as much as my Kitchen Aid mixer.  It  has a little red heat symbol on the bottom of the pan that disappears once its pre-heated, cool I know.  With the second batch (using this pan) it was like I was testing a different recipe.  It came together beautifully and took it's time.  Once it turned amber in color (which is when you should remove from the heat) it didn't burn up or turn black, it just slowly became deeper in color, which is what you want to achieve.


Whoopie Pies (cake only)
Ingredients:

2 cups all-purpose flour
1/2 cup Dutch-process cocoa powder OR Hershey's Dark Chocolate Cocoa
1 1/4 teaspoons baking soda
1 teaspoon salt
1 cup well-shaken buttermilk
1 teaspoon vanilla
1 stick (1/2 cup) unsalted butter, softened
1 cup packed brown sugar
1 large egg

Directions:

If you're here in Dubai you'll know that it is impossible to find buttermilk and you'll have to make your own.  It's simple, don't worry you don't need a churn.  Just some vinegar or lemon juice.  Take one tablespoon of either (taste will not be affected, both work the same) and pour into a measuring cup.  Fill with milk until you've got 1 cup.  Let sit for 5 minutes.  Give it a stir and poof you've got buttermilk (or something close enough).

Sift together flour, cocoa, baking soda, and salt in a medium bowl.


Once it's sifted, use a whisk to incorporate.  This ensures it's thoroughly combined with no salt/baking soda pockets.


Add vanilla to the buttermilk and stir to combine.


Beat together butter and brown sugar in a large bowl with an electric mixer at medium-high speed until pale and fluffy, about 3 minutes in a standing mixer or 5 minutes with a handheld, then add egg, beating until combined well.


Reduce speed to low and alternately mix in flour mixture and buttermilk in batches, beginning and ending with flour, scraping down side of bowl occasionally, and mixing until smooth.


Grease either the whoopie pie pan or a baking sheet with Crisco, butter or baking spray.  If you use crisco or butter here is a tip to help grease the pans with little fuss.

Using a sandwich baggie like a glove dig out about 2 tablespoons of crisco and wipe down the pan.  No fuss no muss.


Using a cookie scoop fill whoopie pie pan holes with batter.  Fill entire hole and level with the back of a spoon.  If using a baking sheet, measure out 1/4 cup mounds of batter and place 2 inches apart on greased cookie sheet.


Bake in upper and lower thirds of oven, switching position of sheets halfway through baking, until tops are puffed and cakes spring back when touched, 11 to 13 minutes.  Remove from oven and let sit for 10 minutes.  Remove from pan and let sit on a wire rack to cool.


Salted Caramel Sauce:
Ingredients:
1 cup water
2 cups sugar
1 cup heavy cream
2 tablespoons cold unsalted butter
1 teaspoon fleur de sel
Directions:

Add water to a 2-qt saucepan. Gently add the sugar to the center of the pot, give it a swirl to level it out.


Cover the pot and bring to a boil over high heat.  Bubbles should like this:


Once boiling, uncover the pot and insert a candy thermometer. Continue cooking until the mixture registers 300 F and is just starting to develop some color, about 15 minutes.


Reduce heat under the pot to medium and cook until the syrup is amber and registers 350 F on the thermometer, about another 5 minutes.

Meanwhile, pour the cream into a small saucepan and bring to a simmer. If it simmers before the syrup is ready, just take it off the heat and set aside.
Remove the caramel from the heat and add about 1/4 of the warm cream to the pot. It will bubble furiously so be careful. Once the bubbling subsides, add the remaining cream.  When it stops bubbling, whisk gently to incorporate fully.


Add the butter and the salt and whisk to combine.


Refrigerate up to 1 month.

Salted Caramel Frosting

Ingredients

1 cup butter, out of the fridge for 3 hours
8 oz. cream cheese, room temperature
1/2 cup salted caramel
3-4 cups powdered sugar (sifted)

Directions:

Cream together butter and sugar till whipped and fluffy.


Add salted caramel.  Beat until combined, but do not over-mix.


Add sifted powdered sugar and mix until just combined, no more.


Assembly
Now we've got all the components ready let's put these babies together.  So easy the kids could do this part. 

As you'll see I've used a pasty bag and a piping tip to pipe the icing and sauce.  This is by no means necessary.  I just wanted it to look pretty for the pictures.  You can simply spoon the frosting onto the cake and drizzle the sauce on with a fork if you wish.

For piping the frosting, I used a 2D tip.  It makes pretty little ribbons.  To make things easier on yourself, use this tip I learned in a cake decorating class.  Get yourself a large cup.  Have your pastry bag with the tip already in place near by.


Place the bag inside the cup and fold the edge over the side of the cup.  This makes it ridiculously easy to fill.


Using a spatula, fill the pastry bag about half way.  You don't want to over-fill otherwise the frosting can seep out the back and cause a mess.  Also having a bag that isn't filled too high is easier for your hand to grip.


For the caramel I used a much smaller tip, a #3.  Also, if you're not a fan of pastry bags, simply fill a zip-lock back with caramel and snip off the corner (just a small snip otherwise it will ooze out).  Make sure you seal the bag before hand! 


Lay out half of your whoopie pies and pipe (or spoon) the frosting onto the flat side.


Then pipe (or drizzle) the caramel.


Place another cake on top.  Job complete.


That was a long one but well worth the effort.


Enjoy!

Whoopie Pie cake recipe and Salted Caramel Sauce adapted from Erin's Food Files.

Salted Caramel Frosting courtesy of Baked Bree.