Showing posts with label martha stewart. Show all posts

Nov 15, 2012

Peanut Butter & Chocolate Ganache Tart in a Chewy Oat (HobNobs) Crust


My oven died this week.  Like total shut-down.  It's something electrical in the wiring, nothing to do with the oven so you know that will take FOREVER to fix, especially here in Dubai.  I called the husband in a state of panic, you know one of those phone calls where as soon as you hear them pick up on the other line you say (without even waiting for them to say hello) 'you-must-come-home-the-oven-is-broken-no-wait-maybe-it's-just-better-if-we-move!!!'  I got a prompt 'we'll get it fixed over the weekend, goodbye' answer.  Ok probably deserved that, but the only way I could get my husband to understand the magnitude of this situation so he'll can call the fix-it guy (who doesn't understand my white-girl English, apparently I talk way over his speed limit) and get my 'office' up and running again is to put it into man-terms. 

Me: 'Honey, would you be able to breathe without your blackberry for even an hour?' 

Husband: Impatiently looks at me with the phone already stuck in his ear

Me: 'Because you see the oven is my equivalent to your blackberry.  I cannot function or think properly when it's busted.'

Husband: 'Hello, Jaber? (on the phone calling Mr Fix-It aka Jaber)  This is Jad, can you please come over tomorrow and take a look at our oven?'

Man-terms, ladies.

So rather than waiting for Jaber to come God knows when, the show must go on.  So here you go, a 'no-bake' tart that is spectacular, no heat required. 

There are loads of contrasting textures going on here, which always makes for a happy pallet.  The crust is soft and chewy, just like an oatmeal cookie.  The peanut butter filling is sweet and creamy, however don't let the photo deceive you, it firms up and cuts quite nicely once left in the fridge over night.  A sprinkling of the salty peanuts on top of the lightly-sweetened whipped cream adds a welcoming crunch amongst all the heavenly pillows of flavor.  A winner for any picky pallet.  Heck, I bet Jaber would even appreciate it...assuming he ever shows up.

Peanut Butter & Chocolate Ganache Tart in a Chewy Oat (HobNobs) Crust
makes a 9" round tart or a 13 3/4-by-4 1/4-inch tart
printable version

Ingredients

For the Crust:
6 1/2 ounces HobNob biscuits (or 12 whole graham crackers), finely ground, about 1 1/2 cups
2 1/2 ounces (5 tablespoons) unsalted butter, melted
1/4 cup sugar
1/8 teaspoon salt
 
For the Filling:
6 tablespoons unsalted butter, melted
3 ounces good-quality milk chocolate (I used semi-sweet chocolate chips)
1 3/4 cups heavy cream
3/4 cup creamy peanut butter
1/2 cup  (4 ounces) cream cheese
1/3 cup sweetened condensed milk
1 teaspoon vanilla
2 tablespoons sugar
 
salted peanuts, chopped, for garnish
 
Directions
 
Place biscuits (or graham crackers), sugar, and salt in the bowl of a food processor, and pulse until fine crumbs are formed. 


Transfer to a medium bowl, and add melted butter. Stir with a fork until thoroughly combined.


Place crumbs in a 13 3/4-by-4 1/4-inch rectangular tart pan with a removable bottom (I only had a 9-inch round which also worked fine).


Press crumbs evenly over the bottom of the pan. Place in the refrigerator while making the filling.
 
 
Fill a large bowl with ice and water. Finely chop chocolate, and place in a medium bowl. Place 1/2 cup cream in a small saucepan over medium heat, and bring to a boil. Pour over chopped chocolate, and set aside for 5 minutes to yield chocolate ganache.
 
 
Whisk to combine.
 
 
Set in ice bath until ganache is cool, whisking constantly.  Once cool, remove from ice bath, and whisk until ganache is just thick enough to hold its shape; do not over beat. Spread in the bottom of the prepared crust, and return to the refrigerator until set.
 
Combine peanut butter, cream cheese, and sweetened condensed milk in the bowl of a food processor; process until smooth. Transfer to a mixing bowl.
 
 
Whip 3/4 cup heavy cream to soft peaks.  Add whipped cream to peanut butter mixture; whisk to combine.
 
 
Spoon mixture into prepared crust; return to the refrigerator for 2 hours or overnight. Remove tart from refrigerator, and transfer to a serving platter 10 minutes before serving. Whip remaining 1/2 cup cream.  Add the vanilla and sugar, whip to combine. 
 
 
Top tart with dollops of whipped cream and sprinkle with the chopped peanuts.
 
 
Enjoy!
 
Crust recipe and Filling Recipe slightly adapted from Martha Stewart

Jul 3, 2012

Bailey's & Chocolate Cream Pie


Really this post was supposed to be about the Red, White, and Blue Zebra cake I made...but it had some 'blending' issues.  I was so hopeful this cake was going to turn out spectacular but something (ok, me) went wrong. 


If you're into Pinterest you may have seen lots of Zebra cakes floating around lately.  Basically a zebra cake is white and chocolate cake batter layered on top of each other in small amounts (about 1/4 cup per layer) like so:


Once it bakes the layers of batter take on a zebra like pattern


You know if I were friends with Snooki and was throwing her baby shower I would SO bake her a zebra cake...


Sorry Jersey Shore is the ultimate distraction.  Anyway, I though well what if I swirl red, white, and blue batter instead of the white and chocolate, assuming it would have the same effect.  Nope...not even a little bit.  I got a turquoise, purple, and spots o' red cake.  The colors they went a runnin'.  I wanted to call it a 'Firecracker' cake but I'd only be kidding myself.

Feeling pretty disappointed with myself and the Mardi Gras cake I figured the best thing to do to lift my spirits would be to bake something with booze.  Because doesn't everyone enjoy eating boozy treats for breakfast?  I found a vanilla rum cream pie recipe that sounded perfect, but yeh the boozers in the house drank all the Captain Morgan.  Shafted again!  Before declaring defeat for the week I figured let's try a chocolate and Bailey's cream pie because those are two ingredients for sure you can find in our house.

I've always been a bit hesitant to make cream pies out of fear of scrambling the egg yolks.  I've done this in the past with other recipes and it just gets nasty.  Ick.  Scrmbled eggs are only for breakfast and only with toast...not with a side of pie.

But since this blog is all about experimentation I figured let's go for it.  I already f'ed up the cake, if I end up with a scrambled egg pie I'd just finish off the Bailey's and call it a day.

But no the pie was amazing.  The chocolate cream is thick and rich, but still velvety smooth.  The mountain of whipped cream is light and sweet against the buttery, crispy crust.  Yep all your textures are covered.


Lastly, let me give you the secret to perfect cream pies.  Whisk.  Whisk.  Whisk.  And once your arm starts to cramp, keep whisking.  If you end up with a numb arm you're guaranteed a perfect pie.  You should also strain the mixture through a fine sieve before pouring into the pie shell.  This step guarantees a silky, smooth finish in case any little bits of egg did cook and want to 'lump' around in your pie.  Naughty eggs. 

Happy 4th of July!

Bailey's & Chocolate Cream Pie
makes one 9" pie
printable version

Ingredients
For the crust: (This makes 2 tart shells.  You can freeze the other dough and use at a later time)
2 1/2 cups all-purpose flour
1 teaspoon salt
1 teaspoon sugar
1 cup (8 ounces) unsalted butter, cut into small pieces and chilled
1/3 cup ice water

For the pie filing:
3 egg yolks, beaten
1 1/2 cups white sugar
4 heaping tablespoons cornstarch
1/2 cup unsweetened cocoa powder
1 1/2 teaspoons espresso powder (not instant coffee)
1 teaspoon salt
2 3/4 cups whole milk
1/4 cup Bailey's
1 tablespoon butter
1 1/2 teaspoons vanilla extract

For the whipped cream:
1 cup heavy whipping cream
2 tablespoons sugar
2 teaspoons vanilla extract

Directions

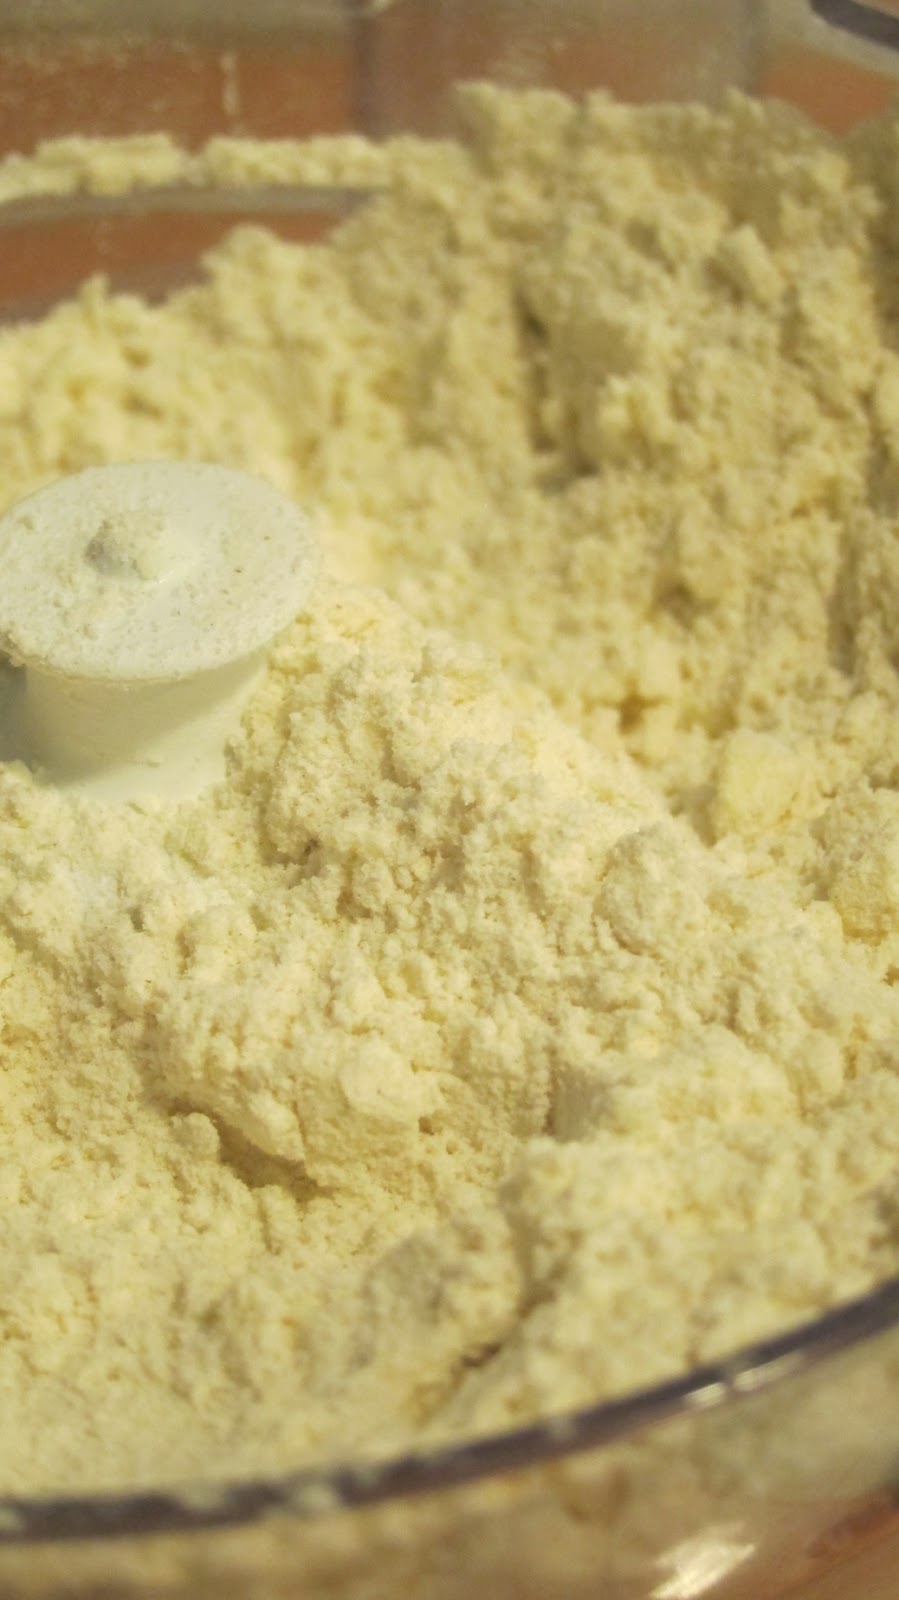
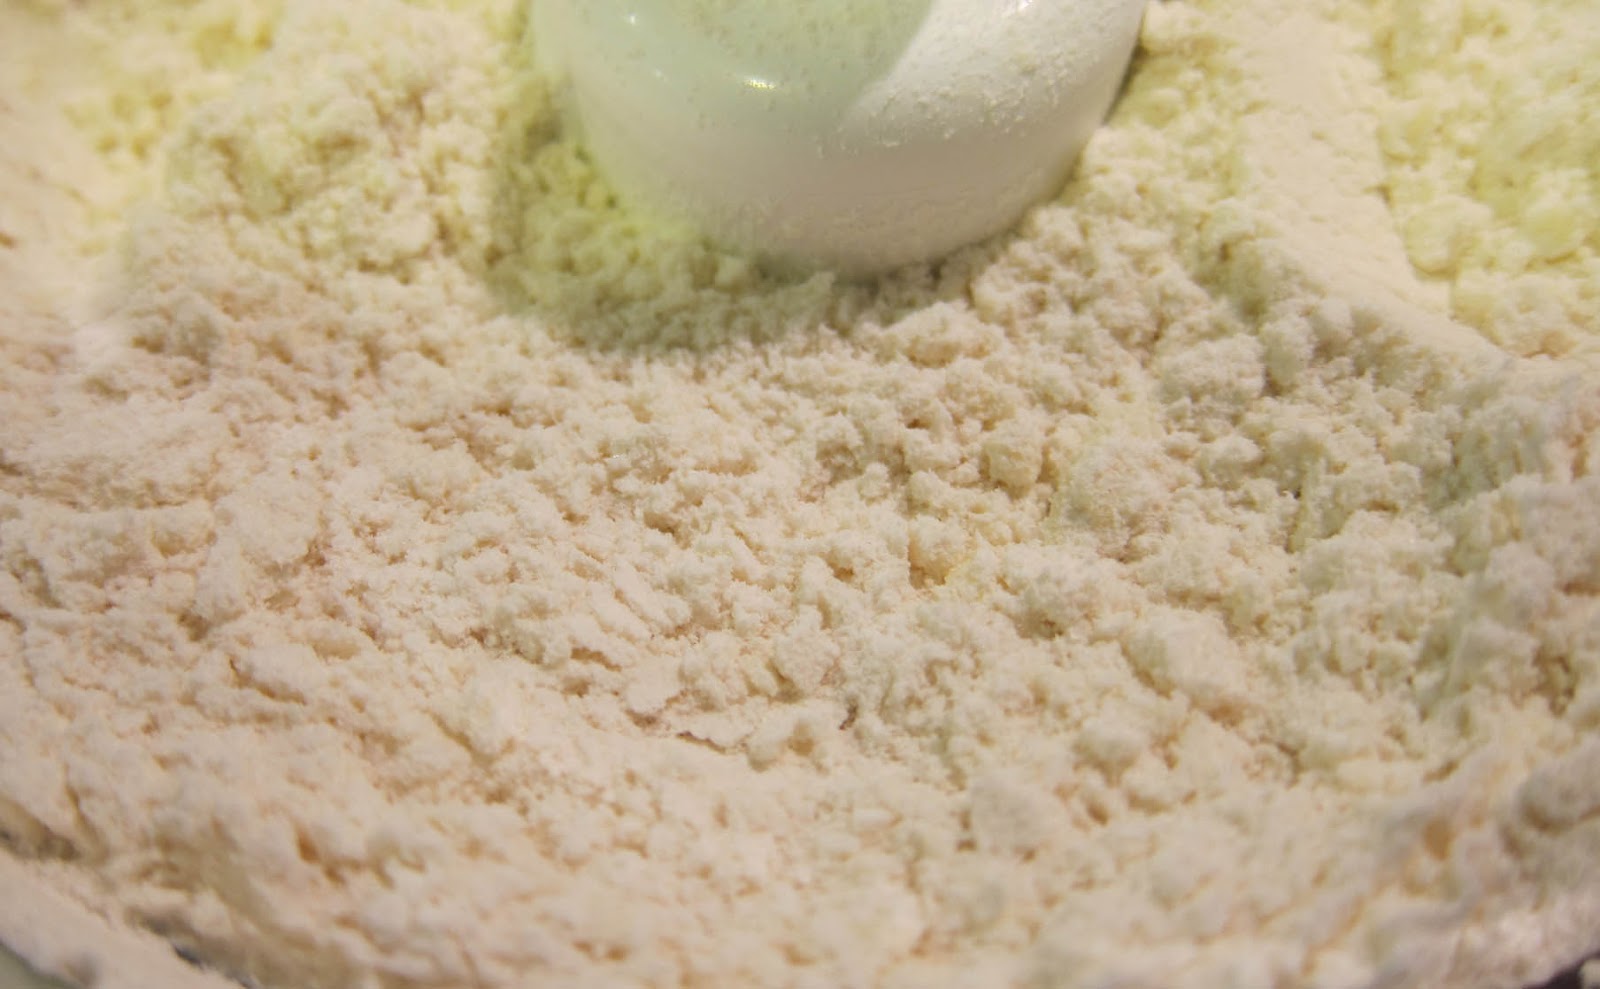
To prepare the crust, add flour, salt, and sugar to the bowl of a food processor.  Pulse to combine.  Add chilled butter and pulse until the mixture resembles coarse meal, about 8-10 seconds.  The mixture should NOT come into a ball at this point.  It should still be loose and crumbly.


With the food processor running, slowly add the cold water (be sure to remove the ice first!) down the feed tube.  Continue running the processor until the dough starts to slowly come together.  It shouldn't be wet or sticky at this point.  Do not pulse longer than 30 seconds. 


Place two pieces of plastic wrap on your counter and equally divide the dough (a kitchen scale is helpful here to guarantee two equal portions).  Pick up either side of the plastic wrap and gently pull the mixture into a ball. 


Gently flatten the dough into a thin disk.  This will help with rolling out the dough later.


Chill for at least one hour in the refrigerator prior to rolling.


On a lightly dusted counter roll out dough to a 1/8" thickness.  Roll dough onto your rolling pin and un-roll over your tart pan.  Trim off any excess dough by rolling pin over the top of the pan.  The dough should slice off.  If you're using a pie dish, roll dough into dish and trim edges, leaving a 1" over-hang.  Tuck overhang under dough so edges are flush with rim, and crimp edges. Lightly prick bottom of dough with a fork. Refrigerate for 30 minutes.


Preheat oven to 375 degrees F.  Line dough with parchment, and fill with pie weights or dried beans.


Bake until edges begin to turn gold, 15 to 18 minutes. Carefully remove weights and parchment. Place back into the oven and bake until bottom and sides are golden brown, 12 to 15 minutes. Let cool completely on a wire rack.


To prepare the filling, cream together egg yolks and sugar in the bowl of a stand up mixer.  


Whisk together the cornstarch, cocoa powder, espresso powder, and salt in a medium bowl.  Be sure to sift your cocoa powder.  Without sifting these clumps of cocoa could have lurked into the mixture causes ugly lumps down the road. 


Add the dry ingredients to the eggs and sugar mixture and mix to combine.  With your mixer on the lowest speed, add the milk and Bailey's, mix till combined.


Pour mixture into a large saucepan and cook over medium heat, whisking constantly, until boiling.  Continue whisking for another two minutes while the mixture boils. Remove from heat and pour through a fine sieve to catch any lumps of egg that may have cooked. Stir in butter and vanilla extract. Cool slightly, then pour mixture into pastry shell.


Chill for at least 4 hours (over night is best!)

To prepare the whipped cream, add the heavy cream, sugar, and vanilla to the bowl of a stand-up mixer fitted with the whisk attachment.  Starting on low, slowly beat the cream.  Increase the speed to medium and beat until the mixture begins to thicken.  Increase speed to the highest setting and beat until peaks form. 


Give your pie a generous dollop of cream and let the fireworks begin!


Enjoy!


May 24, 2012

Caramel Nut Tart


This recipe is from my hero, Martha Stewart. 

my two fav's, Martha AND Cookie Monster

Well...most probably it was created by someone on her staff anyway.  I'm guessing she is too busy running an empire to roll out pasty dough these days (unless she's being taped of course) but it doesn't matter I love her anyway.

The recipes from Martha's website, magazine, books, etc are never overly complicated.  They're written concisely and don't have a million and one ingredients which is something I love and appreciate about her brand.

The trickiest part about this tart (for me anyway) was the crust.  If you've read my post Gentleman's Apple Pie you'll see that I've given some tips about perfecting the pie crust.  I'm not there yet.  Not even close.  But it's okay you've just got to practice and eat.  Practice, eat.  Repeat.  It's the only way to learn.

This crust recipe is called a Pate Sucree which is fancy-pants-french for 'Sweet Dough.'  It is ideal for tart pans as it doesn't stick to the sides of the pan and doesn't shrink.  It's a bit 'tougher' than a flaky pie crust but still has a nice bite.  The taste is somewhat similar to shortbread cookie.  Crisp and buttery, not too flakey and not too sweet.

As always with any pastry dough remember the following so you won't be cursing in the kitchen:

Work FAST: don't dilly-dally (like message your friends telling them you're making pie).  You want the dough cold cold cold.  Two important reasons.  First, pastry dough is much easier to work with when it's cold.  It is less likely to stick to the counter and rolling pin if it's chilled.  Second, you want chunks of butter (not hunks of butter, more like slivers) throughout the dough.  These chunks go into the oven cold and melt in place, in turn creating a buttery crust.  Yum yum.

Less NOT more (it terms flour): When rolling out your dough, sparingly use flour to dust the counter and your rolling pin.  If you find that your dough keeps sticking the culprit is mostly likely that it has become too warm.  By continually adding flour to the dough you're setting yourself up for a brittle, tough crust.  Work cold and work fast.

Caramel Nut Tart
Yields 2 nine-inch tarts
printable version

For the Pate Sucree
Ingredients:
2 1/2 cups all-purpose flour
3 tablespoons sugar
1 teaspoon salt
1 cup (8 ounces) cold, unsalted butter, cut into small pieces
4 tablespoons ice water
2 egg yolks, slightly beaten

For the filling
Ingredients:
1 cup (8 ounces) unsalted butter
1 cup packed brown sugar
1/4 cup granulated sugar
3/4 cup honey
1/4 cup heavy cream
1 pound (16 ounces) assorted mixed nuts (I would go with unsalted) such as hazelnuts, almonds, pistachios, almonds, pecans, or cashews
1 teaspoon vanilla extract

Directions

In the bowl of a food processor, add flour, sugar, and salt.  Add butter and process for approximately 10 seconds or just until the mixture resembles a coarse meal.


With the motor running, add ice water drop by drop (don't just dump it in).  Slowly add egg yolks until the dough holds together without being wet or sticky, about 30 seconds.  Test the dough at this point by squeezing a small amount together.  If it is too crumbly, add a bit more water.

Divide dough into two equal portions (I weighed mine for accuracy).  Flatten into disks and wrap in plastic wrap.  Refrigerate for at least an hour before rolling.  If you keep the dough in the refrigerator over night, move to the counter for at least 30 minutes so it will soften slightly and be easier to roll.


Preheat oven to 375 degrees F.  Have ready two 9-inch tart pans with a removable bottom (I only have one so I had to make the pies separately.  If you have two pans you can bake them at the same time).  Cut out two parchment circles to fit the size of the pan and set aside (note: if you only have one pan you only need one circle, you can just re-use after the first pie is done). 

Roll out one disk of pate sucree to a 12 inch circle with a 1/4 inch thickness.  After rolling hold the pan over the dough to make sure the diameter is correct.  Roll dough onto the pin and unroll over one of the tart pans.  Press dough into place and being careful not to stretch the dough.  Use a paring knife to trim off excess dough.  Repeat with remaining dough and tart pan.  Chill both pans for 30 minutes.  If you only have one pan keep the other disk of dough in the fridge until later.


Line pastry dough with the parchment circle and fill with pie weights or dried beans. My husband walked in at this exact moment and said 'oh you're making a bean pie, are they going to cook all dry like that?' I mean really, what else could he say? Yes honey you've been bad, you get a bean pie. A dry one. Ick.


Bake until pastry begins to take on color, about 25 minutes.  Remove the parchment and weights (beans) and continue baking or until light golden brown all over, about 10 minutes.  Transfer to wire racks to cool completely.  Wrap in plastic wrap and set aside until ready to use.

Reduce oven temperature to 325 degrees F.  To prepare the filling, place butter, both sugars, honey, and heavy cream in a large saucepan over high heat. 


Bring to a boil, stirring constantly.  Boil 5 minutes.


Stir in nuts and vanilla and remove from heat.  Pour filling equally into reserved tart shells.  I weighed the mixture so each tart would have an equal amount of filling.  If you're only using one pan at a time, cover remaining filling and set aside.  Once you're ready to fill the second tart shell, microwave the mixture for about 30 seconds until it's somewhat fluid and easy to transfer (as it firms up somewhat quickly).


Bake tarts on the center rack until the filling bubbles. 15 to 20 minutes.  Transfer to a wire rack to cool.  Store in an airtight container up to 2 days.


Enjoy!

Pate Sucree and Filling recipe courtesy of Martha Stewart