Showing posts with label candy. Show all posts

Dec 14, 2013

Tarboosh Fudge


Every year around this time I head down to our local Lebanese grocery store and pick up a box of Gandour Tarboosh.  They're a seasonal chocolate that's made in the cooler months and are...well...out of this world. 


Tarboosh can be described as the Lebanese version of Mallomars.  They are made of a paper thin sugar wafer that's mounded with fluffy, oh-so-sugary-sticky-sweet marshmallow fluff and then covered with a thin chocolate coating that has a bit of a snap to it.  Lots of harmonious textures in one little Tarboosh...and don't even think about eating them without licking your fingers.  You simply cannot wipe off the marshmallow with a napkin.  I think it's specially engineered that way.


Tarboosh cannot be compared to say, Godiva or anything else quite so posh.  No, they are a bit more...ghettolicious.  But that's what makes them so endearing.  Plus my husband grew up eating them around the holidays as a child and every time he eats one now as an adult he takes me down memory lane going on about how much he loved eating them as a kid and I just can't help stroll along with him.

So when he bought a giant box a few years ago we got super excited ate about 5 and that was it.  You know how the holidays are, a smorgasbord of sweets going in and out.  December is an inescapable time of the year to try and avoid sugar.  The tarboosh were pushed side as other sweets took over and I thought to myself, well that looks like a lovely little project...let me see how we can transform these little puffs-o-holiday-heaven into something even better.

Last year was the Tarboosh S'mores:


And the year before that was the Tarboosh Cupcakes:


This year I was in a fudgy kind of mood.  I had been on a bar and cake extravaganza the last few months and fudge sounded sweet and easy.  I can barely put two thoughts together these days with a newborn and a toddler in the house so easy-peasy is a-ok with me.

If you can't find Tarboosh try this recipe with Mallomores, I think it would be equally as jolly.  If you do, please send me a photo I would love to see how they turn out. 

Happy Holidays!
 
Tarboosh Fudge
 
Ingredients:
2 bags of chocolate chips (12 ounces each)
1 can sweetened condensed milk
2 teaspoons vanilla extract
3/4 teaspoon salt
15-17 Tarboosh, unwrapped and cut in half
 
Directions:
 
Line a 8 x 8 pan with aluminum foil and set aside.
 
 
Place the chocolate chips, milk, vanilla, and salt in a microwave-safe bowl. 
 
 
Heat for one minute.  Remove from microwave, stir, and re-heat for another 30 seconds.
 
Remove and stir again.  Continue to heat for 10 second intervals (stirring after each) until mixture is smooth and creamy and no lumps remain.
 
 
Press HALF of the mixture into the prepared pan.  Use a spatula to make sure it's smooth and even.
 
 
Place the sliced tarboosh on top of the fudge layer.


Using the back of a spoon gently crush the tarboosh down so they create an even layer.


Cover the marshmallow layer with the remaining fudge and use a spatula to spread evenly.


Cover pan with plastic wrap and refrigerate until firm, about two hours.
 
 
Cut into pieces and enjoy!
 

Dec 7, 2013

Spicy Cinnamon & Toblerone Fudge

 
If you're in an pinch for time this holiday season and need to whip up a show-stopper dessert for your next potluck or impromptu guests stopping by, this fudge can be thrown together faster than Santa can say 'giddy-up-Rudolph.'
 
Although I made mine over a double broiler, the fudge can also be zapped in the microwave for extreme speediness.  I decided to add the cayenne pepper to spice things up this season because let's face it, fudge can be a bit ho-ho-ho-hum.  The cayenne and cinnamon blend fairly effortlessly together while the white chocolate adds a smoothness that inhibits the heat from overtaking your pallet.  The fudge has just enough of a kick to tickle your throat but certainly not enough to make you gulp down the nearest spiked eggnog (although that sounds like just as much fun too).  The heat hits your throat after taking a bite but is subtle enough for you to say 'Ooh what was that?  Give me another.'
 
This fudge tends to be on the soft side, so I find it best to keep in refrigerated until you're ready to serve.  That is if you can keep it around long enough. 
 
sorry I couldn't help it, that's just hilarious.
 
Spicy Cinnamon & Toblerone Fudge
 
Ingredients
2 bags (10 ounce each) Hershey's Cinnamon Baking Chips
1 can sweetened condensed milk
2 ounces unsalted butter, cut into small chunks
2 teaspoons vanilla extract
1 teaspoon cinnamon
3/4 teaspoon cayenne pepper (or more to taste)
3/4 teaspoon sea salt
1 1/4 cups White Chocolate Toblerone, chopped into small chunks
 
Directions
Line a 8 x 8 baking pan with aluminum foil and set aside.
 
 
Combine all ingredients (except the Toblerone) in a glass bowl.  Place over a simmering pot of hot water (double broiler).

 
Heat until thoroughly combined and mixture is smooth and creamy.  Pour into the prepared pan. 


Evenly sprinkle the chopped Toblerone over the melted fudge. 
 
 
Gently press the larger pieces into the fudge so they won't fall off after the fudge has cooled.

 
Cover pan with plastic wrap and refrigerate for about two hours until completely firm.  Cut into pieces and enjoy!
 
 
fudge recipe adapted from allrecipes.com

Mar 16, 2012

Magic Truffles


No they're not magic because these are going to disappear once you taste them, although I could totally see that happening too.  They're 'magic' because the main ingredient in these bad-boys is a batch of Seven Layer Magic Cookie Bars (tweaked slightly).

The idea for these truffles came to my sugar-pumped brain when I was reading a recipe for cake pops.  If you're not familiar with cake pops, check out Bakerella's website as it seems she is becoming the cake-pop-master-ella.

Basically a cake pop is cake - any cake, baked, then crumbled.  Add frosting to the crumbled cake, mix till gooey and delicious, then form into balls.  Insert a stick into the ball, dip in chocolate and decorate.  Genius and delicious.

I was thinking about trying out a batch but I remembered that I had toffee bits and a can of sweetened condensed milk in the pantry just calling my name.  Those two are just asking to be made into Seven Layer Magic Bars.

Although Magic Bars are one of my go-to recipes this time around I wanted to do something a bit more calorie-licious.  I just made that up...I mean the whole point of this blog is about experimentation, so let's take things to the next level and get fatty together.

So after being inspired by the cake pops, I decided I would crumble up an entire batch of Magic bars and combine them with toffee frosting (which is now my favorite frosting ever, besides Sam's Club butter cream.  I know I can't believe I am admitting that).  Then I rolled the mixture into balls and coating with melted chocolate.  No stick required.  They are faster to eat without the stick anyway.


Magic Truffles
*for a printable version click here

For the Magic Bars:

Ingredients
1 1/2 cups graham cracker crumbs (I used digestives, both work equally the same)
1/2 cup butter, melted
1 (14 oz.) can sweetened condensed milk
2 cups chocolate chips (milk or semi-sweet, your preference)
3/4 cup Heath Toffee Bits, and additional for garnish (1 bag is enough for the recipe, I had extra left over)
1 1/3 cup flaked coconut (sweetened kind is okay)

For the Toffee Frosting:

Ingredients
4 oz. unsalted butter
6 oz. light brown soft sugar
4 fl oz. evaporated milk
1/8 teaspoon salt
12 oz. icing sugar
3/4 teaspoon vanilla extract

For the chocolate coating:

Ingredients
2 cups chocolate chips (milk or semi-sweet, your preference)
2 tablespoons PLUS 2 teaspoons vegetable shortening (do NOT use butter!)


Directions:
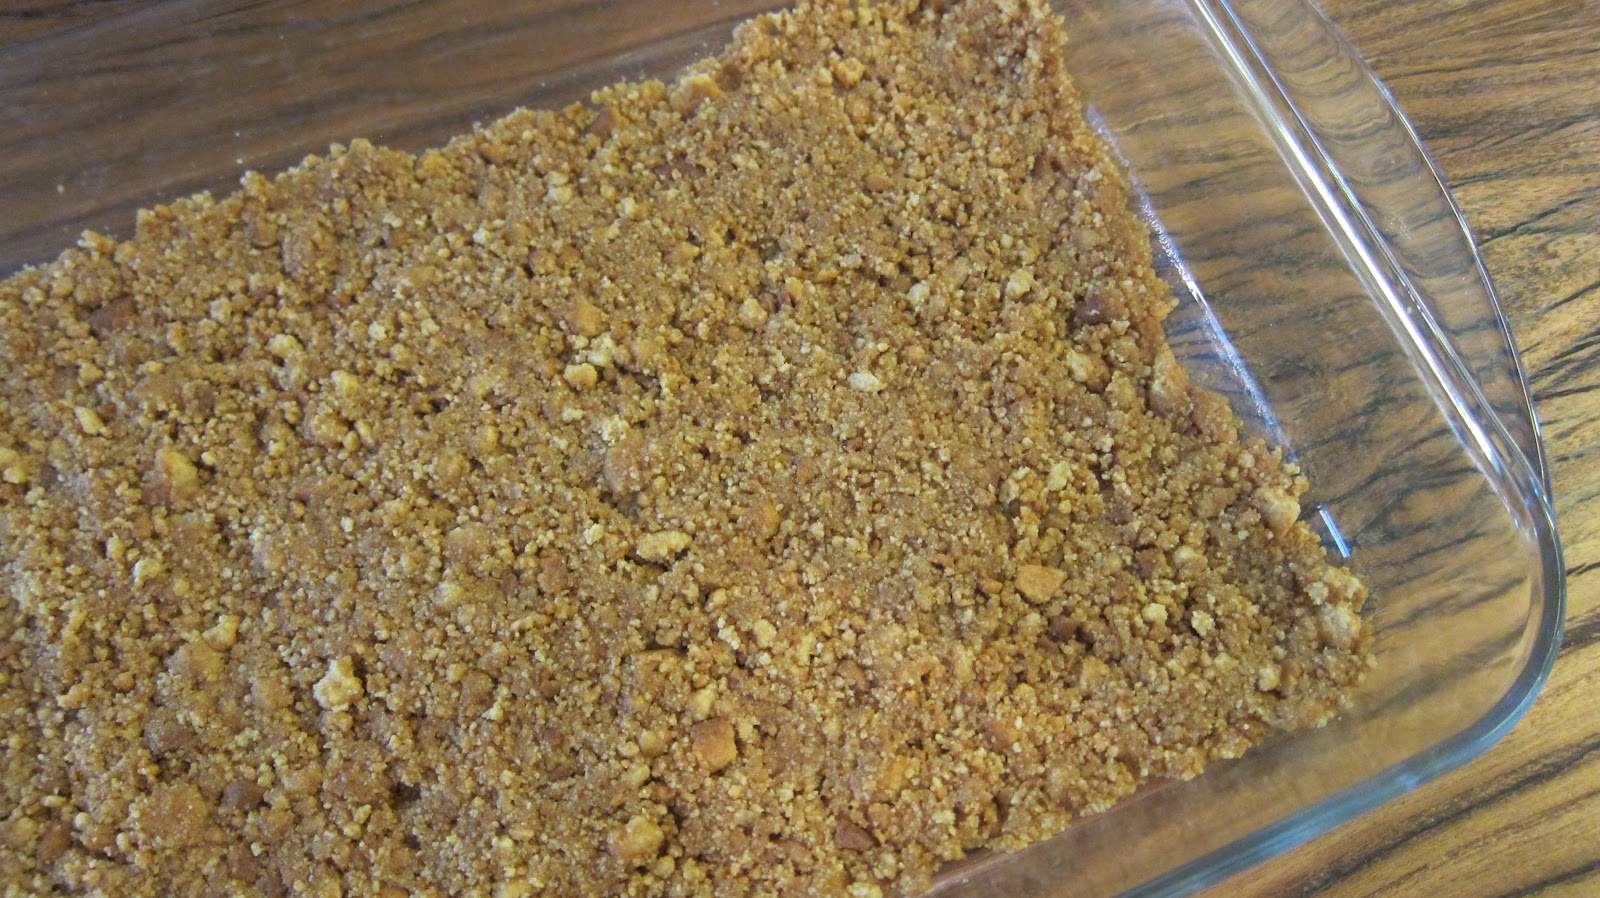
Preheat oven to 350 degrees Fahrenheits (325 if you're using a glass baking dish).  In a small bowl, combine crumbs with butter and mix well.  Press crumb mixture firmly into the bottom of a 13x9 inch baking pan.


Pour sweetened condensed milk evenly over crumb mixture. 


Sprinkle toffee bits on top.


Then sprinkle the chocolate chips.


And then the coconut.


Using a fork, firmly press down so everyone gets cozy.


Bake for 25 minutes or until lightly browned.  Cool completely on wire rack.


Once totally cooled, cut up ENTIRE batch and place in a bowl. 


Okay this next step is going to break your heart at first (especially for me since I didn't know whether or not this recipe was going to work, but trust me it's SO worth it once they're done).  Using your fingers, crumble up squares into a messy, sticky, but holy-crap-that's-good mess and set aside.


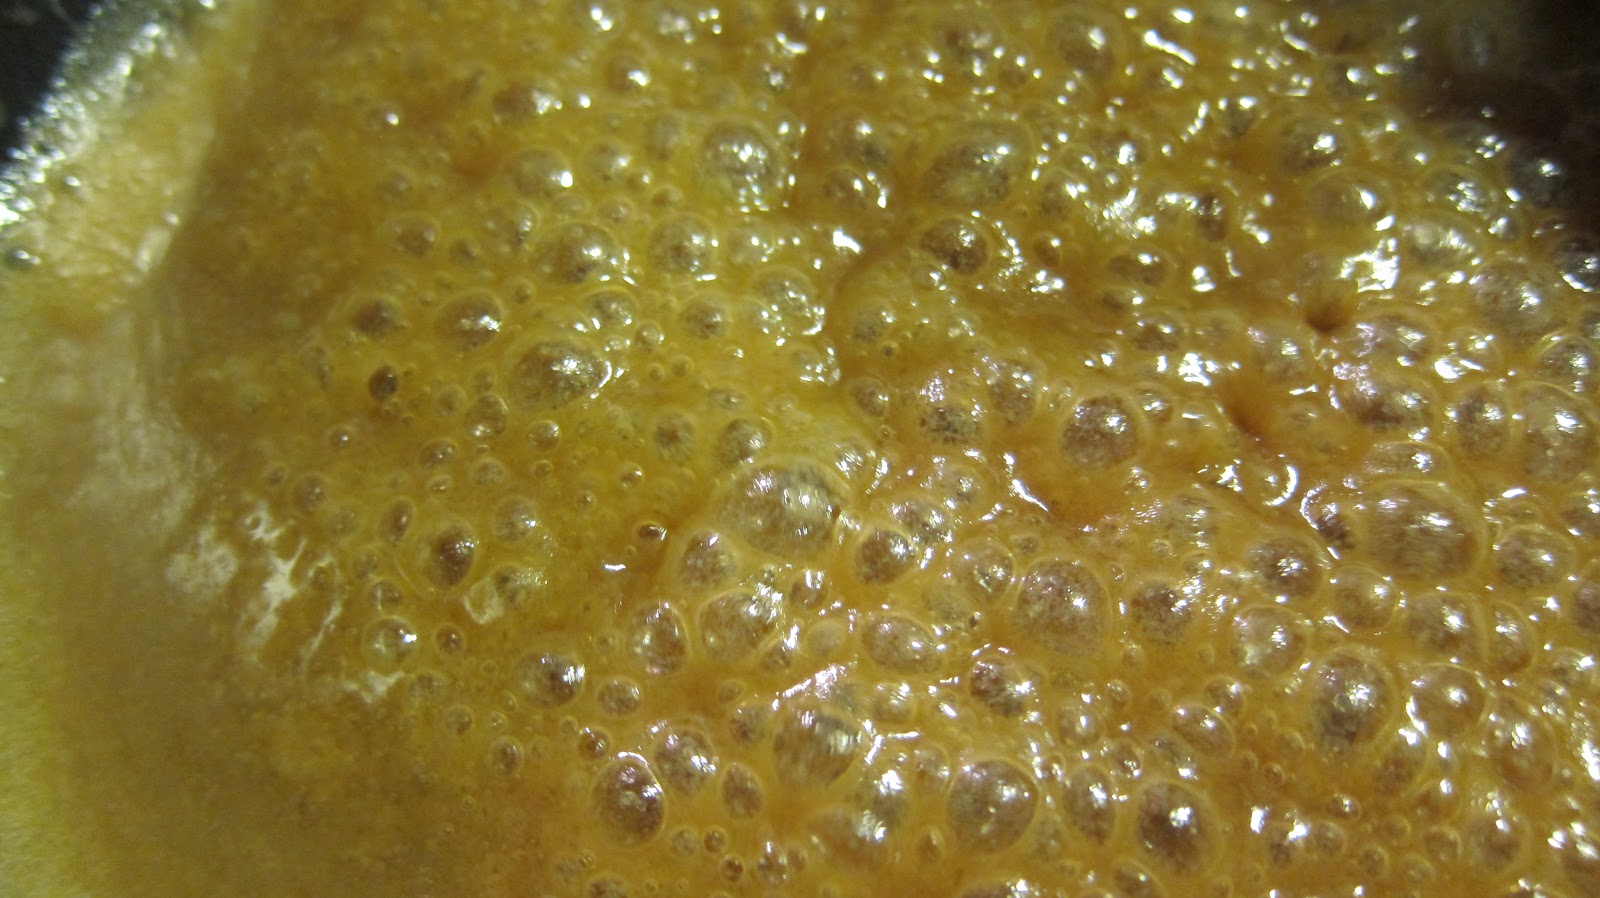
To prepare the frosting, heat the butter, brown sugar, evaporated milk, and salt together in a pan until boiling.


Simmer for four to five minutes, stirring regularly to let thicken.


Add icing sugar and vanilla extract to the bowl of a stand-up mixer.  Pour butter mixture into mixing bowl with the sugar and beat with a whisk attachment until combined and fluffy...start out on low speed so you don't get sugar everywhere - poof!

Add frosting to the bowl of crumbled up magic bars and mix just to combine, don't over mix.


Form mixture into balls and refrigerate to firm up, about 30 minutes.


Line cookie sheet with waxed paper (this is to place the balls on after you coat them with chocolate).

To prepare the chocolate coating, add chocolate and shortening to the bowl of a double broiler. Stir constantly with heat-safe rubber spatula until smooth and no lumps remain.  Using a fork, dip rolled balls into chocolate and coat evenly.  Gently tap fork on the side of the bowl to help shake off excess chocolate.


Invert chocolate dipped truffle on cookie sheet lined with the waxed paper.  Use the bottom of the fork to smooth out any lines.


Sprinkle with extra toffee bits.  I also toasted some additional coconut and sprinkled that on too.


Let sit for about two hours for the chocolate to firm up.  I found these taste best if refrigerated.


Enjoy!!!

Magic Bars recipe adapted from Eagle Brand

Toffee Frosting recipe courtesy of More Cake Please

Chocolate Coating recipe courtesy of Hershey's

Jan 20, 2012

Extra Curricular Activities - Oreo Truffles

 
Your diet is going to hate this one.  Like REALLY hate it.  But we're not here to talk calories, we're here to discuss OREO'S. 

I came across this recipe at about 4am one night when I couldn't sleep.  We don't have infomercials over here, so what else to do?

This recipe can be thrown together in a snap yet it tastes and looks like you spent hours in the kitchen.  Just don't tell anybody…it's our little secret.  I usually stray away from those 5-ingredient recipes.  I am such a skeptic.  How can something made from so few ingredients taste any good?  No, I much prefer to make a mess in the kitchen and pull out every last ingredient, bowl, strainer, spoon I have.  BUT, after reading all the rave reviews this recipe received I thought, oh why the heck not.  At least it would be cheap to make, it only has 3 ingredients…can't beat that. 

And I must say those 3 key ingredients are all you need here.  Prepare for pure decadence biting into the hard candy shell then sinking your teeth into the velvety, smooth center.  It's a happy little ball of heaven...the Oreo kind anyway.  

Ingredients

1 - 18 oz package Oreo Cookies - NOTE: I actually had to Google 'how many Oreos are in an 18 oz package' because they are sold differently in the middle east than in the states.  Can you flippin' believe I found the answer?  It's 45.  The internet is one smart cookie. 
 
1 – 8oz container cream cheese (I suggest NOT to use the reduced fat here, it's a bit softer than the original and may not hold up as well)
4 oz white chocolate bark – NOTE: I found this wasn't enough to coat all the truffles so I used half a bag of chocolate chips and a Lindt chocolate bar I found hiding away in the pantry…but then that was TOO much chocolate and I had quite a bit left over so I ended up coating a couple of extra Oreo's.  Be friendly and give them to your neighbor. 
Directions
     
Count out your Oreo's. 1, 2, 3....45 (or just open your 18 oz package if you found one).


Add Oreos to food processor (no need to break them) and blend until fine.


Add cream cheese to oreo crumbles.


Continue to blend until the mixture starts to pull together and form a dough.


Chill mixture in the fridge for 15 minutes then roll into bite-size truffles.  Place on cookie sheet.


Place cookie sheet with truffles in the fridge and chill until very firm.  This is important so the truffles won't lose their shape when covering with the melted chocolate.   

Melt almond bark in microwave according to package directions.  If you're not using bark but rather chocolate chips, microwave in a glass bowl for 30 seconds.  Stir.  Microwave again for 10 seconds and stir again.  Repeat steps until chocolate is smooth and every last chip is melted.   

Dip chilled truffles in melted chocolate using a fork so the chocolate can drip off and set onto waxed paper.  Make sure to really let the chocolate drip otherwise you'll get a 'puddle' around the truffle once it's set.  Sprinkle with crumbled Oreo cookie or using a fork drizzle chocolate on top to give a finished look.  I used semi-sweet chocolate on the white chocolate to give a nice contrast.   Let sit about an hour to firm up.  Try not to eat them all before you show them off to your friends. 

Enjoy!


Recipe adapted from Just A Pinch