Mar 6, 2012

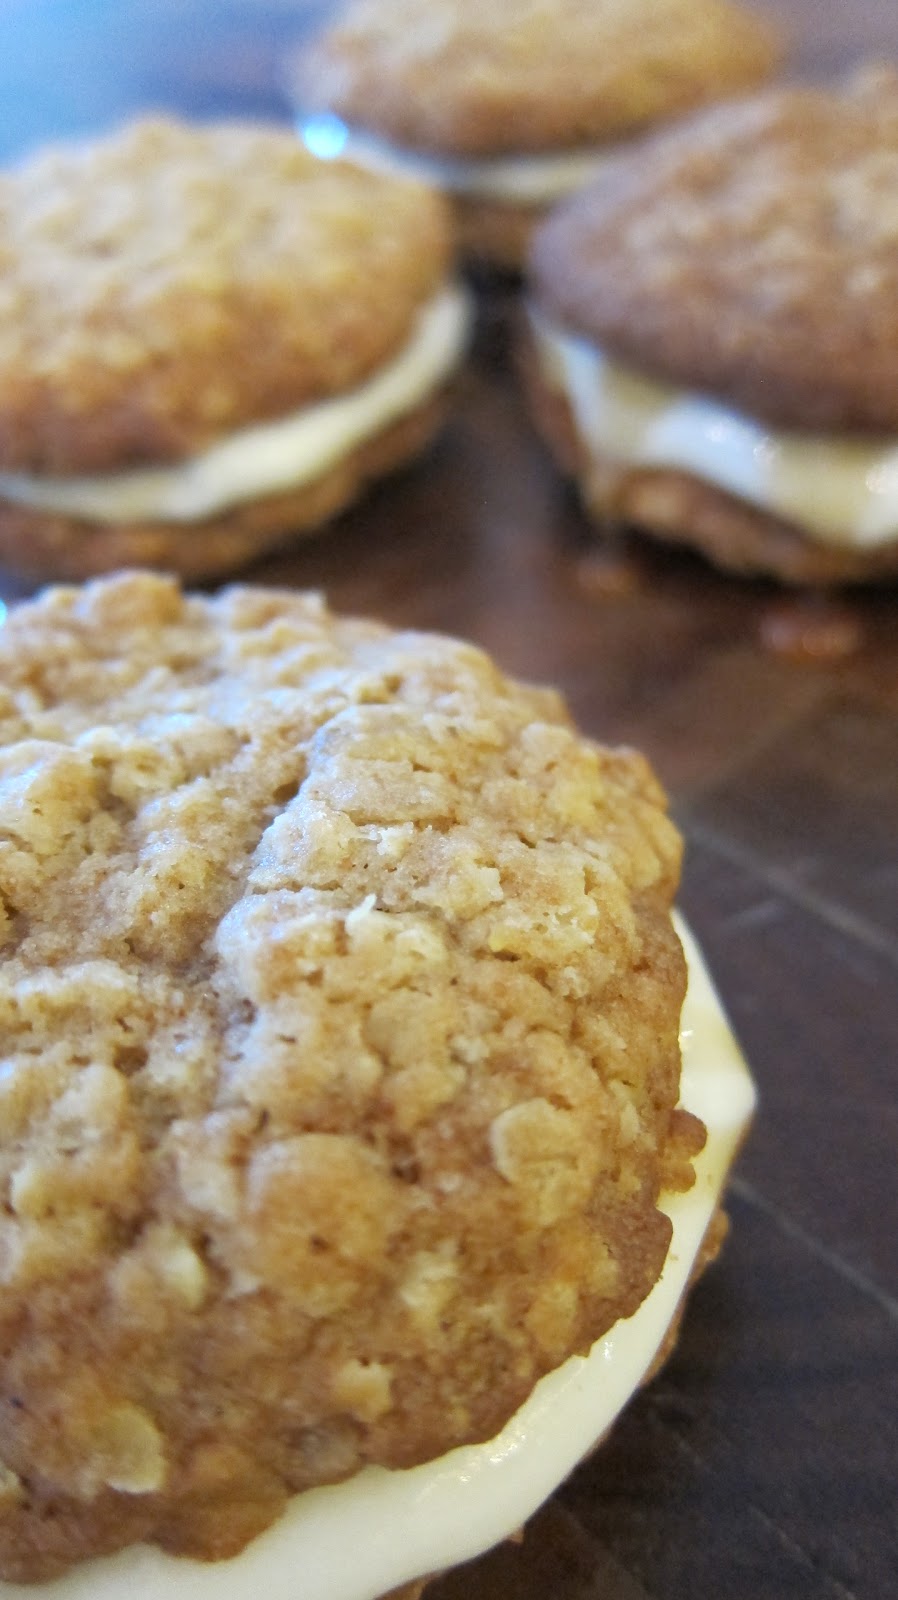
Oatmeal Cream Pies with Mascarpone Honey Filling


For someone who loves to bake and truly appreciates all things sweet made from scratch, I have a confession...I really, REALLY like to eat those overly processed, what-the-hell-I-can't-even-pronounce-the-ingredients AND they have a ten year expiration date snack cakes. 

You know what I'm talkin' about...


Tastykakes are without a doubt my childhood favorite...I will recreate the Peanut Butter Kandy Kake later on.  I found an insanely gooey sheet cake version which you will devour.  But today we're talkin' Oatmeal Cream Pies.

I am a firm believer in 'if it ain't broke don't fix it.'  And for me, there is nothing wrong with Little Debbie Oatmeal Cream Pies.  They are sweet, chewy, and most importantly the frosting doesn't squish out the sides when you bite into it.  Must be all the additives and preservatives that keep everything 'in place.'  I really don't care how or what goes inside these cookies, they are damn good and one of the ultimate comfort foods.  

The recipe I'm sharing here is the 'grown-up' version of the Oatmeal Cream Pie.  If you ask Little Debbie what Mascarpone is, she'd probably tell you it's her Italian neighbor. 

   
isn't she cute


Oatmeal Cream Pies with Mascarpone & Honey Filling

*for a printable version click here

For the cookies:

Ingredients:
1 1/4 cup butter (10 oz.)
1 cup brown sugar
1/2 cup sugar
1 1/2 cup all-purpose flour
3 cups oats
1 egg
2 teaspoons vanilla
1 teaspoon baking soda
1/2 teaspoon salt
1/2 teaspoon cinnamon
1/4 teaspoon nutmeg

For the filling:

Ingredients:
8 oz. mascarpone
4 oz. cream cheese
3-4 tablespoons honey, depending on your taste
1 teaspoon vanilla
1/2 to 4 cups powdered sugar *see note below

The original recipe called for only 1/2 cup of powdered sugar.  This is probably because the cream cheese she used had much less water than the brand I tried.  The cheese I used was the spreadable kind, more for toast and crackers.  So if you are using block cream cheese (like Philadelphia for example), start out with 1/2 cup powdered sugar and add (if needed) 1/2 cup more until you reach your desired consistency.  Yeh, I needed 4 cups.  I added the extra 4th tablespoon of honey so you could still taste it under all that damn sugar.  Once I got the balance of ingredients right it was perfect, don't be scared to tweek things in the kitchen as you go. 

Directions:

Preheat oven to 375 degrees Fahrenheit.  Beat butter and sugars until creamy.


Add egg and vanilla and mix well.


Sift flour, baking soda, salt, cinnamon, and nutmeg in a bowl.


Whisk to combine.


 Gradually incorporate dry ingredients into butter mixture and mix well.


Add oats and mix well.


Using a cookie scoop, drop rounded dough onto cookie sheet lined with waxed paper, 2 inches apart.


Bake for 10 minutes.  Let cool for two minutes on the sheet then transfer to wire rack to cool.


For the filling, combine mascarpone and cream cheese in mixer and beat until light and fluffy and lump free, about 2 minutes. 


Add honey and vanilla.  Mix to combine.


Sift in powdered sugar, mix well to combine but don't over-beat.


To assemble, slather one cookie (bottom side up) with a dollop of the filling.  Drizzle with honey and top with another cookie.


Enjoy!

cookie recipe adapted from Blooming on Bainbridge
filling recipe adapted from Lick The Bowl Good


Feb 27, 2012

Guittard Smooth & Melty Blondie with White Chocolate Ganache


Last week I attended the Gulf Food expo here in Dubai.  If you're not familiar with Gulf Food, how can I describe it…hmm try to imagine every single last food supplier on earth (and not to mention suppliers of industrial kitchens, serving-ware, kitchen tools...I could just keep going on and on) all crammed into the massive yet bursting at the seams convention center.

I steered myself toward the international section hoping to find some new products from the US and surprisingly I ran into the lovely people from Guittard Chocolate Company.  Guittard's baking products (hello cappuccino baking chips I love you) are one of the many things I always stash in my suitcase after a trip back home.

I was so stoked to find out that soon enough they will be selling some their products here in Dubai (gourmet grocery shop in jbr!). They were also kind enough to give me a bag of Smooth and Melty Mints (and the #1 best seller on amazon):


All I wanted to do was say 'thank you sooooo much' and walk away so I could eat the bag but then I remembered the kind gentlemen that I spoke with said I should blog about the mints.  And I'm sure you'd much rather see them in a recipe than have me talk about how I ate the whole bag before I got to the parking lot.  

So I thought to myself, what shall I do with these little minty pastel beauties?  The obvious thing to do would be to throw them in a batch of cookies and call it a day but I was feeling a bit more inspired.  Maybe it had to do with seeing all those giant stainless steel mixers at the expo that could easily sleep 4 people comfortably. 

I decided on using a blondie recipe for the bars, then topping them off with a white chocolate ganache.  I have never been a huge fan of the blondie.  I mean, why not just make a brownie?  Why have vanilla when you can have chocolate?  I don't trust those 'I prefer vanilla ice cream' people. 

But these Smooth & Melty Mints are intense.  They don't need a chocolate base.  They just need a subtle background so you can enjoy their strong, creamy flavor.  I decided on the white chocolate ganache because, well…it's like spending hours on your makeup and not putting on any lipstick.  They needed a bit of glitz and glamour.

Another favorite of mine from the show was seeing my loving, generous friends at President (who gave me enough samples to last at least until winter).  You may have noticed I ALWAYS use President butter in my recipes.  That's because I know their brand stands for quality.  When you've got over 75 years of experience in the dairy biz you must be doing something right. 


Guittard Smooth & Melty Blondie with White Chocolate Ganache
*for a printable version click here
Blondie:

2 3/4 cup all purpose flour
2 1/2 teaspoons baking powder
1/2 teaspoon salt
2/3 cup butter, softened
1 lb. light brown sugar (16 oz)
3 eggs
1 teaspoon vanilla

(1) 1 pound bag Guittard's Smooth & Melty Mints (if you can't find these in your area you can easily substitute for chocolate chips)

Ganache:

8 ounces (227 grams) white chocolate, cut into small pieces
3/4 cup heavy cream
2 tablespoons butter

Directions:

*the original recipe calls to mix by hand, however if you prefer to use a mixer that's fine.

Preheat oven to 350 degrees Fahrenheit.  Grease a 9x13 pan (I only had a 9x9 and it worked fine).

 Sift the flour, baking powder, and salt.  Whisk to combine.  Set aside.


Stir brown sugar into softened (not melted) butter until well incorporated.  Using the back of a rubber spatula really helps.


Add eggs one at a time to the butter mixture.  Mix well after each addition. 


Add vanilla and mix well.

Add dry ingredients to butter mixture in three additions.  Never dump ALL your dry ingredients into a wet mixture.  Two reasons.  One, you will just make a mess and then curse because you'll have flour everywhere (especially if you have your mixer on turbo speed).  Two, and more importantly by adding the dry ingredients slowly you are guaranteeing a thoroughly combined mix.


Take HALF of the dough and place into the greased pan.  Sprinkle mints on top of dough and make sure they are distributed evenly.


Spread remaining half of dough on top of mints.


Bake for 30 minutes or until top is golden brown.  Cool completely on wire rack.


 For the ganache, place chopped white chocolate in large glass (or heat safe) bowl.


Heat heavy cream and butter in saucepan over medium heat.  Bring to almost a boil and remove from heat.  Pour cream and butter mix over chopped chocolate and let sit (don't touch or stir!) for one minute.


Gently stir until all the chocolate has melted and you're left with a bowl of liquid satin.  Pour over cooled blondies and let sit in the fridge to firm up, at least 2 hours.


Cut into squares and enjoy!


Blondie recipe adapted from Bakerella
Ganache adapted from Joy of Baking

Feb 22, 2012

Creamy Lime Ricotta Tart with a Gingersnap Crust & Limoncello & Brown Sugar Whipped Cream


If you've never had a cheesecake made with ricotta you've been missing out.  This recipe calls for both ricotta and cream cheese, but the amount of cream cheese is much less than a typical cheesecake.  But don't worry, you won't miss it.

The ricotta provides an amazing lightness to the cake, yet it's still creamy from the addition of the cream cheese.  It's a marriage made in dairy heaven.

And the crust!  Oh man it's good.  The recipe calls for gingersnaps which is a nice compliment to the lime juice and zest.  If you were in a pinch and couldn't find them I believe you could also use Nilla wafers or something equivalent, but truthfully stick to the gingersnaps.  The sharp, tangy ginger really sets this crust apart.

And then there is the whipped cream.  Last but definitely not least.  Ok, yes I am American and thoroughly enjoy Cool-Whip, especially right out of the tub with a spoon.  BUT nothing compares to homemade whipped cream.  And I swear it's so easy.  You don't do anything but watch your mixer whip it up into this dreamy pillow of yum.

The original recipe I intended to make called for rum instead of Limoncello, but oops someone drank it all.  I can't imagine who… (burp).  Some dear friends of ours recently returned from Italy and brought us some lovely Limoncello which I thought would hold up well against the lime and ginger.  
Just be careful not to pour too heavy when adding any booze to your whipped cream otherwise it can separate…then you'll have to drink it with a straw, which may not be a bad thing.  But that is another recipe.

Creamy Lime Ricotta Tart with a Gingersnap Crust & Limoncello & Brown Sugar Whipped Cream
*for a printable version click here
Ingredients
Crust:
1 cup finely ground gingersnap cookies (ground in a food processor)
2 tablespoons granulated sugar
1 1/2 oz. melted butter (3 tablespoons)
Filling:
3 oz. cream cheese, at room temperature
15 oz. (1 1/2 cups) ricotta, at room temperature
3/4 cup granulated sugar
2 tablespoons all-purpose flour
1/4 teaspoon salt
3 large egg yolks
1 1/2 tablespoons finely grated lime zest
2 1/2 tablespoons freshly squeezed lime juice
Strips of lime zest for garnish
Whipped Cream:
*Note: this can easily be doubled as it didn't make a huge quantity
1/2 cup heavy cream
1 tablespoon brown sugar
1 tablespoon dark rum or Limoncello, your preference
1/4 teaspoon vanilla extract
Directions:
Preheat oven to 350 degrees Fahrenheit.  Lightly grease tart pan with butter. 
 
To help make this step easy and less messy, use a sandwich baggie as a glove to grease the pan.  This allows you to get into all the corners with ease and less fuss. 

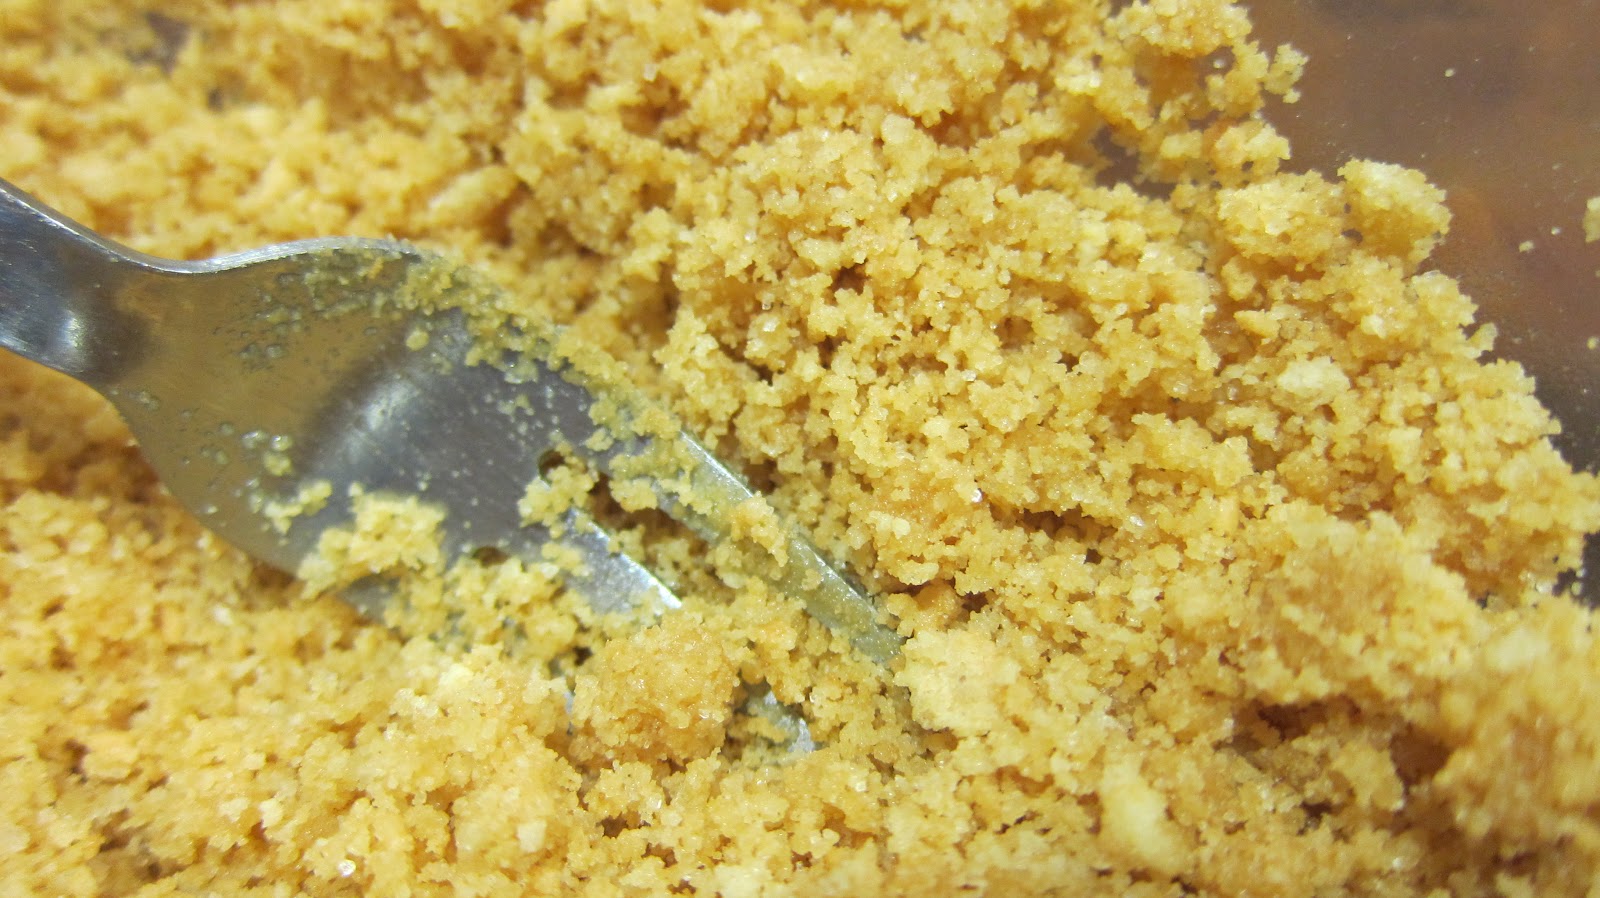
In a medium bowl, mix the cookie crumbs and sugar with a fork until well blended.  Drizzle melted butter over the crumbs and mix with a fork or your fingers until the crumbs are evenly moistened. 


Place the crumbs in the tart pan and use your hands to spread the crumbs so that they coat the bottom of the pan and start to climb the sides.  Use your fingers to pinch and press some of the crumbs around the inside edge of the pan to cover the sides and evenly create a scant 1/4 inch thick wall.

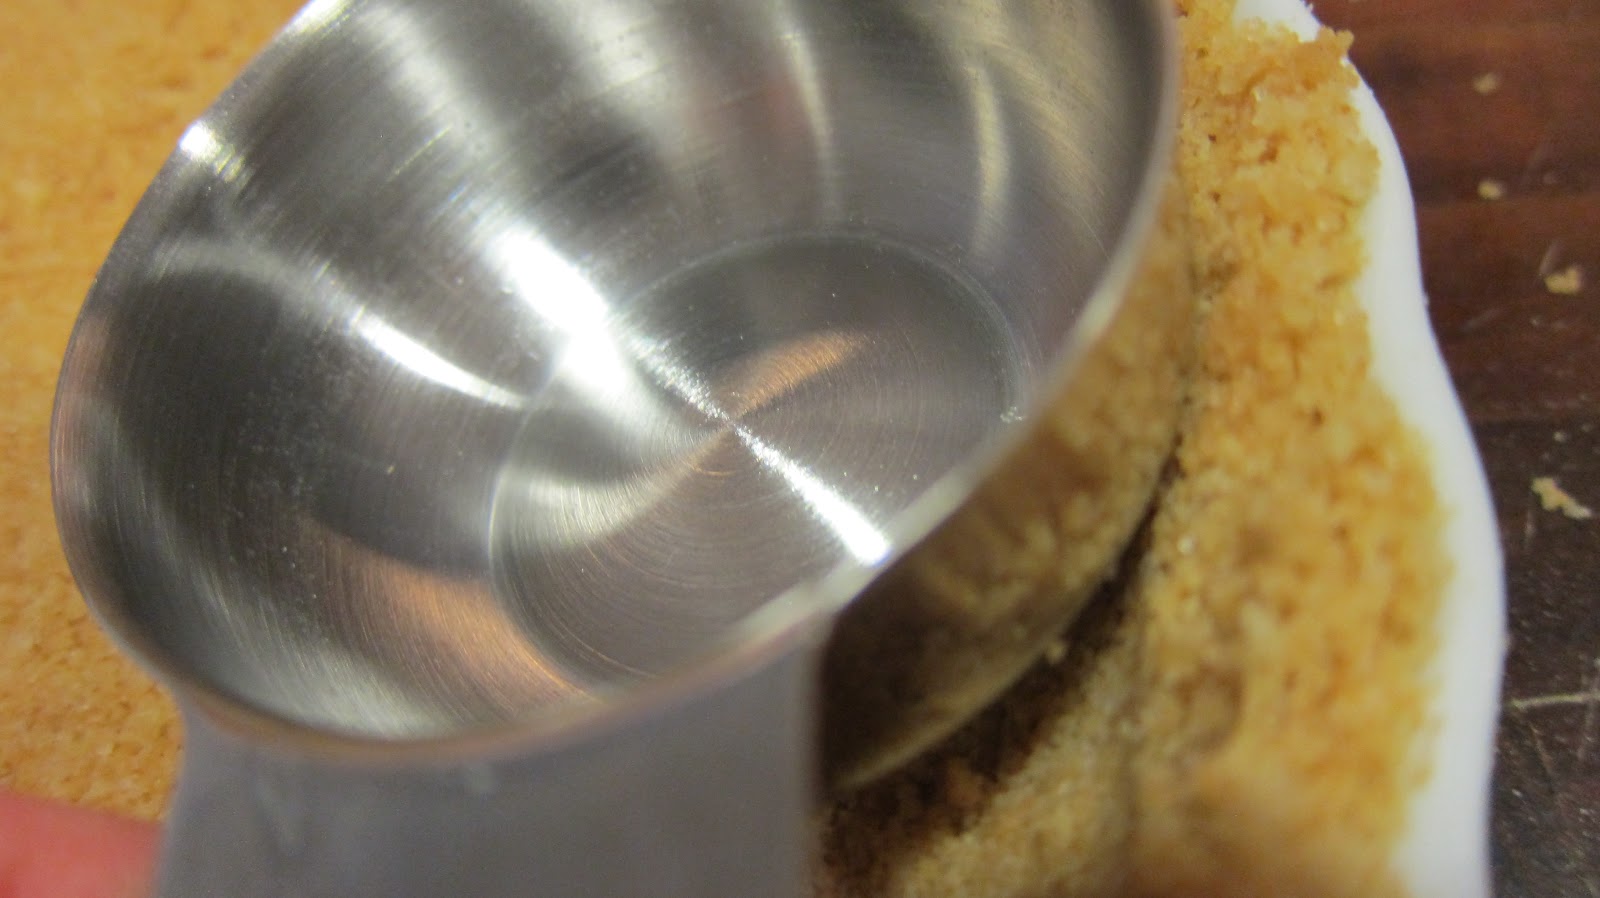
Redistribute the remaining crumbs evenly over the bottom of the pan, and press firmly to make a compact layer.  Using a metal measuring cup, gently push the crumbs down and use the side of the cup against the sides of the pan to make sure they are even.

  
Bake the crust until is gives off a fragrant, nutty aroma, about 10 minutes.  Crusts made with lighter colored cookies with brown slightly.  Set the baked crust on a rack and let cool.

In a bowl of a stand up mixer combine the ricotta and cream cheese.  Beat well until no lumps remain, about 3 minutes.


Add the sugar, flour, and salt and continue beating until well blended, about 1 minute.  Add the egg yolks, lime zest, and lime juice.  Beat until just incorporated.


The batter will be a beautiful pale yellow with the bright lime zest popping through.


Using a rubber spatula, scrap the batter into the baked tart crust and spread evenly.


Bake the tart until the filling just barely jiggles when the pan is nudged, about 30-35 minutes.  Let cool completely on wire rack.  Refrigerate the tart in the pan until chilled and firm, 2 to 3 hours.

To prepare the whipped cream, beat the heavy cream with a handheld or stand-up mixer on medium speed until thickened enough to hold very soft peaks.  Add brown sugar, Limoncello (or rum), and vanilla.  Contine to mix until soft peaks form.


Give yourself a dollop and Enjoy!

 Recipe adapted from fine cooking

Feb 15, 2012

Black & White Cookies

The Black & White cookie.  A classic deli favorite for many New Yorkers.  And according to Seinfeld, 'a metaphor for racial harmony, we should LOOK to the cookie Elaine!'


 This recipe actually caught my eye when I was going through my new cookbook, 'Baking with The Cake Boss' by Buddy Valastro (thanks Mom).


If you don't know Buddy yew betta ax somebaaady (that's in a thick Jur-zee accent of course).  Buddy, owner of Carlo's Bakey in Hoboken New Jersey is your typical American-Italian guido, and simply adorable.  He's got gold chains, slicked-back thick black hair, a gang of kids, a wife with poufy hair…I know he sounds Lebanese, right?  Yes, the two breeds are very similar.   

Carlo's bakery became all the rage for their elaborate cakes and typical American-Italian style confectionery menu.  But their reality show 'Cake Boss' is what made them famous.  Broadcast on TLC, Cake Boss explores what it takes on a day-to-day basis to run the bakery  (which by the way has a line out the door and down the street on a daily basis, that’s a lot of friggin cookies).

So back to the Black & White.  This cookie is pretty straight forward.  But don't let the simplicity fool you.  It's elegant, timeless, and can make anyone happy.  The texture of the cookie is what surprised me the most.  It's not cake and it's not cookie…it's a spongy-somewhere-in-the-middle little treat.  The frosting on top gives just enough sweetness without over-powering the bite. 

I wasn't happy with the frosting recipe from Buddy.  You need to cook it over a double broiler and once taken off the heat it cools off in no-time which means you need to move your ass fast.  This is not easy when you've got 12 cookies to ice and you've got to make sure you get that line down the middle perfectly straight.  I had to re-heat it twice in the microwave which ultimately sent the chocolate frosting directly into the trash.  I guess you could say it got...well, I burned it. 

SO, I found a friendlier, more forgiving recipe from Epicurious…sorry Buddy.  For sure you can bust these cookies out in no time with frosting pretty as a picture, but me - not so much.  The recipe I found calls for corn syrup (and no heat required!) which gives this amazing elasticity to the frosting making your life so much easier.

Black & White Cookie
Makes 12 cookies

Cookies:
3/4 cup plus 2 tablespoons granulated sugar
1/2 cup (1 stick) unsalted butter
2 extra large eggs
1/2 cup milk
1/4 teaspoon vanilla
1/8 teaspoon freshly squeezed lemon juice
1 1/4 cups cake flour
1 1/4 cups all purpose-flour
1/2 teaspoon baking powder
1/4 teaspoon salt

Frosting:
1 1/2 cups confectioners sugar
1 tablespoon light corn syrup
2 teaspoons fresh lemon juice
1/4 teaspoon vanilla
1 to 2 tablespoons water
1/4 cup unsweetened Dutch-process cocoa powder

Preheat oven to 340 degrees Fahrenheit.  Cream together butter and sugar in the bowl of a standing mixer fitted with the paddle attachment, starting on low and gradually increasing to medium.  You can use a hand mixer if you let the butter soften at room temperature before you begin.  Add eggs, one at a time, paddling for about 1 minute after each addition, then stopping to scrape the sides of the bowl.  Add the milk, vanilla, and lemon juice.  Paddle just until they are absorbed into the mixture.


Sift the cake flour, all-purpose flour, baking powder, and salt together in a separate bowl.  Whisk to combine. 


Add the dry ingredients to the creamed butter mixture.  Paddle on low speed just until they have been absorbed by the mixture and it is smooth and consistent.  This step doesn't take long at all, so be sure to watch it as you don't want to over mix.  The batter is very thick, but also a bit sticky. 


Line your cookie sheet with parchment paper.    Using non-stick spray or a dab of butter, lightly spray the corners to glue the paper into place. 


Use a 2-ounce ice cream scoop or a 1/4 cup measure scoop to scoop the batter onto the parchment paper, leaving 2 inches in between the cookies.


Bake until the cookies are lightly golden brown, about 18 minutes.  Remove from oven and as soon as the cookies can be moved, use a spatula to transfer them to a rack and let cool.


Transfer the cookies to plates (or place in a zip-lock freezer bag) and freeze for about 10 minutes to firm up.  This helps while icing since the cookies are delicate and could tear from the spatula. Freezing help firm up the cookie.  Brr.

While the cookies are in the freezer, get started preparing the frosting.  Sift confectioners sugar into a medium bowl then add corn syrup, lemon juice, vanilla, and 1 tablespoon water. 


Stir till smooth. 


Transfer half of icing to another bowl and sift in cocoa.  This will guarantee your frosting to be smooth and free of cocoa lumps.


Add water, 1/2 teaspoon at a time, to thin to same consistency as the white icing.


Turn cookies flat sides up, then spread white icing over half of each and chocolate over other half.  I created a line first so I had somewhat of a guide to help make sure the icing was even.


Using your spatula, gently cover 1/2 the cookie with the white, then repeat on the other side with the chocolate.


  Bite and enjoy.