Mar 27, 2012

Malted Milk Chocolate Chip Cupcakes with Salted Caramel Filling & Malted Chocolate Ganache


Happy early Easter!  I've got my son's first birthday around the corner so I thought I better hurry up and post an Easter treat for everyone while I still have my head on straight.

Just a heads up, I'll be making him a Cookie Monster Cake, C is for Cookie and don't you forget it.


But before we get into the world of cake decorating, let's talk malted milk balls aka Whoppers.

Oh God I have never been a fan of Whoppers.  Whoppers or Circus Peanuts.  Remember those orange, rubbery, why-the-hell-do-I-waste-my-calories on these horrible little door stops?  Ick.  So why am I making Malted Milk Cupcakes with Malted Milk Ganache?  Because they turned out DAMN good that's why!  And my husband likes these candies, so this is just a little love for him. 

Just a note, if you're here in the middle east or in Europe, you'll know Whoppers by their alter ego, the Malteser.  However I did find Whoppers at the Hershey's store in Dubai Mall.  During Easter time they're colored to look like Robin's Eggs:


Additionally this recipe calls for malted milk power.  If you're in the US you can find malted milk in the coffee isle along side the creamers and hot chocolate (Carnation brand).  Here in Dubai, ooh it was not that easy.  Those closest thing I could find was something called Horlicks:


I tried a bit before hand and it tasted exactly like the inside of a malted milk ball, so I assumed this would work.  Yum it did.

The texture the malted milk provided the cupcake was really quite interesting.  It was spongy yet still dense.  Like a happy marriage of a cookie and cake.  Fill 'em up with salted caramel and you've got yourself an Easter treat fit for any-bunny...hardy-har-har.

Malted Milk Chocolate Chip Cupcakes with Salted Caramel Filling & Malted Chocolate Ganache
for a printable version click here

For the cupcakes

Ingredients:
3/4 cup malted milk powder (or Horlicks)
1 cup firmly packed brown sugar
1 1/2 cups all purpose flour
1/4 teaspoon salt
1/4 teaspoon baking powder
3 large eggs, at room temperature
1/2 cup butter, melted and cooled
2 teaspoons vanilla
1/2 cup mini chocolate chips
1/2 cup walnuts, chopped (optional)
Robin Eggs (Whoppers) or Maltesers for garnish

For the Salted Caramel

Click here for the recipe and directions.  You can also leave the caramel out if you prefer, the cupcakes will still be awesome.  But who doesn't like caramel?

For the Malted Chocolate Ganache

Ingredients:
4.5 oz. (128 g) chopped chocolate (I used a mix of dark and milk, but it's your preference)
1/2 cup (218 ml) heavy cream
3 tablespoons malted milk powder (or Horlicks)

For the Dyed Coconut
1 cup shredded coconut (sweetened kind is ok)
1 teaspoon water
green food coloring (I used Wilton's Gel food coloring)

Directions
Preheat oven to 350 degrees Fahrenheit.  Line 2 muffin tins with paper liners (I used a mini-muffin tin) and then spray the liners with non-stick spray and set aside.

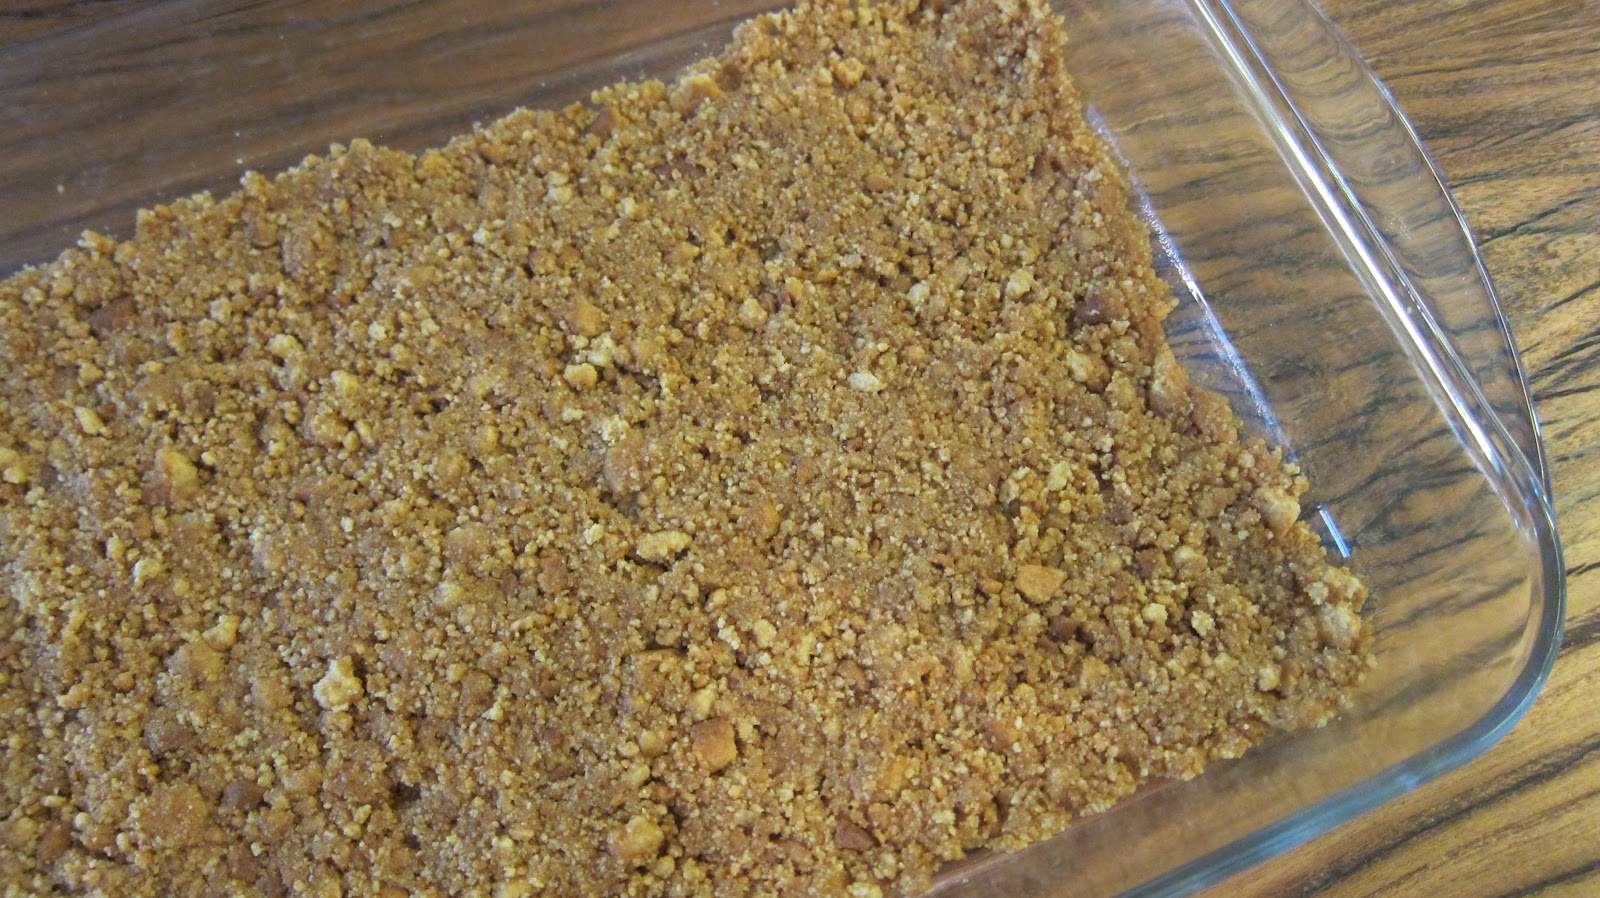
In a large mixing bowl sift together the malted milk, brown sugar, flour, salt, and baking power.  Whisk to combine.


In a medium bowl, whisk together the eggs, melted butter, and vanilla.  It looks like Easter already! 


Make a well in the center of the dry mixture and add the wet ingredients.  Stir with a wooden spoon until just combined.


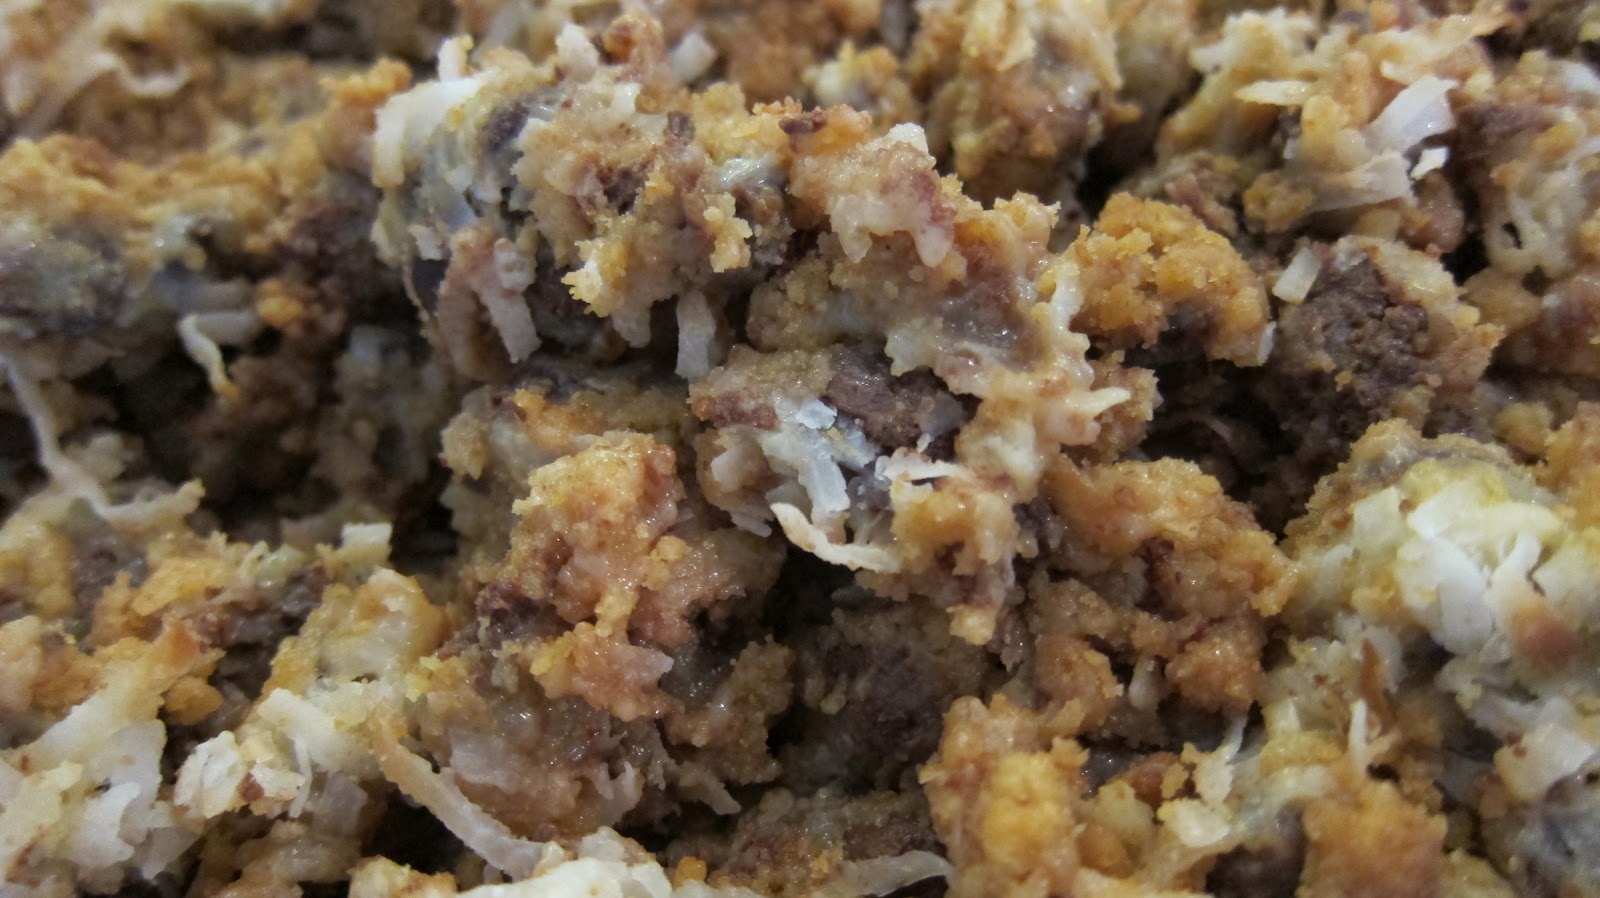
Fold in chocolate chips and walnuts.


If you are using a regular muffin tin, use a cookie scoop to portion out the batter into the liners.  Since I used a mini-tin I had to use a melon baller which worked perfect.  I'd say it was about 2 teaspoons per cupcake.  Bake for about 15 minutes or until a toothpick inserted in the middle comes out clean.


Move to a wire rack to cool completely.


For the colored grass,  place the coconut in a zip-lock bag.  Combine water and food coloring in a small bowl, stir till gel is diluted.  The amount of food coloring depends on the intensity of color you want to achieve.  Pour colored water into the bag of coconut and shake till thoroughly coated. 


If you prefer to not fill the cupcakes you can skip this part.

You may have your own way to fill a cupcake, but I found this trick pretty handy.  Take a piping tip and gently cut into the top of cupcake.


Pull out the cut piece.  Don't eat it, I know it's difficult.  Stick the piping tip back inside and dig out some more of the cupcake.  This part you can eat. 


Fill the hole with the salted caramel (I used a piping bag but a zip lock bag with the corner cut off will work fine too).


Stick the top back on.  If some of the caramel oozes out, wipe with a damp paper towel.  As you go along you'll know when to stop filling so this won't happen.  Took me about a dozen tries.  Refrigerate for a few hours so the caramel hardens up.  I found this step pretty necessary so the ganache goes on easy. 


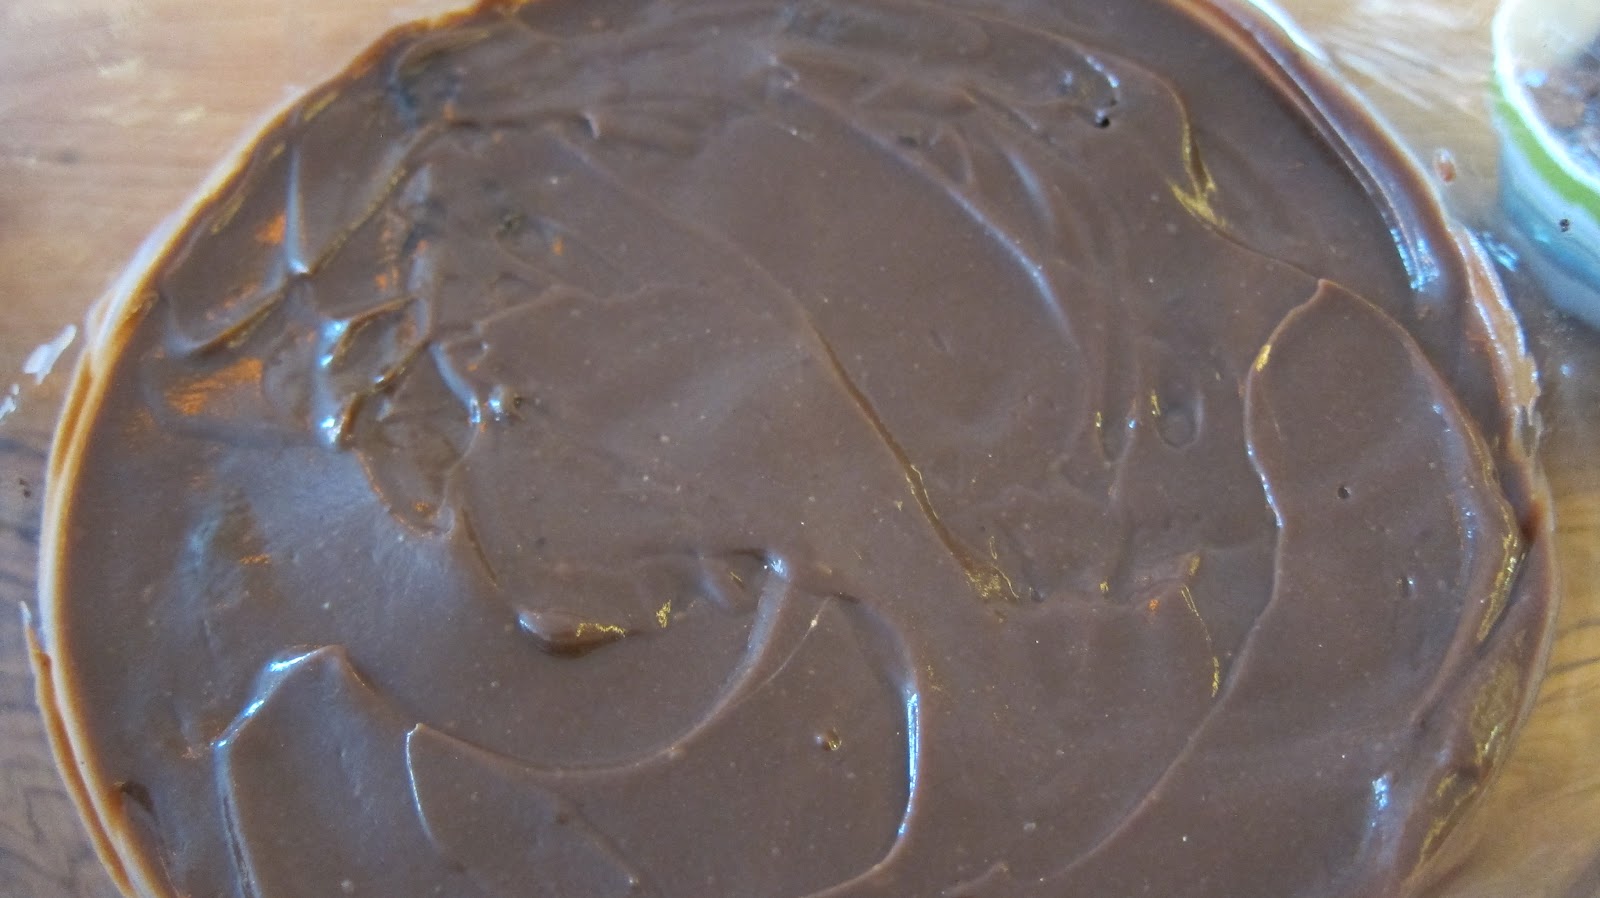
To prepare the ganache, chop up your chocolate into small pieces and place in a bowl.


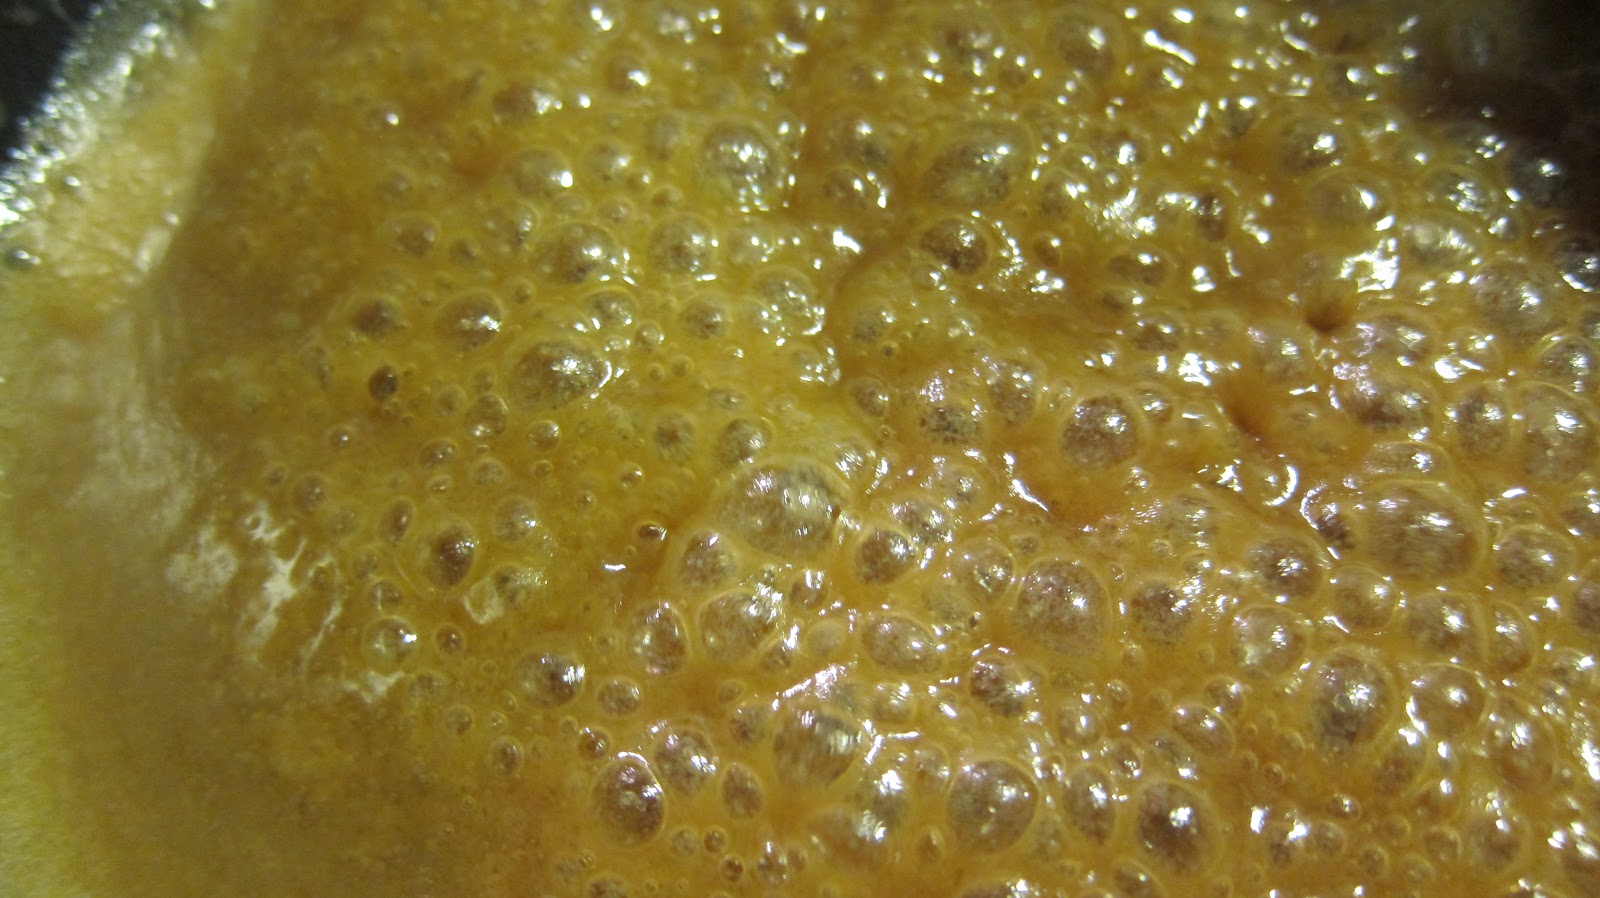
In a small saucepan, whisk heavy cream and malted milk together.  Bring to a gentle boil, whisking to make sure all the malt powder dissolves completely.  Pour hot malted cream over the chocolate and let sit for 5 minutes.


Whisk until smooth.


I found the best way to cover the cupcake with the ganache was to dip it directly into the chocolate.  Swirl around slowly to make sure the top is evenly coated.


At this point you could leave the cupcakes as-is.  They are pretty sexy and elegant looking, but come on it's Easter.  We need fake grass and chocolate. 


Give a sprinkle of coconut to the ganache.  You'll want to do this immediately before the ganache sets.  I dipped the Robin Egg in the ganache (just a touch on the bottom) so it would stick well to the top of the cupcake.


Happy Easter Everyone, God Bless!

Cupcake recipe courtesy of The Purple Spoon

Salted Caramel courtesy of Erin's Food Files

Ganache recipe courtesy of Bakingdom

Mar 20, 2012

Death by Chocolate Trifle


Trifle's are my new BFF.  They are so easy going.  You can add anything you love or anything that's left over in the pantry to a trifle and you can pretty much guarantee it's going to be awesome.  I don't even use a recipe when I plan on making one.  I just go shopping and see what looks tempting in the cookie and candy isle...or as I am calling it lately...the office.

Also, they just look great, don't they?  They have the same taste as any cake but without the stress of having to frost one.  Not going to lie, that is my favorite part. 

This trifle here was made for my dear friend Zoe on her birthday.  Happy Birthday Zoe!  No cool-whip here for my British mate, this is fresh, home-made whipped cream on top...but don't worry I haven't forgotten where I come from, I used Jello Chocolate pudding on the inside...tee-hee-hee. 

The recipe below can easily be adapted.  Don't limit yourself to just cake when making a trifle. You could easily use brownies or maybe cookies dipped in booze, almost like a tiramisu effect.  You can swap out the pudding for ice cream, cool whip, whipped cream, whatever.  If you don't want to use candy, use cookies or nuts.  If you want to make a lighter version, use angel food cake and fresh berries with whipped cream.  The possibilities are endless, have fun!


Death by Chocolate
*for a printable version click here

Ingredients

For the Trifle:
1 chocolate cake, baked and cool.  If you need a recipe, this is my go-to chocolate cake that can be thrown together in a snap
1 cup Bailey's Irish Cream (or you can use Kahlua, Godiva Liqueur, or something similar)
1 package (3.9 oz/4 1/2 cup) Jello Brand Chocolate instant pudding, prepared as per the directions on the box
1 package Dark Chocolate Tim-Tam cookies, chopped into bite sized pieces (or Oreo's, chocolate chip, ANYTHING!)
6 Mars bars, chopped into bite sized pieces (or Snickers, Milky Way, or anything you LOVE)
Hershey's Syrup

For the mocha whipped cream
1 1/2 cups whipping cream
1/2 cup sugar
1/4 cup unsweetened cocoa powder (be sure to sift to avoid lumps!) 
2 teaspoons vanilla
1 tablespoon instant espresso (not espresso grounds!)

To prepare the whipped cream, combine ALL ingredients into the bowl of a stand-up mixer.  Beat on high until peaks form.  Keep refrigerated until ready to use.

Directions:

Once the cake has completely cooled, poke entire cake with a fork, all over.  Using a pastry brush cover entire cake with the Bailey's.  I ended up pouring it on SLOWLY since it would have taken forever just brushing it on.  Do use your pastry brush to spread the Bailey's out evenly.

Let the Bailey's soak in the cake at least over night in the refrigerator.  You want it good and drunk.

Take your bottle of Hershey's syrup and give the bottom of yout trifle dish a good squirt.  Think of the syrup here as glue.  Yummy, edible, glue.


Next cut up the cake half-hazardly and using a spatula (I have a small cookie-size spatula that works wonders here) transfer it in into the bottom of the trifle dish.  Using the bottom of the spatula gently compact the cake.  It will be gooey don't worry, that is just from the booze.


Just a side note here: if you get a smudgin' of cake or pudding on the side of the glass, try to wipe it off with a damp paper towel.  You're using a glass dish so every spot is going to show...really like anyone cares, they'll just want to eat it, but still.


Spoon HALF of the pudding onto the cake and spread evenly.


Sprinkle on some of the chopped cookies in an even layer.  You could also mix the cookies and candy if you wish.


Then a good drizzle of Hershey's syrup.


Another layer or cake.


Cover with remaining pudding.


Sprinkle on the chopped Mars Bars and another healthy squeeze of chocolate syrup.


Another layer of cake.


Another sprinkle of the cookies and Mars Bars with a squeeze of syrup.  If you have a large trifle dish you could have added another layer of pudding on the cake but mine isn't that deep.  Such a pity.


Add a generous dollop of the mocha whipped cream to the top.  I usually don't spread the whipped cream to the edges.  You want to show off all that yummy yummy madness creeping out underneath.  Add a sprinkling of cookies/candy to the top and refrigerate for at least an hour to let everyone marinate.


Dig in and enjoy!


Mar 16, 2012

Magic Truffles


No they're not magic because these are going to disappear once you taste them, although I could totally see that happening too.  They're 'magic' because the main ingredient in these bad-boys is a batch of Seven Layer Magic Cookie Bars (tweaked slightly).

The idea for these truffles came to my sugar-pumped brain when I was reading a recipe for cake pops.  If you're not familiar with cake pops, check out Bakerella's website as it seems she is becoming the cake-pop-master-ella.

Basically a cake pop is cake - any cake, baked, then crumbled.  Add frosting to the crumbled cake, mix till gooey and delicious, then form into balls.  Insert a stick into the ball, dip in chocolate and decorate.  Genius and delicious.

I was thinking about trying out a batch but I remembered that I had toffee bits and a can of sweetened condensed milk in the pantry just calling my name.  Those two are just asking to be made into Seven Layer Magic Bars.

Although Magic Bars are one of my go-to recipes this time around I wanted to do something a bit more calorie-licious.  I just made that up...I mean the whole point of this blog is about experimentation, so let's take things to the next level and get fatty together.

So after being inspired by the cake pops, I decided I would crumble up an entire batch of Magic bars and combine them with toffee frosting (which is now my favorite frosting ever, besides Sam's Club butter cream.  I know I can't believe I am admitting that).  Then I rolled the mixture into balls and coating with melted chocolate.  No stick required.  They are faster to eat without the stick anyway.


Magic Truffles
*for a printable version click here

For the Magic Bars:

Ingredients
1 1/2 cups graham cracker crumbs (I used digestives, both work equally the same)
1/2 cup butter, melted
1 (14 oz.) can sweetened condensed milk
2 cups chocolate chips (milk or semi-sweet, your preference)
3/4 cup Heath Toffee Bits, and additional for garnish (1 bag is enough for the recipe, I had extra left over)
1 1/3 cup flaked coconut (sweetened kind is okay)

For the Toffee Frosting:

Ingredients
4 oz. unsalted butter
6 oz. light brown soft sugar
4 fl oz. evaporated milk
1/8 teaspoon salt
12 oz. icing sugar
3/4 teaspoon vanilla extract

For the chocolate coating:

Ingredients
2 cups chocolate chips (milk or semi-sweet, your preference)
2 tablespoons PLUS 2 teaspoons vegetable shortening (do NOT use butter!)


Directions:
Preheat oven to 350 degrees Fahrenheits (325 if you're using a glass baking dish).  In a small bowl, combine crumbs with butter and mix well.  Press crumb mixture firmly into the bottom of a 13x9 inch baking pan.


Pour sweetened condensed milk evenly over crumb mixture. 


Sprinkle toffee bits on top.


Then sprinkle the chocolate chips.


And then the coconut.


Using a fork, firmly press down so everyone gets cozy.


Bake for 25 minutes or until lightly browned.  Cool completely on wire rack.


Once totally cooled, cut up ENTIRE batch and place in a bowl. 


Okay this next step is going to break your heart at first (especially for me since I didn't know whether or not this recipe was going to work, but trust me it's SO worth it once they're done).  Using your fingers, crumble up squares into a messy, sticky, but holy-crap-that's-good mess and set aside.


To prepare the frosting, heat the butter, brown sugar, evaporated milk, and salt together in a pan until boiling.


Simmer for four to five minutes, stirring regularly to let thicken.


Add icing sugar and vanilla extract to the bowl of a stand-up mixer.  Pour butter mixture into mixing bowl with the sugar and beat with a whisk attachment until combined and fluffy...start out on low speed so you don't get sugar everywhere - poof!

Add frosting to the bowl of crumbled up magic bars and mix just to combine, don't over mix.


Form mixture into balls and refrigerate to firm up, about 30 minutes.


Line cookie sheet with waxed paper (this is to place the balls on after you coat them with chocolate).

To prepare the chocolate coating, add chocolate and shortening to the bowl of a double broiler. Stir constantly with heat-safe rubber spatula until smooth and no lumps remain.  Using a fork, dip rolled balls into chocolate and coat evenly.  Gently tap fork on the side of the bowl to help shake off excess chocolate.


Invert chocolate dipped truffle on cookie sheet lined with the waxed paper.  Use the bottom of the fork to smooth out any lines.


Sprinkle with extra toffee bits.  I also toasted some additional coconut and sprinkled that on too.


Let sit for about two hours for the chocolate to firm up.  I found these taste best if refrigerated.


Enjoy!!!

Magic Bars recipe adapted from Eagle Brand

Toffee Frosting recipe courtesy of More Cake Please

Chocolate Coating recipe courtesy of Hershey's