Oct 22, 2013

Belgian White Chocolate Spread Cookies with Kinder Chocolate Maxi Pieces


Don’t you just hate being left of out the loop on things?!  Especially when it’s something you are truly interested in…say, office gossip for example.  Or THE new fad diet everyone is dropping pounds on (at least momentarily anyway)…or in my case…FOOD.  Or more specifically the sweet, creamy, make-your-teeth-itch-from-the-sugar-overload Blondie Belgian White Chocolate Spread from Le Pain Quotidien.  This stuff is selling OUT in Dubai like there is no tomorrow.  I had never even heard about it till I was catching up on my weekly peruse on Expat Woman (a local website designed for expat families to share all sorts of useful info about our city) and all the ladies were like ‘I got the last jar!’ or ‘I bought 4!’ or my favorite ‘for those who want to buy, email me…’  

I had to know what the madness was all about.  Something selling this hot has to be good.  Especially at 45dhs a jar…that’s about $12.00. 

Mostly they were referring to the Speculoos flavor, which I think you can compare to Biscoff spread.  However at Le Pain Quotidien, they have several varieties including chocolate hazelnut (similar to Nutella), and the Blondie white chocolate I used for these cookies.   
 
 
Oh trust me it’s good enough to spread on toast or my personal favorite, eat straight from the jar, but since I’m all about experimentation, I thought it needed to be incorporated into my next recipe asap…or at least before I finished off the jar ‘testing’ it. 

I would think any of the flavors could be substituted for peanut butter or Nutella in your favorite recipes as it has the same over-all consistency and fat content.  Also, I added chopped Kinder Chocolate Maxi’s  to these cookies but you can most definitely swap it out for chocolate chips, m&m’s, or what I originally wanted but couldn’t find, White Chocolate Reese’s Peanut Butter Cups. 


Word to the wise; buy two jars.  One to bake with and one to eat…on your own...specifically when no one else is home and won't complain about your ‘double-dipping’ 


Finally, my husband said I should name them Crackies…you know because they are THAT addictive. 

Belgian White Chocolate Spread Cookies with Kinder Milk Chocolate Maxi Pieces
Makes about 4 dozen cookies

Ingredients:
½ cup brown sugar, packed
½ cup granulated sugar
½ cup Blondie Belgian White Chocolate Spread from Le Pain Quotidien (or Biscoff Spread)
½ cup (4 ounces) unsalted butter, cut into small pieces at room temperature
1 large egg (*the eggs sold in the UAE are much smaller than what we have in the US so I used two medium-sized eggs)
2 ¼ cups all-purpose flour
¾ teaspoon baking soda
½ teaspoon baking powder
1 teaspoon vanilla extract
½ teaspoon salt
10 Kinder Chocolate Maxi’s, roughly chopped (about 1 ¼ cups)**
½ cup milk chocolate chips**

**you can use any type of candy/chocolate chips you have on hand for this recipe.  If using only chocolate chips, I would suggest using 2 cups

Directions 

Preheat oven to 375 degrees Fahrenheit.  Combine sugars, butter, white chocolate spread, eggs, and vanilla in the bowl of a stand-up mixer (or hand mixer).  Beat until thoroughly combined, about 2-3 minutes.
 

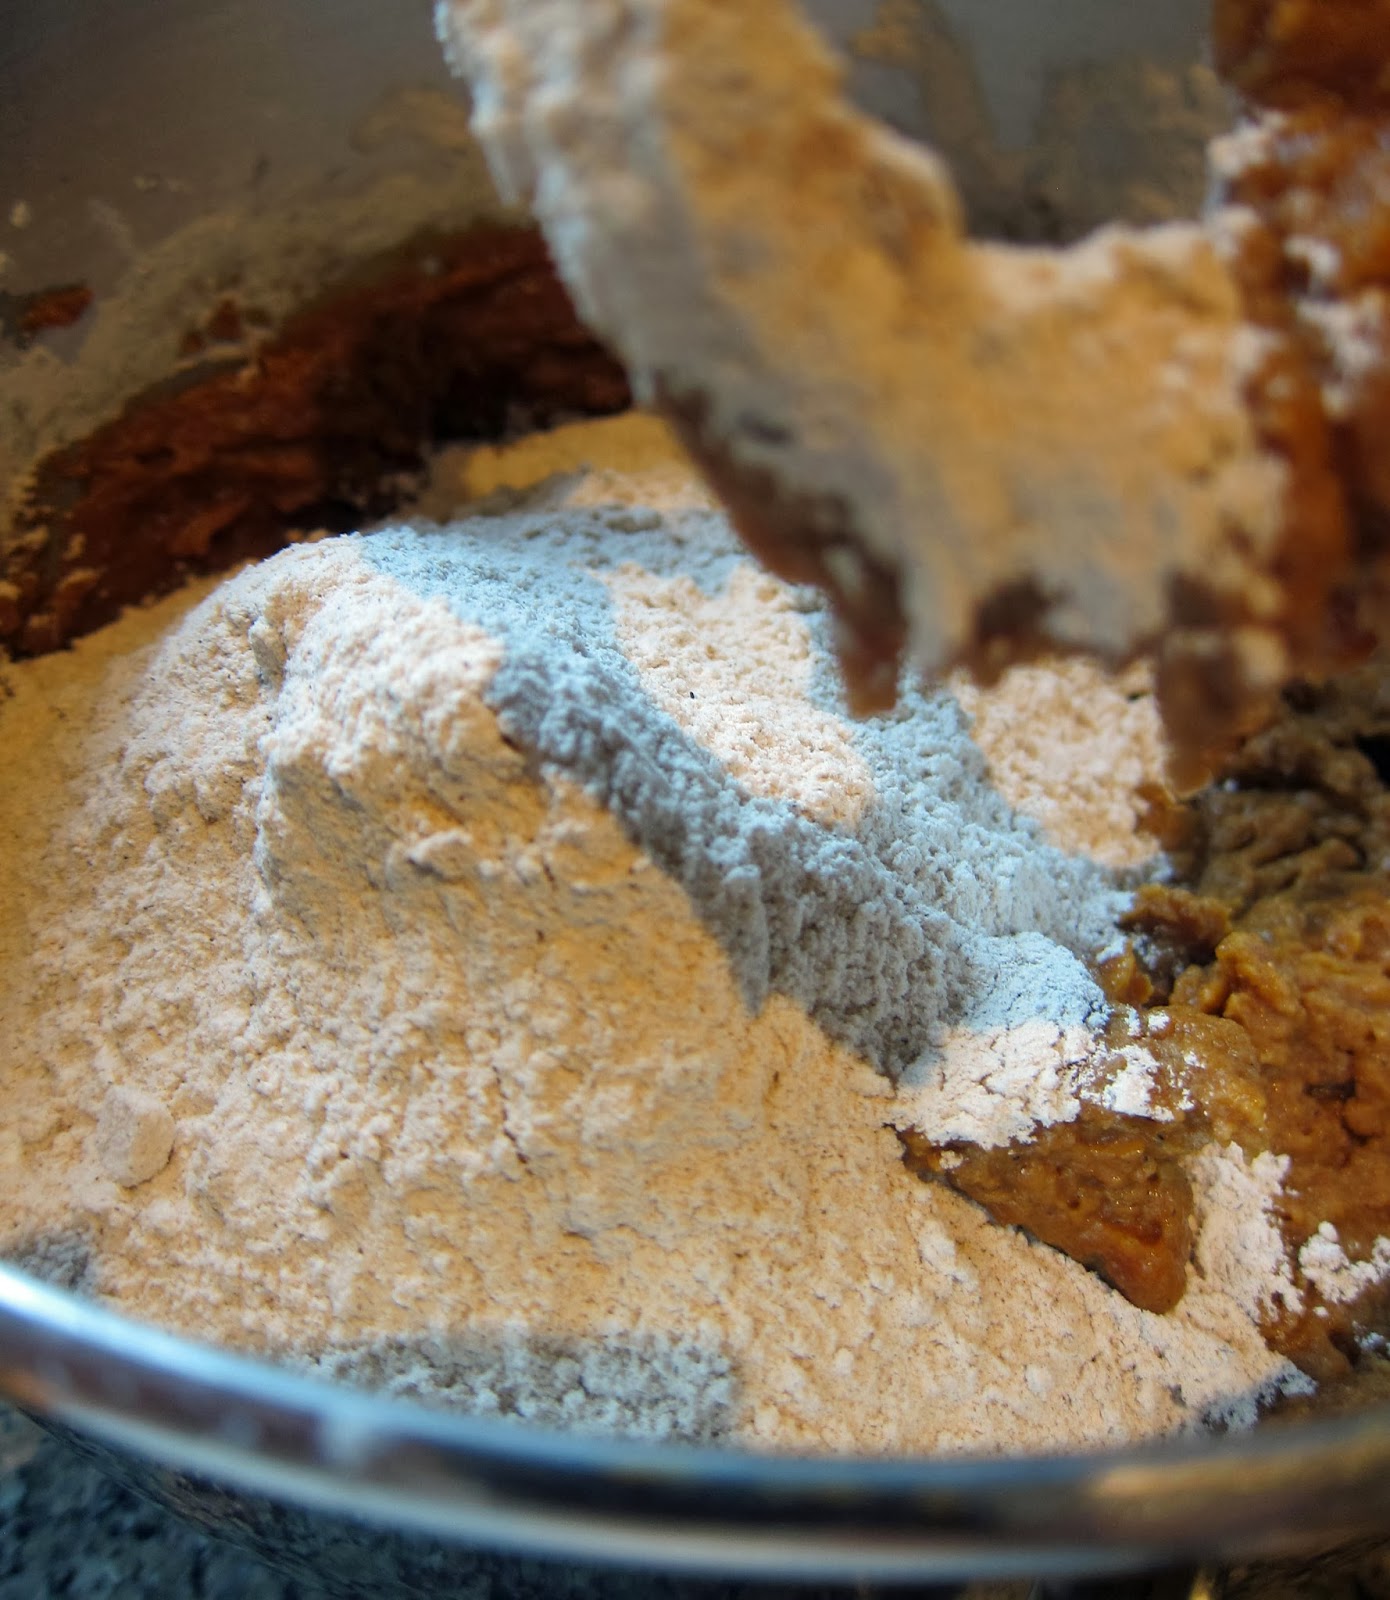
Sift in flour, baking soda, baking powder, and salt.  Mix to combine but do not over-mix. 
 

Add chopped candy and/or chocolate chips. Mix in by hand until combined.


Cover bowl and refrigerate until firm, about 2 hours.

Shape dough into balls (about 1 ¼ inch) and place on cookie sheet and place in freezer for about 15 minutes.  Remove from freezer and place cookies about 3 inches apart on cookie sheet lined with waxed paper (I used a non-stick baking mat).

 
Bake for about 10-12 minutes until lightly golden brown around the edges.  Remove from oven and let cool for 5 minutes on the pan.  Transfer cookies to a wire rack to cool completely.


Enjoy!
 
recipe adapted from Betty Crocker


Oct 17, 2013

Chewy Cocoa & Oatmeal Bars with Peanut Buttery Milk Chocolate Topping


These bars are based off of a recipe I came across for Oh’Henry Bars.  After doing a big of research on the O-bars…I realized the two are not even close. 
 
Let’s recap.
 
Oh’Henry Bars:
 
Awesomeness of peanuts, caramel, AND fudge covered in Milk Chocolate.  I mean come on look at it…even Superman’s willpower couldn’t deny inhaling that one.
 
So I changed the name to the recipe I found, added some Hershey’s Special Dark Cocoa and tweaked the recipe slightly.  And the results?  Oh damn these ones are good too.  Maybe not as close to perfection as the Oh’Henry Bar, but as close as one can get in a domestic kitchen.  And don’t they look healthy?!  They are soooo not, but just sayin’.  Look at all those healthy oats, how could you feel guilty eating oats?!  Just tell yourself you’re snacking on a granola bar.  But like a really fantastic peanut buttery chocolate one. 
 
 
Chewy Cocoa & Oatmeal Bars with Peanut Buttery Milk Chocolate Topping
Makes about 15 bars
 
Ingredients 
 
For the Bars:
4 cups rolled oats
1 cup brown sugar, packed
2/3 cup unsalted butter, room temperature
½ cup corn syrup
2 teaspoons vanilla extract
½ teaspoon salt
1/3 cup cocoa 
 
For the Topping:
1 cup smooth peanut butter
1 ½ cups milk chocolate chips
 
Directions 
 
Preheat oven to 350 degrees F.
 
Combine oats, brown sugar, butter, corn syrup, vanilla, and salt in the bowl of a stand-up mixer (hand mixer is okay too). 
 
 
Sift in the cocoa.
 
 
*Always be sure to sift your cocoa to remove lumps like these.  Gently push them through the sieve.
 
 
Mix on medium until thoroughly combined.
 
 
Transfer and press mixture to a 9x13 pan that has been greased well (I used spray Pam but shortening or butter would also work). 
 
 
Bake for 12 minutes and remove from oven.  Let cool for about 15 minutes.
 
To prepare the topping, combine the peanut butter and chocolate chips in a microwave safe bowl and microwave for one minute. 
 
 
Remove and stir. If you’re mixture is still quite lumpy, heat again for 10 seconds.  Remove and stir until no lumps remain and the mixture is smooth.  *If you still have remaining chocolate pieces in the bowl, continue to heat on 10 second intervals stirring after each until topping is smooth.  Be careful not to over-heat as the chocolate can burn easily in the microwave.
 
 
Pour topping over the slightly cooled bars and let cool on the counter for about 15 minutes.  Cover with plastic wrap and place in the fridge until topping has completely hardened, about 1-2 hours.  Cut into bars and enjoy! 


Bars adapted from allrecipes.com

Oct 6, 2013

Pumpkin Whoopie Pies with Cinnamon Marshmallow Fluff Buttercream

 
I, like many other bakers and bloggers out there whip out our can openers this time of year to pop the top on canned pumpkin.  And honestly it’s not even my most favorite ingredients.  Pumpkin this and pumpkin that, whatever it is, it usually has the same ho-hum flavor.  Oh…until now.
 
First, please…please, please toss that pumpkin pie spice jar that gets pushed to the back of the cupboard until October every year.  Then of course you’ve already bought a new jar since you’ve assumed you didn’t have any anyway.  Please tell me I’m not the only one that does this.  Really, when else throughout the year do we use it!?  The genius of this Whoopie Pie recipe is…ready?…it contains NO pumpkin pie spice!!!  You are only incorporating spices that you use on a weekly basis…and tons of them.  I think that’s the key to any pumpkin recipe – go heavy on the spices.  Pumpkin itself is pretty bland.  It needs sugar (tons) and lots of depth in the spice department to keep things interesting.
 
And instead of opting for the obligatory cream cheese frosting that is synonymous with Pumpkin-cake-anything, I’m switching things up and using Marshmallow Fluff.  You know the semi-solid-crack-in-a-jar.  So fluffy and sticky and sweet, just dangerously addictive stuff that fluff (oh I sound slightly Dr. Seuss, no?)
 
This frosting is riiiii-dic.  It comes together in a snap and can be flavored in a multitude of ways.  Think of it as your LBD of frostings.  Depending on the flavor of your cake you can add almond extract, maple, peppermint, or good ol’ plain vanilla.  It’s thick, rich, and spreads like a dream.
Whoop-Whoop, it’s Whoopie Time.
ps: I used my whoopie pie pan from Williams-Sonoma for this recipe.  If you find your pies tend to vary too much in size, I highly suggest picking one up for yourself!

Pumpkin Whoopie Pies with Cinnamon Marshmallow Fluff Buttercream
makes about 12 whoopie pies
 
Ingredients
 
For the pies:
3 cups all-purpose flour
1 teaspoon salt
1 teaspoon baking powder
1 teaspoon baking soda
2 tablespoons cinnamon
1 tablespoon ginger (powder)
1 tablespoon cloves
½ teaspoon nutmeg
2 cups firmly packed brown sugar
1 cup vegetable oil
3 cups chilled pumpkin puree (canned is fine)
2 large eggs
1 teaspoon vanilla extract
 
For the buttercream:
¼ cup (2 ounces) unsalted butter, room temperature
1 jar (7 ounces) marshmallow fluff
1 tablespoon vanilla extract
16 ounces powdered sugar
1 ½ teaspoon cinnamon
2 tablespoons milk
 
 
Directions
 
Preheat oven to 350F.  Line two baking sheets with parchment paper OR if using a whoopie pie pan, lightly grease with vegetable shortening.  Set aside.
 
In a large bowl sift together the flour, salt, baking powder, baking soda, cinnamon, ginger, cloves, and nutmeg.  Whisk to combine and set aside. 
 
 
In the bowl of a stand-up mixer (or using a hand mixer) whisk the brown sugar and oil together until combined, about one minute. 
 
Add the pumpkin puree and whisk to combine.
 
 
Add the eggs and vanilla, whisk to combine.   

 
Add the dry ingredients in three additions, mixing until just combined.  Be sure to scrape down the sides of the bowl after each addition.  
 
 
*sorry I accidentally deleted the photo of this part!  Use a small ice cream scoop to drop heaping tablespoons of the dough onto your prepared sheet, about one inch apart.  *if using the whoopie pie pan, fill each pie compartment with a heaping tablespoon of dough and use the back of a spoon to smooth the tops.
Bake for 10 to 12 minutes until pies start to crack on top and a toothpick inserted into the middle comes out clean.  Let the pies cool for about 5 minutes on the pan then transfer to a wire rack to cool completely.   
To prepare the buttercream, beat the butter, marshmallow fluff, and vanilla in the bowl of a stand-up mixer until thoroughly combined.

 
Sift the powdered sugar into the bowl in three additions. 

*it’s very important to sift your powdered sugar to make sure clumps like these won’t end up in your buttercream.  Simply break them up with your fingers and push them through the sieve. 
 
*here’s a handy little trick: place a kitchen towel over the top of your mixer when beating dry ingredients such as powdered sugar or flour.  The towel helps keep the tiny particles from floating all over your kitchen creating a dusty wonderland. 
Add the cinnamon and one tablespoon of milk.  Beat to combine.  If the buttercream is still quite thick, add the remaining tablespoon of milk.  


To assemble the pies, use an offset spatula to spread about 1-2 tablespoons of buttercream on the bottom of one pie (flat side).  Top with another pie.  I find they are best kept refrigerated. 
 
Enjoy!
 
 
Whoopie pie (cake portion) adapted from Baked: New Frontiers in Baking
Frosting recipe adapted from Kraft Recipes

Oct 4, 2013

Cap'n Crunch Berries Marshmallow Bars with Sweetened Condensed Milk Buttercream

Ideas for recipes like this occur after 8 and half months of pregnancy and healthy eating.  Oh I’ve just had it.  It’s my last couple of weeks, why not party like you have the metabolism of an 8 year old.

AND it’s not my fault.  Usually I don’t buy sugar loaded cereal.  Really I don’t!  I try to start out my day healthy at breakfast; however it usually goes downhill from there.  So the other day while I was grocery shopping at a store known for its American imports, I spotted that big happy Captain just calling my name.  Plus it was lunch time and I hadn’t eaten yet.  So in the cart he goes and before I know it we’re rolling down the freeway with my hand shoved happily into the box not caring about all those freaky E numbers.  They must mean E for Excellent!  Am I right?
 

Okay so I also bought a bag of marshmallows AND two jars of marshmallow fluff…like I said, it was lunch time and I was hungry. Once I got home it was like the marshmallow Gods were calling to me and said, Crunch Berries Bars

Yes we could have easily stopped there, but every bar needs an accessory (aka frosting) so I thought why not let the topping have a milky flavor so you can somewhat tell yourself it’s just like a bowl of cereal in bar form. But like way, way better.
Ahoy Matey, let’s get crunchin.

Crunch Berries Marshmallow Bars with Sweetened Condensed Milk Buttercream
makes approx. 15 bars

Ingredients
For the bars:
4 tablespoons (2 ounces) unsalted butter
1 (10.5 ounce) bag mini marshmallows
6 cups Cap’n Crunch Berries cereal

Non-stick spray

For the Buttercream:

6 tablespoons (3 ounces) unsalted butter, room temperature

3 cups powdered sugar

¾ cup sweetened condensed milk (plus 1-2 tablespoons if frosting is too thick)
2 teaspoons vanilla extract
 
Directions:
To prepare the bars, spray a large stock pot with non-stick spray.  Add butter and melt over medium heat.
 
Add marshmallows and stir until melted.


Remove pot from heat and add cereal.  Using a spatula that’s been sprayed with non-stick spray, gently stir cereal into marshmallow mixture until thoroughly coated.
 
 
Transfer mixture into a 9x13 inch pan that has also been sprayed with non-stick spray.  Use the back of the spatula to compress the cereal mixture into the sides of the pan making sure the surface is even.  Let sit about 30 minutes to cool.
 
 
To prepare the buttercream, beat butter in the bowl of a stand up mixer until light and creamy, about 2-3 minutes. 
 
 
Sift in the powdered sugar and mix on medium speed, one cup at a time. *It's very important to sift your sugar to avoid lumps in the frosting.  Scrape down the sides of the bowl after each addition.
 
 
With the mixer running on low, slowly add the sweetened condensed milk and vanilla to the butter mixture.  Turn off mixer, scrap down sides of bowl and mix on medium speed for about one minute until frosting is light and fluffy.  *If you find the frosting is too thick, add an additional one tablespoon of sweetened condensed milk until desired consistency is reached.


Using an offset spatula, spread buttercream over the cooled bars.  Top with sprinkles if desired.

 
I found the bars are much easier to cut if they are refrigerated for about 30 minutes after they’re frosted.
Enjoy!