Mar 11, 2014

White Chocolate & Lemon Layer Cake with Raspberry Buttercream


Meet the best (non-chocolate) cake I've ever made.  That's a quite a statement, I know but seriously, this cake went way beyond my expectations.  The melted white chocolate added to the batter gave it a super moist and slightly dense texture, almost similar to pound cake.  I don't know about you but when it comes to cakes, I prefer them on the heavier side.  Lighter, airy cakes usually remind me of ones that come from a box.  And even worse I find they are less filling meaning I always eat more.  Sneaky cake calories trying to front.
 
 
And ohh that raspberry buttercream...it's sooo ridiculously intense.  I cooked down a bag of frozen berries and brown sugar until it reduced and became thick and syrupy, thus condensing all that tart, sweet flavor which I then added to a standard buttercream.  It's a little extra work but I'm telling you the added effort truly pays off.  And honestly no need to spend a fortune on fresh raspberries for this frosting.  Frozen is totally fine.  Frozen fruits and vegetables are almost always frozen at their peak of freshness, and besides the berries will be cooked down anyway so it won't make a difference.
 
Ok yes the color does scream hearts and butterflies and won't you be my Valentine...I was tempted to add some purple food coloring to deepen the tint, but the frosting was just so lovely and delicious, what if I added too much and it turned grey or egglplanty-brown?  Out of fear of screwing with the color and having to make a second batch (with two kids under the age of 3 in the house my baking happy-time is limited to after their bedtime aka my Zombie hour), so au natural it stayed.
 
White Chocolate & Lemon Layer Cake with Raspberry Buttercream
makes one 2 layer 8-inch cake
 
Ingredients
 
For the Cake:
8 ounces white chocolate, chopped
2 1/4 cups all-purpose flour
2 1/4 teaspoons baking powder
1/2 teaspoon salt
10 (5 ounces) tablespoons unsalted butter, room temperature
1 1/3 cups sugar
4 large eggs, room temperature
Zest of one large lemon
2-3 teaspoons lemon extract (depending on the strength of your extract, mine was pretty weak I probably could have used 4)
1 1/4 cups whole milk
 
For the Buttercream:
One 400 gram bag frozen raspberries
1/2 cup brown sugar
1 cup butter
4 cups powdered sugar
 
Directions
 
To prepare the cake, preheat oven to 350F.   Grease two 8-inch round cake pans.  I use a sandwich baggie as a glove to make this step easy. 


Cut out two 8-inch circles made from baking paper and line bottoms of pan; grease paper.  Add about a tablespoon of flour to each pan and shake thoroughly to coat. Knock out excess and set aside.

 
Sift the flour, baking powder, and salt into a medium bowl.

 
Place chocolate in a heat safe bowl and microwave for one minute.  

 
Remove from oven and stir. Heat again for 30 seconds.

 
Stir chocolate until no lumps remain.


Beat the butter and sugar together until light and fluffy, about 3-4 minutes.  Scrape down sides of the bowl.

 
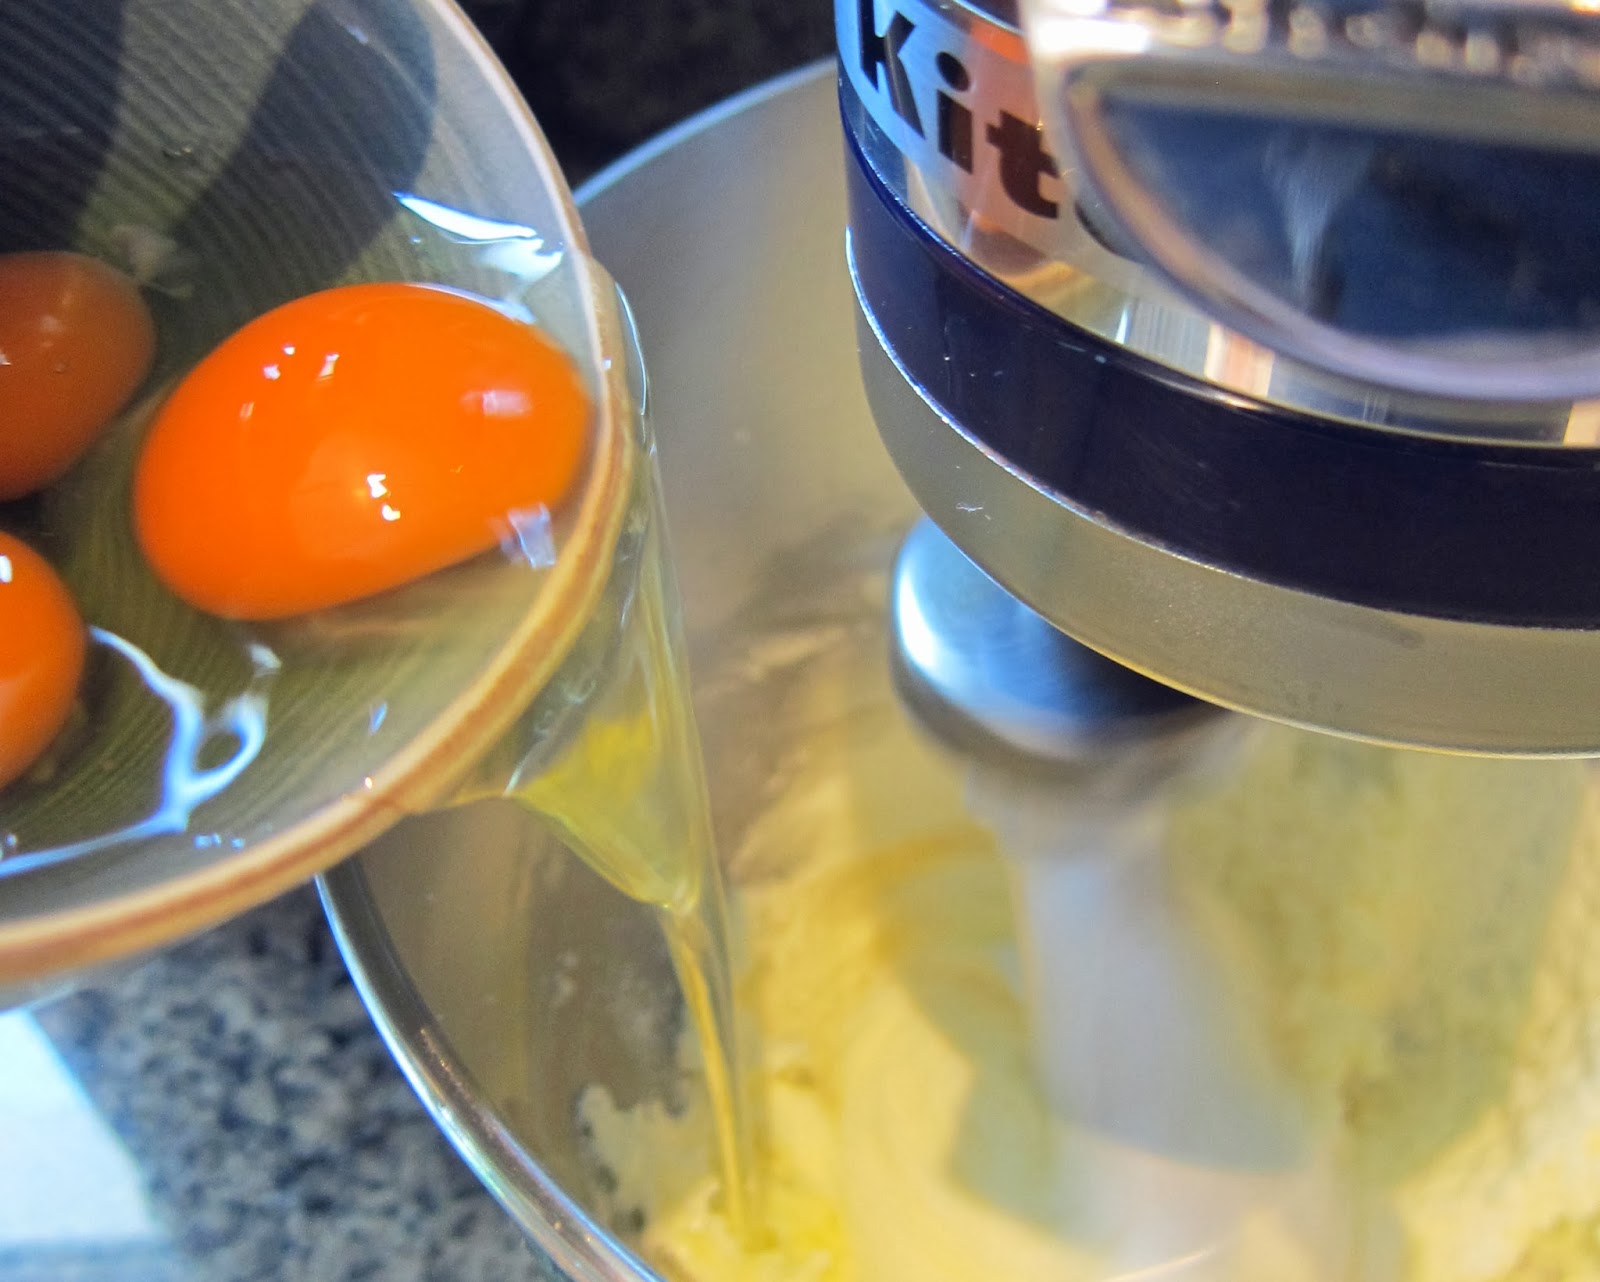
Add eggs one at a time, beating well after each addition.

 
Add lemon zest and lemon extract and mix to combine.

 
 Alternatively add the dry ingredients with milk in 3 additions:

 
*here's a little tip I like to share often.  Cover the top of your mixer with a kitchen towel to stop the flour from flying everywhere.  A clean kitchen is a sober mother.


Add the warm white chocolate and mix until just combined. 
 
 
Equally divide the batter into the two prepared pans.  You can see here I've used Wilton's Bake Even Strips.  These help to keep the cake layers flat (meaning less waste having to cut the top even prior to assembly) creating a straight, non-bulgy cake.
 
 
Bake for 30-40 minutes or until a toothpick inserted into the middle of the cakes comes out clean.  Remove cakes from oven and allow to cool in the pan for 20 minutes on a wire rack.  Remove cakes from pan and discard baking paper.  Allow cakes to cool completely on wire racks.
 

To prepare the frosting, cook the frozen berries and brown sugar over medium heat.

 
Bring to a gentle simmer, reduce heat and cook for 10 minutes until the mixture has reduced and become thick and syrupy, stirring often.


Place mixture over a fine strainer to remove seeds (sorry the picture I had of this was very blurry). Allow to cool to room temperature.

 
 Place butter in the bowl of a mixer. Beat for about one minute.

 
Sift in powdered sugar one cup at a time, scraping down the sides of the bowl after each addition.

 
*It's very important to sift the powdered sugar otherwise you will end up with lump like these in your frosting.


Add raspberry mixture and beat until combined.
 
 
To assemble the cake, place a cake board on top of your cake platter (this makes transferring/storing the cake easier). Add one cake layer on top of the board. If the top of your cake isn't level (or has domed), use a bread knife to even it out. I used Wilton's Cake Leveler because I like unnecessary gadgets hoarding up my kitchen. But honestly it's a great tool, always guarantees a level top. I've tried leveling with a knife and they still come out crooked. Just depends on how steady your hand is.

 
Add about 1 cup of frosting to the first layer and spread evenly with an offset spatula. 

 
Top with second layer of trimmed cake and continue to frost the top and sides using a metal spatula to evenly distribute the frosting.

 
Keep cake refrigerated but it is best served at room temperature to allow the buttercream to soften.

 
Enjoy!
 
cake recipe adapted from Epicurious
 

Mar 1, 2014

Peanut Butter Cake & Caramel Mascarpone Whip with Candied Peanuts Parfait

 
I made this with leftovers...can you believe it?  Needing some inspiration for my next creation, I turned to my pantry to see what I had to work with.  I always do this whenever I'm stumped on what to make next.  It's a great place to start unless you're living like a bachelor with half a jar of pimento olives and a highly questionable cucumber in your fridge...then you better just go shopping.  Or call your mother.  Let her cook for you.
 
So I had half a peanut butter loaf in the freezer (the other half was used in a similar trifle recipe for a magazine shoot, will share that beauty with you as soon as it's published!) and a jar of caramel sauce in the pantry.  Another 'I-am-starving-forget-groceries-let's-buy-jarred-caramel' purchase.  And I don't even like jarred caramel.  It's almost always just okay...like getting a C- on a test.  You know, you passed, but it's nothing to celebrate about.  Same with jarred caramel.  Anyway I had it, let's use it.  However I highly suggest to just make your own at least once in your life.  I cannot begin to tell you the inner happiness you will feel after a successful batch of homemade caramel.  However, don't worry, I almost always screw up the first batch and end up making two.  It will burn on you in a second.  Making caramel is a dedicated process.  There are no potty breaks.  No Pinterest pinning, no blinking, no nothing.  Just lots of sugar babysitting.  But its sooooo worth it.  If you need some help to get started, check out my link on caramel here.
 
And my new favorite trick for 2014...mascarpone whip.  It's as simple as can be and even easier than making whipped cream.  Think of it as a blank canvas that can easily incorporate a multitude of flavors.  Caramel, dark chocolate, honey, vanilla, peppermint...really anything that works with your recipe.  And cha-ching!  It's fooooool proof. 
 
Peanut Butter Cake & Caramel Mascarpone Whip with Candied Peanuts Parfait
Ingredients
makes 4 servings using approx. 9.5 ounce glasses, each
 
*You will only need half of the cake for the recipe, depending on the size of your glasses.
 
For the Peanut Butter Cake:
1 ½ cups all-purpose flour
1 teaspoon baking powder
1 teaspoon baking soda
½ teaspoon salt
¾ cup smooth peanut butter
¼ cup canola oil
1 cup granulated sugar
2 eggs
¾ cup milk
1 teaspoon vanilla 
 
For the Candied Peanuts:
2 cups raw peanuts
1 cup sugar
1/3 cup water
Sea salt
 
For the Mascarpone Whip:
8 ounces mascarpone
¾ cup heavy cream
1 teaspoon vanilla
2 tablespoons sugar
½ cup caramel sauce
 
1/2-3/4 cup caramel sauce (depending on how intense you want the sweetness) I used Bonne Maman
 
Directions 
 
***apologies for not including photographs of the cake preparation.  This is something I typically include with every single post but this cake was make ahead of time...regardless it's super easy to throw together!
 
To prepare the cake, preheat oven to 350 degrees Fahrenheit.  Grease an 8 x 4 inch loaf pan; set aside. 
In a medium bowl, sift the flour, baking powder, baking soda, and salt. 
In the bowl of a stand up mixer, combine the peanut butter, oil, and sugar.  Mix until combined.  Add the eggs, one at a time, scraping the sides of the bowl after each addition.  Add the milk and vanilla and mix until well combined.   
 
Add the flour mixture to the wet ingredients in two additions, scraping down the sides of the bowl after each addition.  Do not over mix.  
 
Bake for 55-60 minutes.  If the loaf is browning too quickly, cover top with aluminum foil and bake until a toothpick inserted into the middle comes out clean.  Remove from oven and allow to cool in the pan for 10 minutes.  Remove loaf from tin and cool completely on wire rack.  Once cooled, take about half of the cake and cut in into ½ inch cubes.   
 
To prepare the candied peanuts, add peanuts, sugar, and water to a wide heavy duty skillet.  Cook over moderate heat, stirring frequently until the liquids seizes up (about 5 minutes).


The sugar will start to crystallize on the peanuts, looking a bit crusty.  Lower the heat and scrape down the bottom of the pan once the sugar starts to melt and become syrupy.  Make sure to coat the peanuts well at this point.    If the pan starts to smoke, remove from heat and keep stirring.  Be sure to keep stirring the peanuts so they will be thoroughly coated with the sugar syrup. 


Sugar will start to caramelize and the peanuts will be become golden in color.  Sprinkle with a pinch of sea salt and remove from heat. Place peanuts on a cookie sheet or mat to cool. *Peanuts can be made days ahead of time and store in an air-tight container for up to 7 days.
 
 
Just prior to assembly, prepare the caramel mascarpone whip.  Add the mascarpone and heavy cream to the bowl of a stand up mixer.  Beat on high until soft peaks form.  Add the vanilla, sugar, and caramel and continue to beat until the mixture thickens.  


To assemble, place 4-5 large cubes of cake in the bottom of the serving glass.


 *Sorry again!  Something happened with my camera and I lost the last couple photos.  I certainly hope it had nothing to do with the big blog of caramel that I 'drizzled' it with.
 
Top cake with a layer of the caramel sauce, making sure it reaches the sides of the glass so it will be noticeable throughout the layers. Next add a layer of the caramel mascarpone using the back of a spoon to create an even layer.  Continue with a layer of candied peanuts, cake, caramel, and another large dollop of the mascarpone whip.  
 
Cover glasses with plastic wrap and refrigerate for at least 2 hours.  Garnish with chopped candied peanuts and serve immediately.


Enjoy!
 
candied peanut recipe from David Lebovitz