My latest beauties were prepared for Aveem Foods for the 'Aveem Challenge,' a competition for food bloggers here in the UAE. You may recall the
Frozen Fudgy Caramel Extreme Trifle I also submitted for the competition. Aveem was extremely generous and sent us over loads of goodies including white and brown sugar, their endless spice collection (including nutmeg that was the most intense in color and taste that I've ever baked with, a
total dream) along with an assortment of House of Tudor teas, AND to top it off, a bottle of Jose Galan olive oil (ideal for dipping with crusty bread as it has a heavenly, fruity bite), all of which will soon be hitting the grocery shelves here in the UAE, will keep you updated!
Aveem asked if I could incorporate their logo somehow onto the desserts as they wanted to present them to Ahlan & Ahlan Gourmet as a introduction to the quality of their products. This was a bit of a challenge in itself for me as cake decorating is not exactly my forte...up until now I've only been able to make things taste good, but looking good is still something I'm trying to conquer.
Nonetheless, my husband (and hero) helped to make a template using card stock printed with Aveem's logo for the top of the carrot cake. We stood in the kitchen like two kids working on a science experiment trying to nail down the logo in sprinkles. By the way I think I will be finding those little metallic balls EVERYWHERE throughout the house for months to come. Fingers crossed the images will be showcased in Ahlan & Ahlan Gourmet shortly, will keep you posted.
In the mean time, please trust me on this one. If you want to taste the best carrot cake of your life, try this recipe. I have a stained, ripped, and dripped on printed copy that dates back to 2004. This is THE go-to carrot cake. I think what makes it so special is the addition of the pineapple. It adds such fruity, unexpected texture. And let's not forget the ridiculous amount of spices that go into this cake. Each note adds another dimension of flavor, yet they blend together effortlessly. And whatever you do, remember to toast your walnuts before adding. Toasting nuts increases the intensity of their inherent flavor, a very important step for this recipe.
Now let me tell you about the mascarpone tart. Talk about luxury in a 9 x 9 pan. I was totally shocked after I whipped up the mascarpone and cream...it's smooth, creamy, thick, and melts like cotton candy on your tongue. It's a foolproof filling that's literally a blank canvas. I added almond extract and Frangelico, but really the sky is the limit here. You could try adding a scrapped vanilla bean, diluted instant coffee, lemon extract, maple extract, literally any flavored liquor you have on hand, or simply stick to plain sugar for a hint of sweetness.
Spiced Pineapple & Carrot Cake
makes one 2-layer 8" round cake
Ingredients
For the Cake:
6 cups grated carrots (about 7-8 large carrots)
1 cup brown sugar
1 cup raisins
3 tablespoons dark rum
1 tablespoon Cointreau (or Grand Marnier)
4 large eggs
1 1/2 cups sugar
1/2 cup vegetable oil
1/2 cup applesauce
2 teaspoons vanilla extract
1 cup crushed or chopped canned pineapple ***reserve juice
3 cups all-purpose flour
1 1/2 teaspoons baking soda
1 teaspoon salt
5 teaspoons cinnamon
1/4 teaspoon nutmeg
1/4 teaspoon ginger
1/4 teaspoon cloves
zest of 1 lemon
1 cup toasted walnuts, chopped
For the Cream Cheese Frosting:
8 ounces cream cheese, softened
1/4 cup butter, softened
1 teaspoon vanilla extract
4 cups (16 ounces) powdered sugar
zest of 1 lemon
Directions
In a medium bowl, combine grated carrots and brown sugar. Set aside for 1 hour, stirring halfway through.
After an hour, you will notice there is quite a bit of moisture in the bottom of your bowl. Be sure to drain this out. No need to strain, just push your spoon against the carrots and let the fluid flow into the sink. A little bit left over in the bowl is okay.
Strain the canned pineapple, reserving the juice. If the pineapple is quite chunky, give it a quick chop so you're left with bite-sized pieces.
Pour the strained juice into a measuring cup.
Add water to the measuring cup until it's equal to 1 cup. Add the rum and Cointreau, stir to combine.
Add the liquid and raisins to a small saucepan and bring to a boil. Reduce heat and simmer for about 15 minutes, stirring occasionally. Remove from heat, strain juice (discard) and set raisins aside.
Preheat oven to 350 degrees Fahrenheit. Grease two 8-inch round baking pans. I use a plastic sandwich baggie as a glove to make this step easy. Line bottom of pans with parchment circles and grease.
Dust with flour and knock out excess, set aside.
In the bowl of an electric mixer, beat eggs until light.
Meanwhile, Mateo is busy building a spice castle with the boxes sent over from Aveem...
Gradually beat in the white sugar.
Beat in the oil, applesauce, and vanilla.
Stir in the pineapple.
In a separate bowl, sift the flour, baking soda, salt, cinnamon, nutmeg, ginger, and cloves.
Add the lemon zest and whisk to combine.
Stir the dry ingredients into the wet in 3 additions, just until absorbed.
Add the carrots, raisins, and toasted walnuts to the batter, mix to combine.
Pour evenly into the prepared pans and bake for 45-50 minutes until a toothpick inserted into the middle comes out clean. Transfer pans to a wire rack to cool for 10 minutes. Remove from pan and return to wire rack to cool completely.
To prepare the cream cheese frosting, beat cream cheese and butter until incorporated, about 1 minute.
Add the vanilla and lemon zest. Beat to combine.
Before adding the sugar, be sure to sift it first into a separate bowl:
Otherwise clumps like these can make your frosting lumpy, who likes that?
Add powdered sugar to the creamed mixture 1 cup at a time.
Be sure to scrape down the sides of the bowl before each addition.
To assemble the cake, place a disposable cake board on top of your serving platter (I'm using
Wilton's Trim & Turn Cake Turntable, which makes frosting the cake a breeze). The cake boards help to transfer the cake from serving platter to cake server.
Frost the first layer with about 1 1/4 cups frosting using an offset spatula.
Top with second cake layer and apply an even crumb coat to the entire cake. A crumb coat is a thin layer of frosting that seals in all the tiny crumbs so the final layer of frosting is smooth and cake-free.
Place the cake in the fridge for the crumb layer to firm up, about 30 minutes.
Finish the cake with the remaining frosting and decorate with sprinkles or chopped nuts.
Slice up and enjoy! Be sure to keep a look out for Aveem sugars and spice collection that will be hitting our stores soon.
Almond Infused Mascarpone & Berry Tart
makes two 8 or 9 inch tarts
Ingredients
For the Pate Sucree (sweet pastry): *note: this pastry dough recipe makes enough for 2 tarts
2 1/2 cups all-purpose flour
1/4 cup sugar
1/4 teaspoon salt
1 cup (8 ounces) cold, unsalted butter cut into small cubes
2 large egg yolks, slightly beaten
2-4 tablespoons cold heavy cream or ice water
For the Mascarpone Filling:
1 cup (8 ounces) maascarpone cheese
1/3 cup chilled heavy cream
1/4 cup sugar
1/2 teaspoon almond extract
1 tablespoon Frangelico
zest of 1 lemon
For the Apricot Glaze:
1/2 cup apricot jam
2 tablespoons Frangelico
3 cups mixed berries (strawberry, blackberry, blueberries, raspberries...really whatever is in season)
Directions
To prepare the pastry, combine flour, sugar, and salt in the bowl of a food processor.
Add butter, and process until mixture resembles coarse meal, 10 to 20 seconds.
Add yolks and drizzle the 2 tablespoons of chilled cream or water evenly over the mixture; pulse until dough begins to come together, no more than 30 seconds. If dough is too dry, add remaining cream or water, 1 tablespoon at a time and pulse.
Divide dough in half, wrap tightly in plastic wrap. Refrigerate 1 hour or up to 2 days.
Preheat oven to 375 degrees Farenheit. On a lightly floured surface, roll out dough to 1/8" thick.
Wrap the dough around the rolling pin, lightly dusting the flour so it won't stick. Make sure your tart pan is close by so you can gently transfer the dough.
Trim the dough flush with the pan. Pierce the bottom of the pan all over with a fork. Refrigerate or freeze until firm, about 30 minutes.
Remove from fridge and line tart with parchment paper and fill with pie weights or dried beans. Bake until the edges are golden, about 15 minutes. Remove the beans and paper, continue baking until crust is golden brown all over, about 10 minutes. Let cool completely on a wire rack.
To prepare the glaze, combine the apricot jam and Frangelico in a small saucepan. Heat until the jam liquifies. Stir to combine.
Pass the jam mixture through a fine sieve to remove the fruit pieces.
Using a pastry brush, apply a thin coat of the apricot mixture to the bottom of the baked tart shell. This will help to keep the crust from not becoming soggy after adding the mascarpone.
To prepare the mascarpone filling, combine mascarpone, cream, sugar, almond extract, Frangelico, and lemon zest in the bowl of a stand up mixer. Beat with whisk attachment until stiff peaks form.
Transfer the mascarpone mixture to the tart shell and spread evenly.
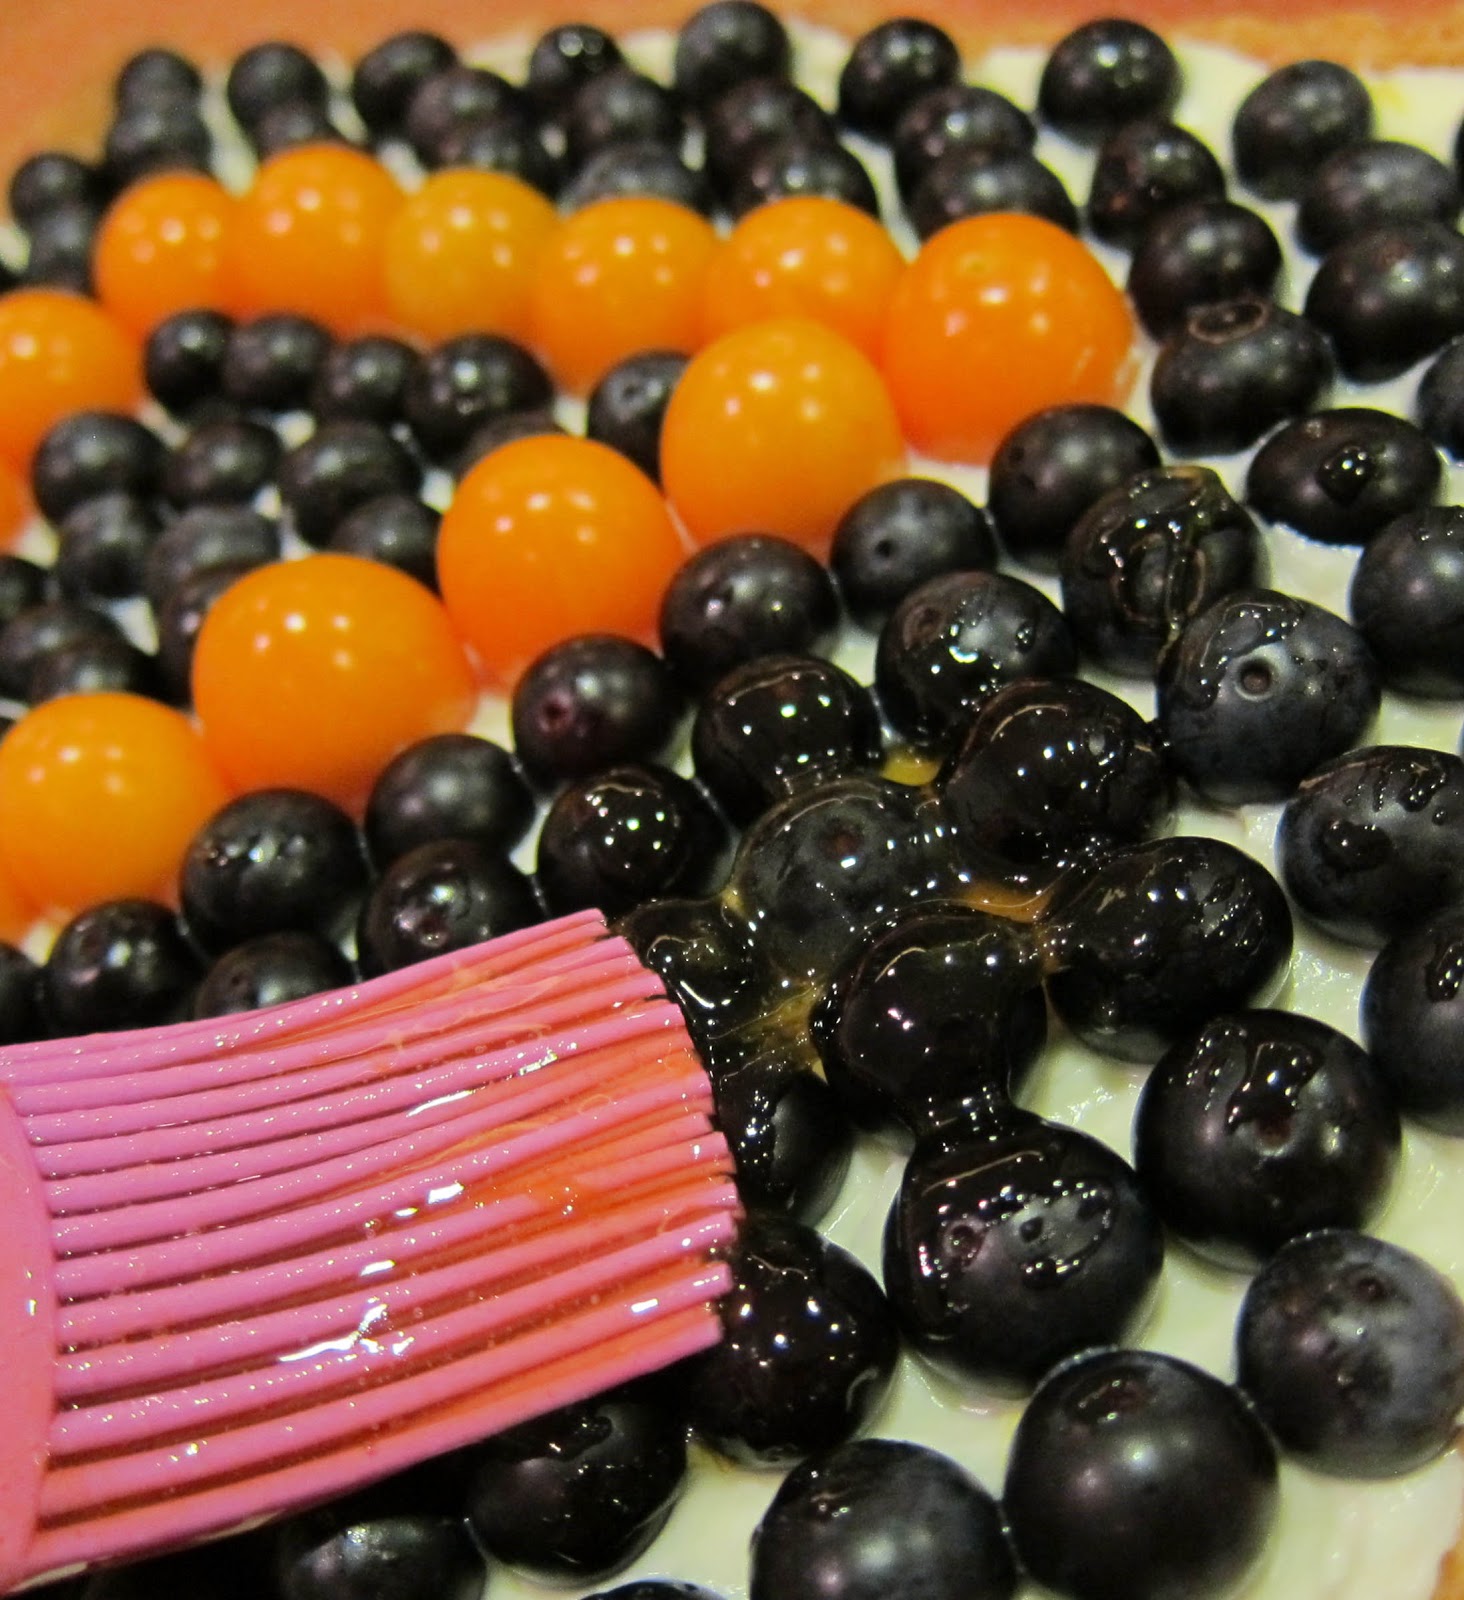
Top with the assortment of berries. I laid them flat as shown here, but feel free to also pile them up.
Using a pastry brush, gently coat the berries with the remaining glaze. This will help keep them fresh and looking shiny and delicious.
Enjoy!
glaze recipe adapted from Joy of Baking


