Dec 16, 2013

Eggnog & Sour Cream Bundt Cake with Sugared Captain Morgan Rum Glaze

 
If you have leftover eggnog dwindling in the fridge with it's expiration date looming...this is the cake for you.  Or if you simply love eggnog and rum (any holiday work party wouldn't be complete without it) well then this is the cake for you too. 
 
Spices are key with eggnog.  Nutmeg is a must.  I also added cinnamon as nutmeg and cinnamon almost always go hand in hand.  Also, the great thing about this cake is its two-ply complexity.  The inside is super soft and spongy due to the addition of the sour cream.  The outside of the cake has a thick, chewy crust slathered with rum infused granulated sugar giving it a nice hearty crunch.
 
Finally this recipe best suits a 12-cup bundt pan.  If you're like me and only have a 10-cup, bake the remaining batter in a smaller tin for a second, teeny cake.  Nothin' wrong with a little extra cake...especially a rum infused one during the holidays...you know to take the edge off screaming children acting like their in a cock fight waiting in line to see Santa, or after spending half an hour circling the mall parking lot in pursuit of a spot 5 feet closer than the one you just passed...or my favorite, pleading and puffing at the sales lady that she is running your credit card wrong and acting clueless as it keeps getting declined.  This truly is the best time of the year. 
 

Eggnog & Sour Cream Bundt Cake with Sugared Captain Morgan Rum Glaze 
makes one 12-cup bundt cake *see my note above if you have a 10 cup pan
 
Ingredients
For the cake:
3 1/4 cups all-purpose flour
2 teaspoons baking powder
1/2 teaspoon salt
1/2 teaspoon nutmeg
1 teaspoon cinnamon
8 ounces unsalted butter, room temperature
1 1/2 cups sugar
1 1/2 cups brown sugar
3 large eggs (or 4 medium)
1/2 cup sour cream
2 teaspoons vanilla extract
1 cup eggnog
 
For the Glaze:
3/4 cup sugar
2 hefty tablespoons Captain Morgan Spiced Rum
2 tablespoons water
 
Directions:
 
Grease the bundt pan using either butter or shortening. I use a sandwich baggie as a glove to make this step easy. If you have an intricate pan like mine be sure to grease all the nooks and crannies so the cake won't stick.  Because trust me it wants to.  Grease grease grease.
 
 
Add about 2 tablespoons of flour to the pan and dust thoroughly.


Sift together the flour, baking powder, salt, nutmeg, and cinnamon.

 
Whisk to combine.

 
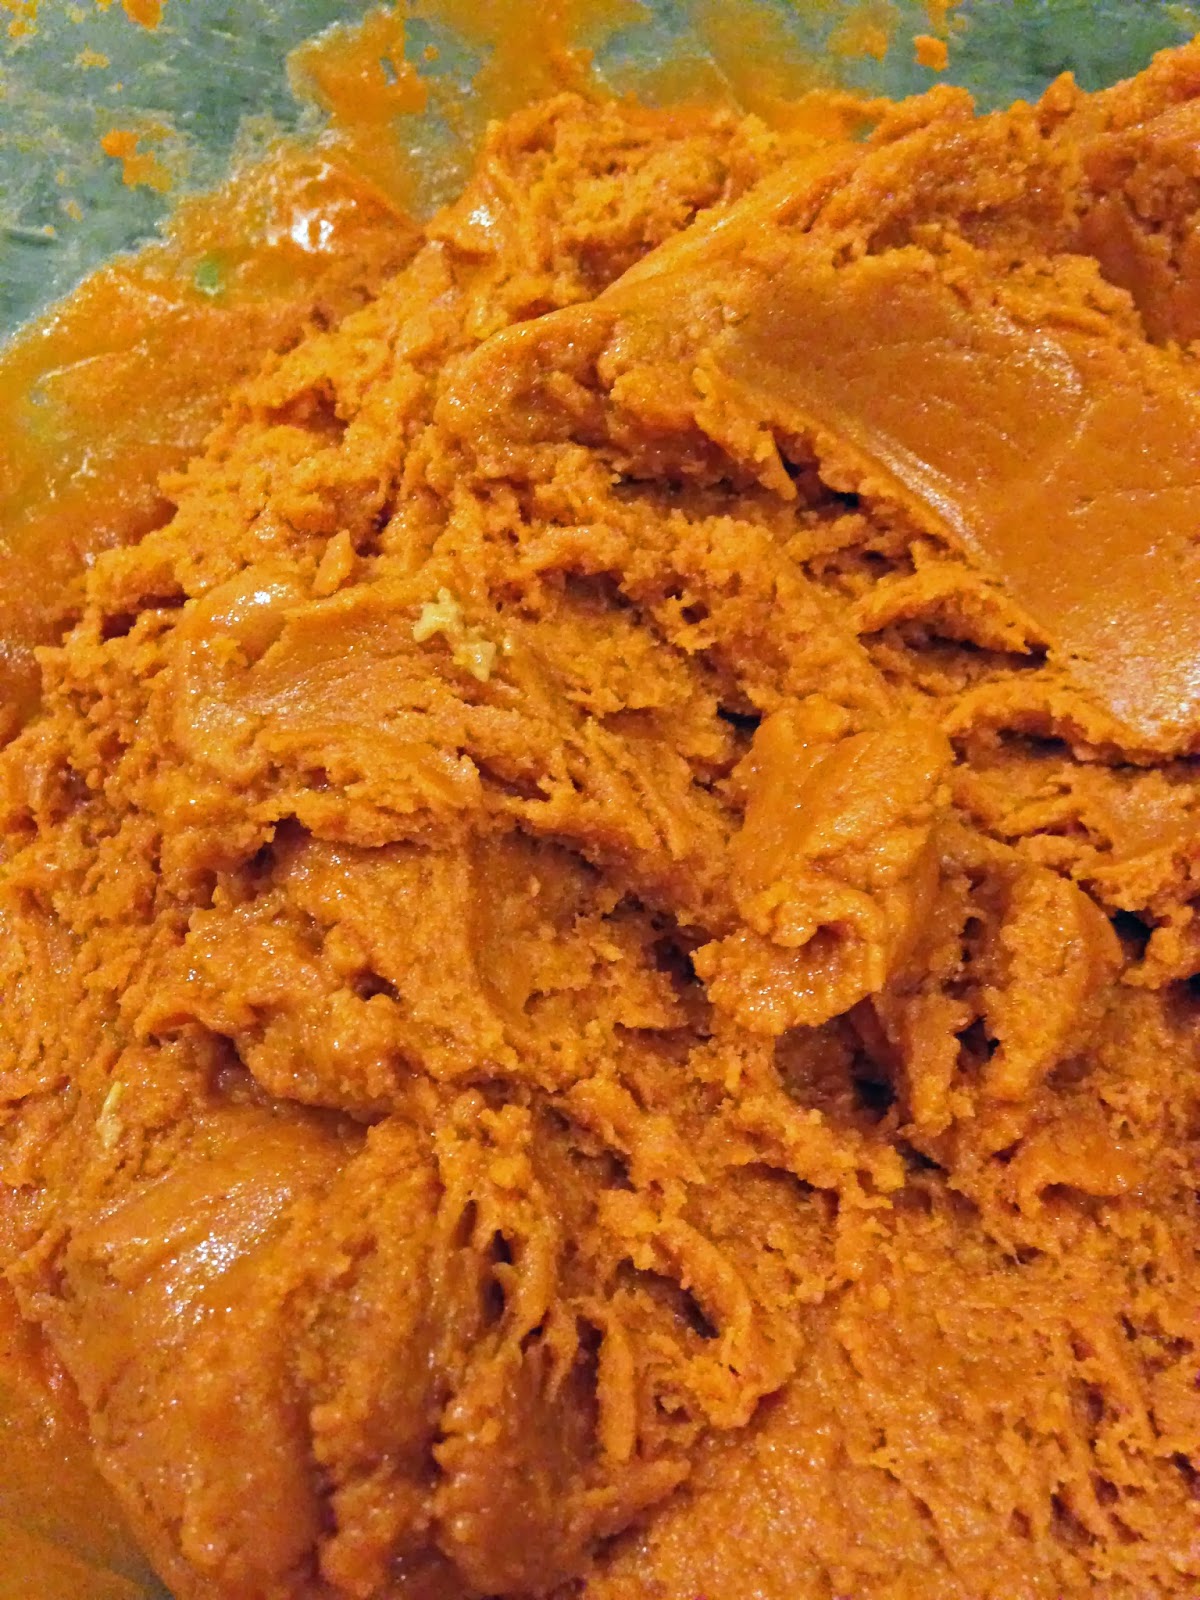
Add the butter and sugars to the bowl of a stand up mixer (hand mixer ok) and beat together for about 3 minutes until light and creamy.


Add eggs one at a time, beating well after each addition.

 
Add sour cream and vanilla and beat until incorporated.

 
Add the flour in 4 separate additions, alternating with the eggnog, starting and ending with the flour.  Scrape down the sides of the bowl with a rubber spatula after each addition.


Transfer batter to the prepared pan and smooth the top with a spatula.  If you're using a 10-cup bundt pan, bake the extra cake batter in a smaller tin or muffin pan if you prefer.

 
Bake for 55-60 minutes until golden brown and a toothpick inserted into the middle of the cake comes out clean.  Remove from oven and cool pan on a wire rack for 10 minutes.  Invert pan onto plate and remove cake from pan.  Transfer cake back to the wire rack.

 
While the cake is still warm, prepare the glaze.  Combine the sugar and water in a microwave safe bowl.  Heat for one minute and stir.  Add rum and stir (mixture will still be granulated). 

 
Using a pastry brush, evenly coat the entire cake with the glaze.

 
Allow glaze to harden at room temperature for about an hour.

 
Pour yourself a spiked glass of eggnog, slice up and enjoy!
 
 
 recipe adapted from Baking for All Occasions by Flo Braker 


Dec 14, 2013

Tarboosh Fudge


Every year around this time I head down to our local Lebanese grocery store and pick up a box of Gandour Tarboosh.  They're a seasonal chocolate that's made in the cooler months and are...well...out of this world. 


Tarboosh can be described as the Lebanese version of Mallomars.  They are made of a paper thin sugar wafer that's mounded with fluffy, oh-so-sugary-sticky-sweet marshmallow fluff and then covered with a thin chocolate coating that has a bit of a snap to it.  Lots of harmonious textures in one little Tarboosh...and don't even think about eating them without licking your fingers.  You simply cannot wipe off the marshmallow with a napkin.  I think it's specially engineered that way.


Tarboosh cannot be compared to say, Godiva or anything else quite so posh.  No, they are a bit more...ghettolicious.  But that's what makes them so endearing.  Plus my husband grew up eating them around the holidays as a child and every time he eats one now as an adult he takes me down memory lane going on about how much he loved eating them as a kid and I just can't help stroll along with him.

So when he bought a giant box a few years ago we got super excited ate about 5 and that was it.  You know how the holidays are, a smorgasbord of sweets going in and out.  December is an inescapable time of the year to try and avoid sugar.  The tarboosh were pushed side as other sweets took over and I thought to myself, well that looks like a lovely little project...let me see how we can transform these little puffs-o-holiday-heaven into something even better.

Last year was the Tarboosh S'mores:


And the year before that was the Tarboosh Cupcakes:


This year I was in a fudgy kind of mood.  I had been on a bar and cake extravaganza the last few months and fudge sounded sweet and easy.  I can barely put two thoughts together these days with a newborn and a toddler in the house so easy-peasy is a-ok with me.

If you can't find Tarboosh try this recipe with Mallomores, I think it would be equally as jolly.  If you do, please send me a photo I would love to see how they turn out. 

Happy Holidays!
 
Tarboosh Fudge
 
Ingredients:
2 bags of chocolate chips (12 ounces each)
1 can sweetened condensed milk
2 teaspoons vanilla extract
3/4 teaspoon salt
15-17 Tarboosh, unwrapped and cut in half
 
Directions:
 
Line a 8 x 8 pan with aluminum foil and set aside.
 
 
Place the chocolate chips, milk, vanilla, and salt in a microwave-safe bowl. 
 
 
Heat for one minute.  Remove from microwave, stir, and re-heat for another 30 seconds.
 
Remove and stir again.  Continue to heat for 10 second intervals (stirring after each) until mixture is smooth and creamy and no lumps remain.
 
 
Press HALF of the mixture into the prepared pan.  Use a spatula to make sure it's smooth and even.
 
 
Place the sliced tarboosh on top of the fudge layer.


Using the back of a spoon gently crush the tarboosh down so they create an even layer.


Cover the marshmallow layer with the remaining fudge and use a spatula to spread evenly.


Cover pan with plastic wrap and refrigerate until firm, about two hours.
 
 
Cut into pieces and enjoy!
 

Dec 7, 2013

Spicy Cinnamon & Toblerone Fudge

 
If you're in an pinch for time this holiday season and need to whip up a show-stopper dessert for your next potluck or impromptu guests stopping by, this fudge can be thrown together faster than Santa can say 'giddy-up-Rudolph.'
 
Although I made mine over a double broiler, the fudge can also be zapped in the microwave for extreme speediness.  I decided to add the cayenne pepper to spice things up this season because let's face it, fudge can be a bit ho-ho-ho-hum.  The cayenne and cinnamon blend fairly effortlessly together while the white chocolate adds a smoothness that inhibits the heat from overtaking your pallet.  The fudge has just enough of a kick to tickle your throat but certainly not enough to make you gulp down the nearest spiked eggnog (although that sounds like just as much fun too).  The heat hits your throat after taking a bite but is subtle enough for you to say 'Ooh what was that?  Give me another.'
 
This fudge tends to be on the soft side, so I find it best to keep in refrigerated until you're ready to serve.  That is if you can keep it around long enough. 
 
sorry I couldn't help it, that's just hilarious.
 
Spicy Cinnamon & Toblerone Fudge
 
Ingredients
2 bags (10 ounce each) Hershey's Cinnamon Baking Chips
1 can sweetened condensed milk
2 ounces unsalted butter, cut into small chunks
2 teaspoons vanilla extract
1 teaspoon cinnamon
3/4 teaspoon cayenne pepper (or more to taste)
3/4 teaspoon sea salt
1 1/4 cups White Chocolate Toblerone, chopped into small chunks
 
Directions
Line a 8 x 8 baking pan with aluminum foil and set aside.
 
 
Combine all ingredients (except the Toblerone) in a glass bowl.  Place over a simmering pot of hot water (double broiler).

 
Heat until thoroughly combined and mixture is smooth and creamy.  Pour into the prepared pan. 


Evenly sprinkle the chopped Toblerone over the melted fudge. 
 
 
Gently press the larger pieces into the fudge so they won't fall off after the fudge has cooled.

 
Cover pan with plastic wrap and refrigerate for about two hours until completely firm.  Cut into pieces and enjoy!
 
 
fudge recipe adapted from allrecipes.com

Dec 1, 2013

Sweet n' Salty Peanut Butter Candy Corn Bars with a Shortbread Crust


The pure insanity of an idea like this one came from an over-abundance of candy corn in the house.  Plus Mellowcreme pumpkins (which are made from the same who-knows-what-the-heck-chemical-over-load-but-damn-they're-tasty ingredients of candy corns...just manufactured in a different shape) lose their wow factor after Halloween and mid-November as you start to change gears into Christmas mode.  Halloween candy step aside...all things peppermint and eggnog all aboard.

So, just to what to with ALL that candy corn (or mellowcreme pumpkins)?  Melt them of course.  Once melted a plethora of options are on the table.  I had come across a recipe for homemade butterfingers using melted candy corn which is where the idea for these bars started.  I figured since the pumpkins were so sweet already why not add some salty undertones (the shortbread crust and salted peanuts) to balance things out.  Then of course melted chocolate on top...I mean it would be silly to have salty shortbread, peanuts, marshmallow, peanut butter, and NO chocolate?  Oh no, that's not how we run things around here.

Lastly these are super easy...just a few steps along the way but really they are pretty fool proof.  Just be careful when melting the pumpkins/candy corn in the microwave.  Treat them like you would chocolate.  You don't want to heat them for too long or they'll burn and seize. 

Then you'll be left with a giant bowl of grumpy-hardness that will be impossible to salvage. 

Then you'll wish you never melted them at all since it will be another year till they'll be back on the shelves and at that point all you'll want to do is eat them but they're melted (burned).

Then you'll blame me for tempting you with my sassy bars. 

So just take it easy with the microwave is all I'm sayin.


Sweet n' Salty Peanut Butter Candy Corn Bars with a Shortbread Crust
makes about 16 large bars
 
Ingredients
 
For the crust:
1 1/2 cups crushed shortbread cookies
3 ounces unsalted butter, melted
1/4 cup sugar
1/2 teaspoon salt
 
For the filling:
3 cups candy corn or mellowcreme pumpkins
1 1/2 cups creamy peanut butter
2 teaspoons vanilla extract
 
For the topping:
2 cups chocolate chips
1/2 tablespoon vegetable shortening
3/4 cup dry roasted peanuts, coarsely chopped
 
Directions
 
Spray a 9x9 pan with non stick spray and set aside.  Combine the crushed shortbread cookie crumbs with the butter, sugar, and salt in a medium sized bowl. 
 
 
Use a fork to combine until the mixture resembles coarse sand.
 
 
Press crust mixture into the bottom of the pan and freeze for about 30 minutes until firm.
 
 
Remove pan from freezer.  Place pumpkins and/or candy corn in a large heat safe bowl. 
 
 
Microwave for one minute.  Stir and reheat for an additional 30 seconds.  Stir and continue to heat for 10 second intervals (stirring after each) until no lumps remain and mixture is smooth.


Add peanut butter and vanilla extract and mix till combined.  Mixture will be very thick and almost dough-like.


Press filling mixture into the pan using your fingers making sure it's even and smooth (it will feel almost like modeling clay).
 
 
Place pan in the refrigerator to chill for about 30 minutes.
 
To prepare the topping, place the chocolate and shortening in a microwave safe bowl.  Heat for one minute, remove and stir.  Reheat for an additional 30 seconds, remove and stir.  Continue to heat for 10 second intervals (stirring after each) until smooth and no lumps remain.
 
 
Add the chopped peanuts to the melted chocolate and stir to combine.
 
 
Pout melted chocolate and peanuts over the filling layer.  Use an offset spatula to make sure the chocolate is even.
 
 
Place pan back in the refrigerator for about 30 minutes to allow the chocolate to firm up.  Remove from fridge and allow to sit at room temperature for about 15 minutes (making them easier to cut). 
 
 
Cut into bars and enjoy!
 
Filling recipe adapted from Elizabeth LaBau