I know what is Halawa, right?
I never heard of it (or saw it for that matter) until I moved to Dubai, but I'm very happy to have been introduced to this tasty little de-light.


Halawa (or sometimes spelled Haleweh and can also be labeled as Halva) is a dense, sweet dessert that is typically sliced and eaten as it. It's made from sesame seeds that are ground into a paste (tahini, one of the main ingredient in hummus) and mixed with sugar and pistachios. The version I used here is a chocolate halawa.
Traditional Halawa is typically sold in blocks like this (so it's easier to slice and eat):

I always pass by Halawa at the grocery store and pick it up and put it down. Pick it up and put it down. I look at my husband and he never shows any interest so I put it back. But since this blog is about exploration I thought okay, we are solving the Halawa mystery.
So I said to the hub's the other day at the store, 'how do you eat this stuff?' I am probably asking the wrong person as he responds with 'I dunno put it on toast.' But the wheels in my head start turning and I think maybe this little tub is like the Arabic version of Nutella, Bingo!
I got home and started searching online for any recipes that use halawa as an ingredient so I can determine the best way to use it. But I came up with nothing. Not one recipe. Not one. Plenty of recipes on how to make it from scratch, but no halawa cake, halawa brownies, halawa and salted caramel yadda-yadda...you get me.
So now I'm really intrigued because I could be onto something here. This little un-touched gem really gets the creative juices flowing! But part of me is still hesitant. What if I incorporate it into a batch of brownies and it ends up becoming a greasy, nasty mess. I hate nothing more than throwing away sweets. So I make a call to one of the most informed Lebanese people I know, my dear friend Lara.
Lara has 4 kids, a full time job, and is a Lebanese master chef. She knows everything and anything you'd ever want to know about Lebanese food, so I'm counting on her to give me some reassurance.
When I tell her I'd like to incorporate Halawa into a baked something-anything she responds with 'I never heard of anyone doing that.' Oh dear. She does tell me it won't melt, or will slightly melt but come together again once it cools. So that gives me some confidence...well a little.
There is one recipe I could make with my eyes closed and that's Magic Layer Bars. I've been making them for longer than I care to remember and they are consistent and perfect every single time. You cannot f-them up even if you tried. You might remember my Magic Truffles that are based off of these bars.
Since I know these bars by heart I thought I could crumble in the halawa as a substitute for the butterscotch chips. Magic bars are one of those sweets you could substitute just about anything and they'd still be great.
And damn it, it worked!

If you're in the US and you'd like to make these, your best bet would be to try and buy halawa online or visit one of your local Mediterranean/Middle Eastern markets. If you're here in Dubai you can find halawa near the honey and jam at the grocery store.
If anyone reading this can recommend some other uses for halawa I'd love to hear from you!
Chocolate Halawa Nut Bars
yields about 2 dozen bars
printable version
Ingredients:
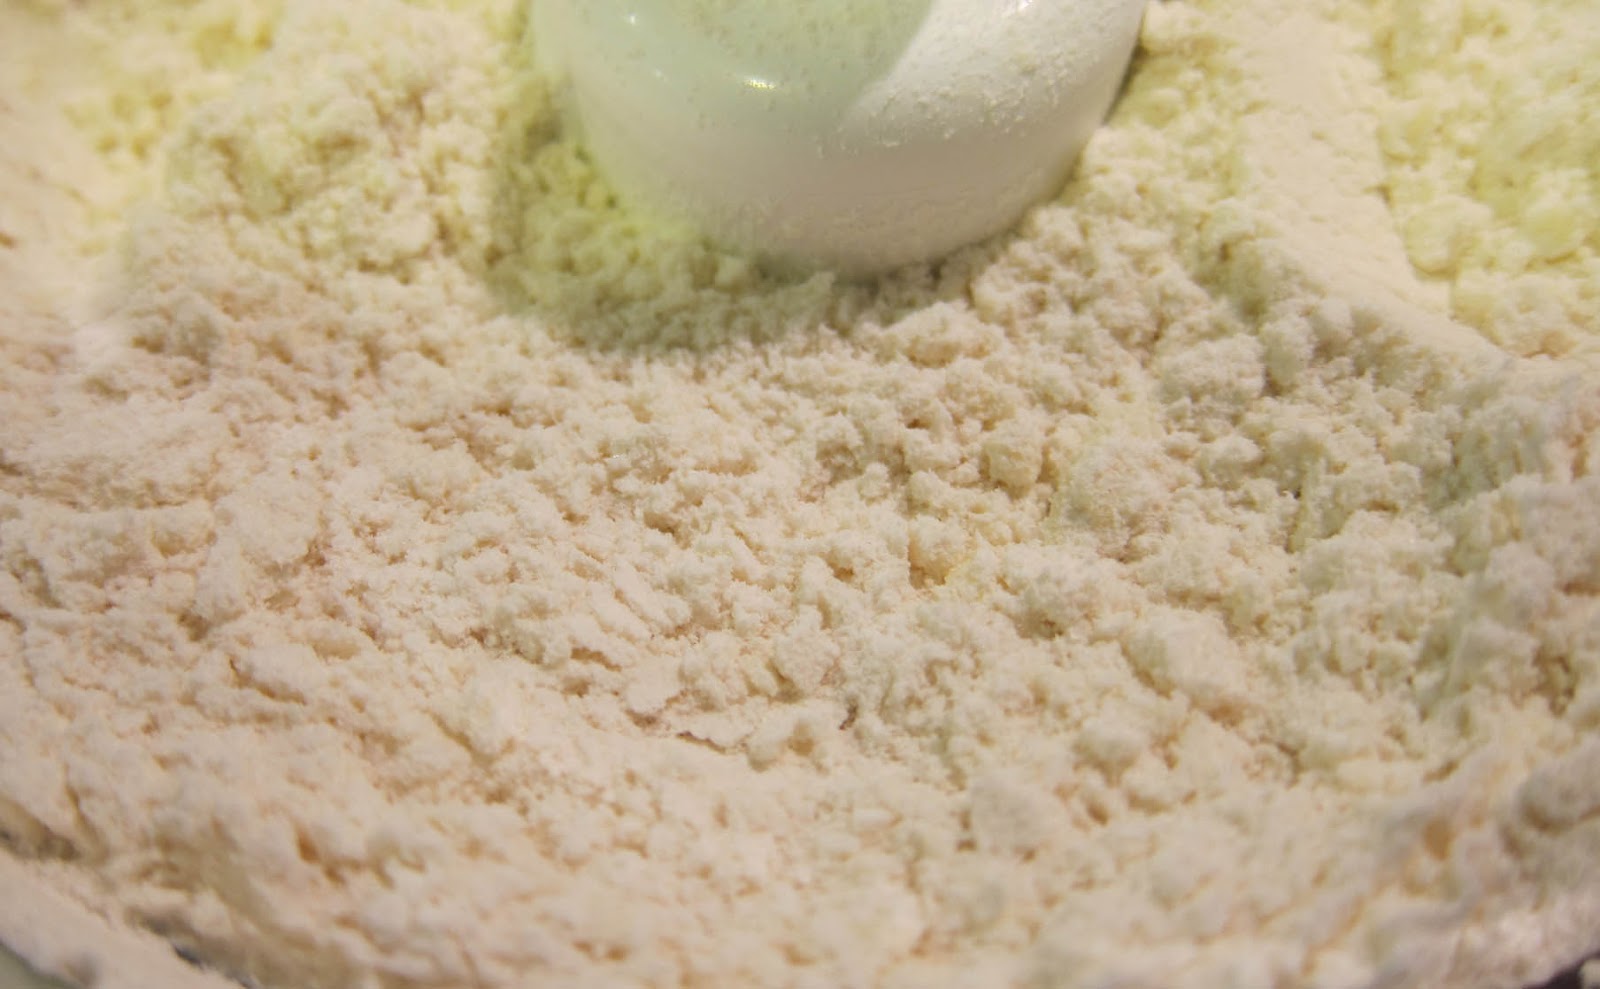
1 1/2 cups graham cracker crumbs (I used digestive biscuits ground up in the food processor)
4 ounces butter, melted
1 can sweetened condensed milk
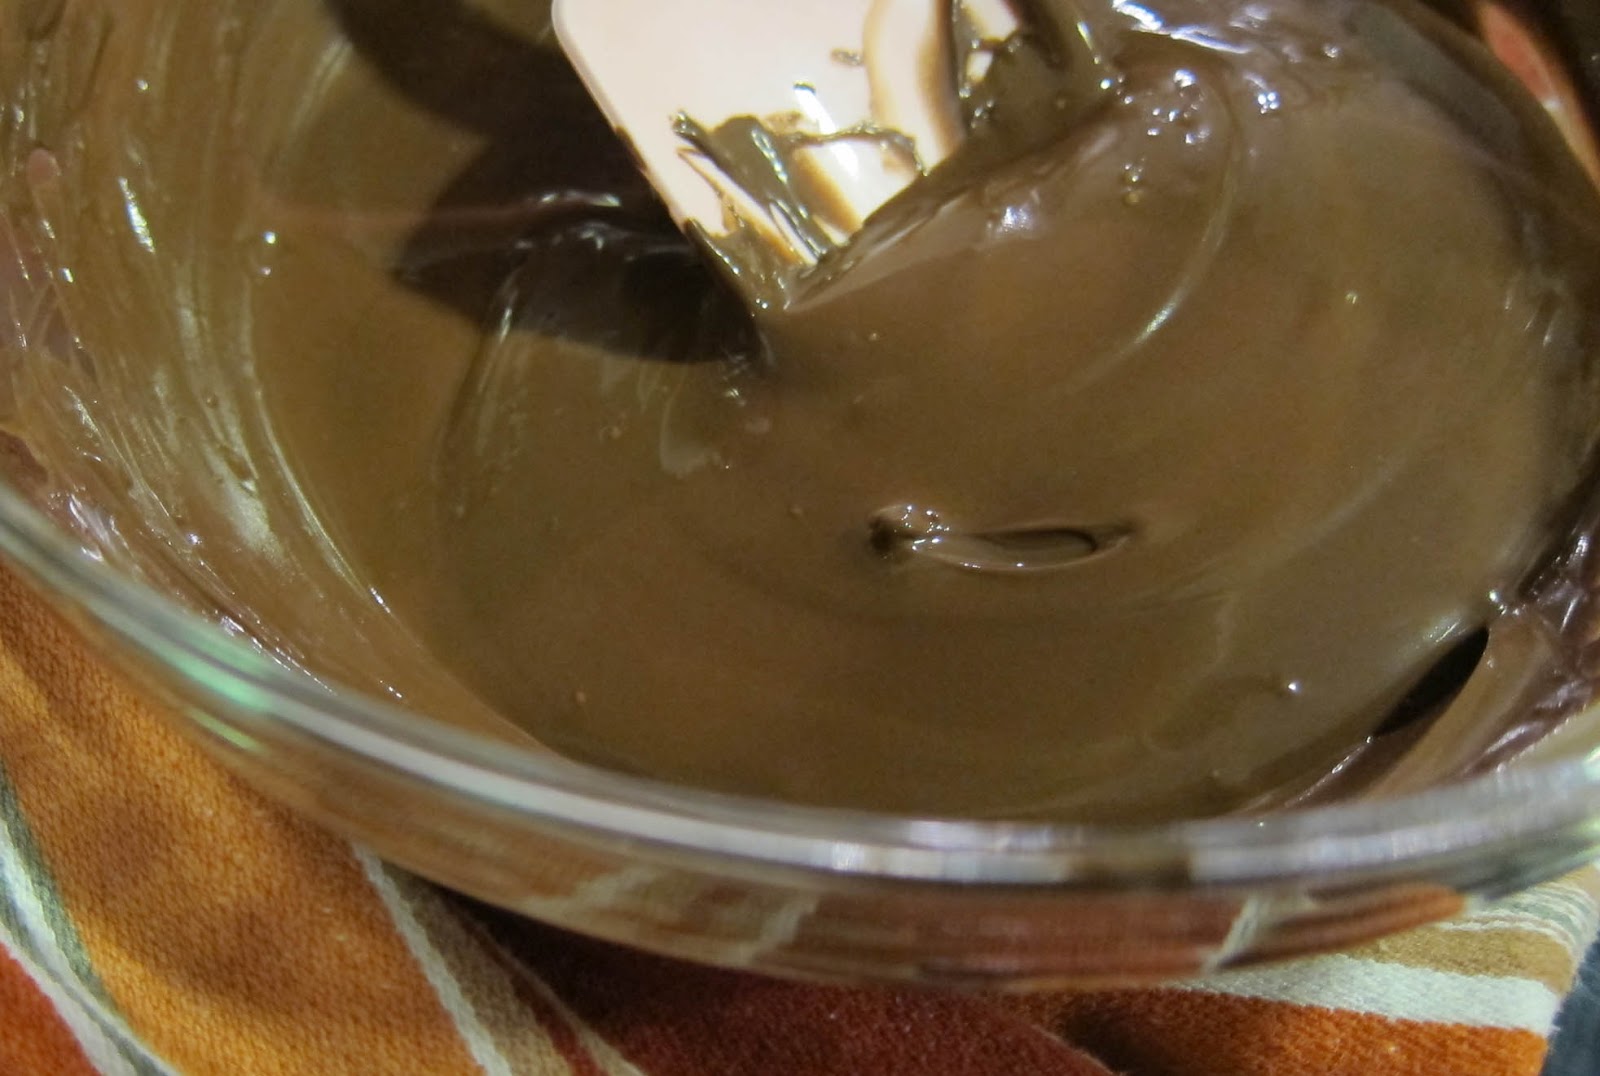
1 cup chocolate chips
1 1/2 cup (approx 300 grams) chocolate halawa, crumbled
1 cup assorted, mixed nuts, chopped
Directions:
Preheat oven to 350 degrees F. Grease a 13 x 9 baking pan.
Combine melted butter and graham cracker crumbs in a small bowl. Press firmly into the bottom of the pan to create and even crust layer.


Pour entire can of sweetened condensed milk over the crust layer.

Add the crumbled halawa.

Sprinkle the chocolate chips over the halawa in an even layer.

Top with the chopped nuts.

Press down firmly with a fork.

Bake for 25 minutes or until lightly browned. Let cool completely on a wire rack. I find these are usually easier to cut once they've been in the refrigerator for about an hour or so.
Cut into bars and enjoy!

Recipe adapted from Eagle Brand