
There are certain recipes I come up with that are just damn
good. Not to tooty-toot-toot my own
horn, but you know, they’re just good.
Some are flops. Big ole buttery
flops that go plop in the trash. It
happens. But now and then my
sugar-coated brain conjures up desserts that are like ‘oh my God let’s put on
stretchy pants and dig in’ good. And I swear
on my Kitchen Aid, this trifle is one of them.
See I had a handful of peanut butter cups left over from Christmas
and I thought…I should bake with these.
Yeh, the whole handful. Anyway,
it was just an excuse to do something with chocolate and peanut butter. But
let’s face it, the whole chocolate cake with peanut butter combo has been done
again and again. Don’t get me wrong it’s
one of my favorite pairings, but it was time to update the classic.
And if you’re new to trifles and/or not a super wiz in the
kitchen, then layering up a trifle is SO for you. Let me tell you why. First, trifles are pretty much fool
proof. It’s almost impossible to mess up
a trifle. Spoon, layer, spoon, layer,
sprinkle. It’s easy. Even if it’s slightly uneven it doesn’t
matter, just turn that side to the back.
Second, all the components can be made ahead of time so there is no
rushing. Sometimes I bake the cake one
day and prepare the fillings the next. The
day before I’m ready to serve I assemble everything and let it sit over night
to let the flavors get happy and marinate.
And the chocolate mousse in this recipe…how can I describe
it? It’s like an edible version of a big,
fat, flawless princess cut diamond ring. You
know a woman’s best friend that you can eat.
Well that’s kind of odd, but you get where I’m going. It is just the best damn mousse I’ve ever
had. Nothing fancy pants here, it’s made
with mini marshmallows (once melted they provide the gelatin to hold the mousse
together). My favorite part about the recipe is that it doesn’t
call for eggs. I’m not a fan of adding
eggs to custards/puddings (although sometimes it is a necessity). I’m always paranoid I didn’t heat it high
enough and will give my friends salmonella poisoning. So mini marshmallows it is. And it’s a Nigella recipe
(sex-pot-crack-head, who knew!) can’t go wrong there.
Peanut Butter Cake with Chocolate Mousse, Peanut Butter
glaze, AND Peanut Butter Whipped Cream
Ingredients
For the cake:
2 cups all purose flour
1 cup granulated sugar
1 cup brown sugar, packed
1/2 teaspoon salt
1/2 cup buttermilk
2 large eggs (or 3 medium)
1 teaspoon baking soda
1 teaspoon vanilla
6 ounces unsalted butter
3/4 cup creamy peanut butter
1 cup boiling water
1 ½ cups Mini Reese’s Peanut Butter Cups, quartered
For the Peanut Butter Glaze:
1 can sweetened condensed milk
½ cup creamy peanut butter
1 tablespoon vanilla
¼ teaspoon salt
For the chocolate mousse:
1 ½ cups mini marshmallows
2 ounces unsalted butter
9 ounces bittersweet chocolate (minimum 70% cocoa solids) chopped into
small pieces (I used a mix of Hershey’s Milk
and Semi-Sweet Chocolate Chips and it was totally fine, don’t spend a fortune
on chocolate here)
¼ cup hot water
1 cup heavy cream
1 teaspoon vanilla
For the Peanut Butter Whipped Cream:
1 cup heavy cream
1 heaping tablespoon creamy peanut butter
1 tablespoon vanilla
2 tablespoons caster sugar
12 Reese’s Peanut Butter Cups for garnish, chopped (I used the regular
size, not mini…but either will do)
Directions
*my recommendation is the
following: first bake the cake. This can be done days ahead of time. Simply cut into squares and store in an
air-tight container until ready to assemble.
The mousse can be made the same day at the cake (also kept in an
air-tight container or a bowl covered with plastic wrap). The day you’re ready to assemble the trifle,
prepare the glaze and whipped cream.
However, keep in mind the trifle needs to sit over night before serving
so the flavors can blend together and get happy. Please don’t skip this step, it makes all the
difference.
For the cake, preheat oven to 350 degrees Fahrenheit.
Grease a jelly roll pan or sheet pan with butter or vegetable shortening. I use a sandwich baggie as a glove to make
this step easy.

In a large bowl, sift the flour.
Add the sugars and salt. Whisk to
combine and set aside.

In a small bowl, whisk together the buttermilk, eggs, baking soda, and
vanilla. Set aside.

In a medium saucepan, melt together the butter and peanut butter. Add the hot water and mix to combine. Remove from heat.


Pour
the peanut butter mixture over the flour/sugar mixture and stir until halfway
combined.

Pour
in the buttermilk mixture and stir until just combined, but don’t over mix.

Gently fold in chopped Peanut Butter Cups.
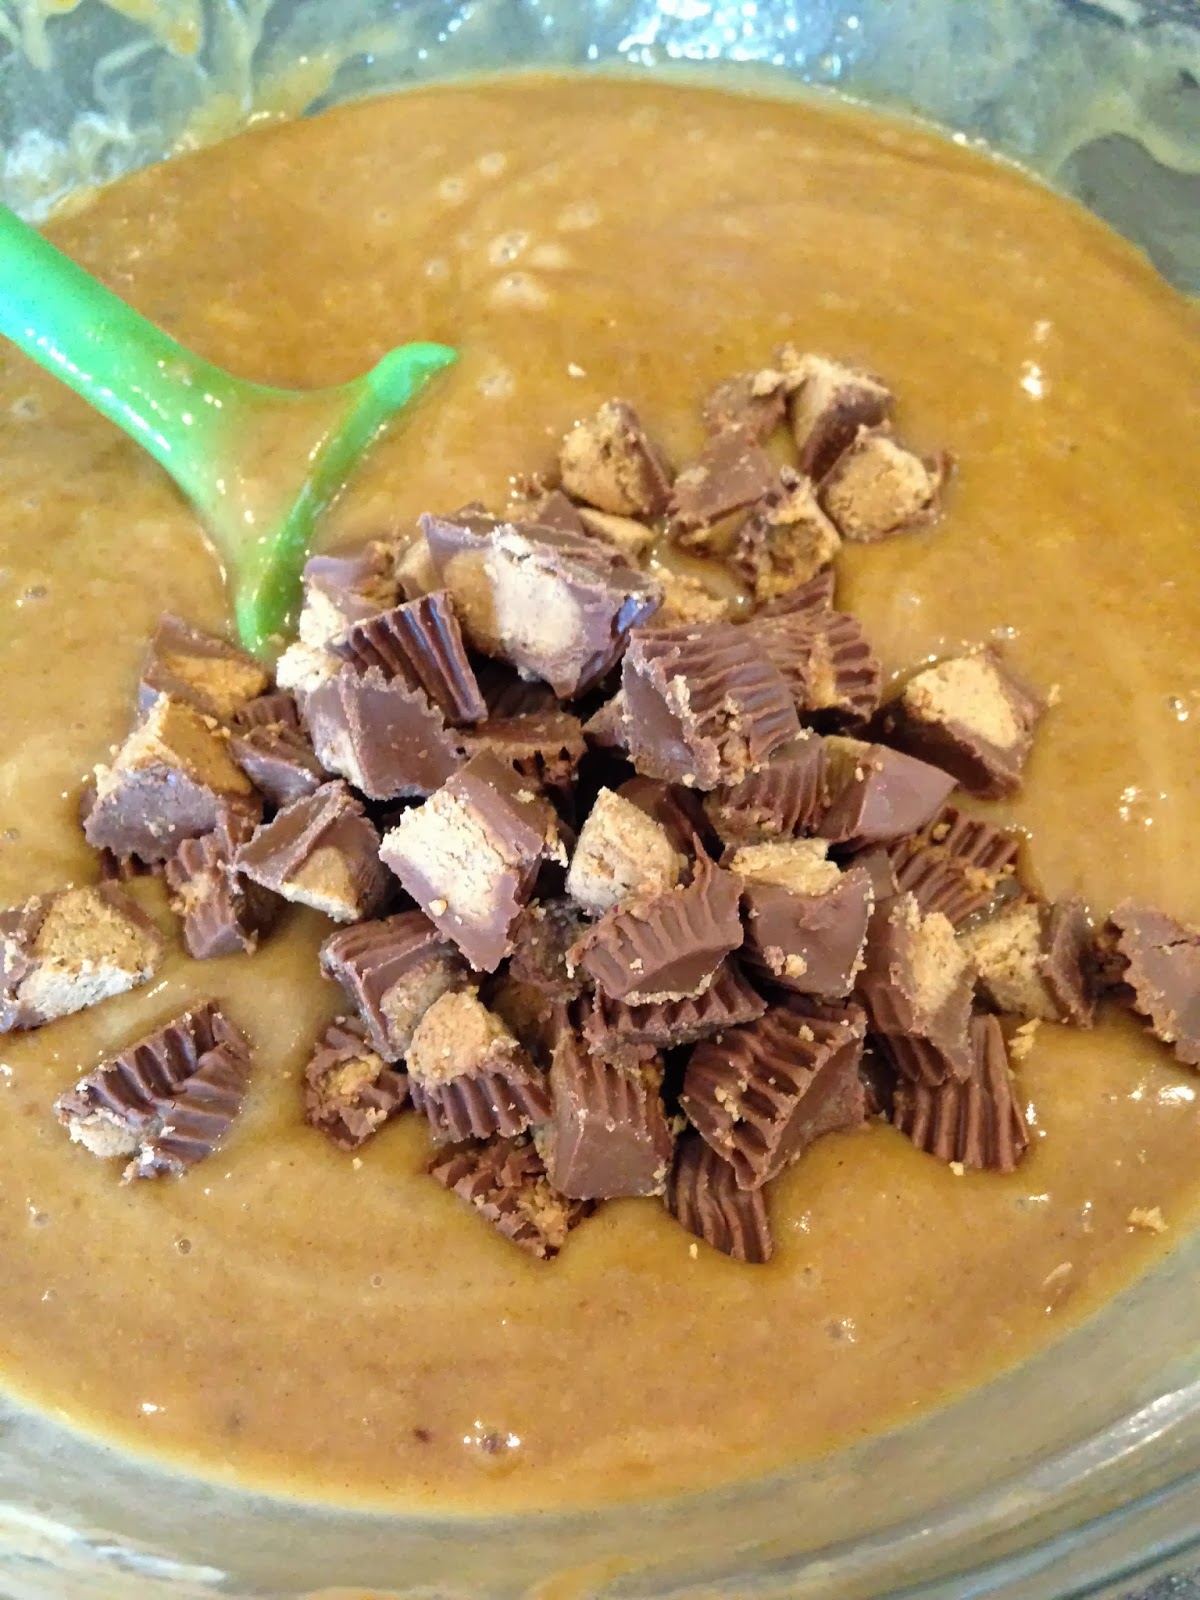
Pour mixture into prepared pan and bake for about 20 minutes or until a toothpick inserted into the middle comes out clean. Remove from oven and let cool completely on wire rack.

For the mousse, place the marshmallows, butter, chocolate, and water in
a medium sized heavy saucepan.


Melt over medium heat, stirring often until smooth and no lumps remain. Remove from heat and let cool to almost room
temperature (bowl can be placed in the fridge/freezer to speed this step up).
Once the chocolate mixture has cooled down, whip the cream and vanilla
until stiff peaks form.
Gently fold the whipped cream into the chocolate mixture. DO NOT STIR!
You must fold it otherwise you will lose the air you have just
incorporated into the cream. If you find
you are left with lumps of cream, gently break them with the tip of your
spatula in a zig-zag motion. Don’t worry
if they don’t totally disappear, it won’t even be noticeable once the mousse is
added to the trifle.

Tightly wrap the mousse with plastic wrap and keep refrigerated until you’re ready to assemble.

To prepare the glaze, combine the sweetened condensed milk, peanut
butter, and salt in a small saucepan.
Heat until the peanut butter is melted and the mixture is smooth. Remove from heat and stir in the vanilla. Set aside.


To prepare the trifle, place large squares of cake on the bottom of your
dish, compacting down with the back of a spoon (or your fingers) to get a
thick, some-what dense layer.

Next layer HALF of the peanut butter glaze over the cake using a
spatula to help spread evenly. If you
find it’s too thick to spread, microwave for about 20 second or until it’s more
fluid. Refrigerate dish until the glaze layer
has firmed up, about half an hour (this step helps to keep nice, even
layers. Otherwise the weight of the
layers above will make them sink together).

Remove dish from the fridge and spoon entire bowl of chocolate mousse
over the peanut butter glaze.

Add another thick layer of cake to cover the chocolate mousse, gently
pressing down to compress. However don’t
push too hard you don’t want the cake to sink into the mousse.

Pour the remaining peanut butter glaze over the cake, re-heating if it’s
gotten too thick. Cover dish with plastic
wrap and place in the fridge for about 30 minutes to firm up.

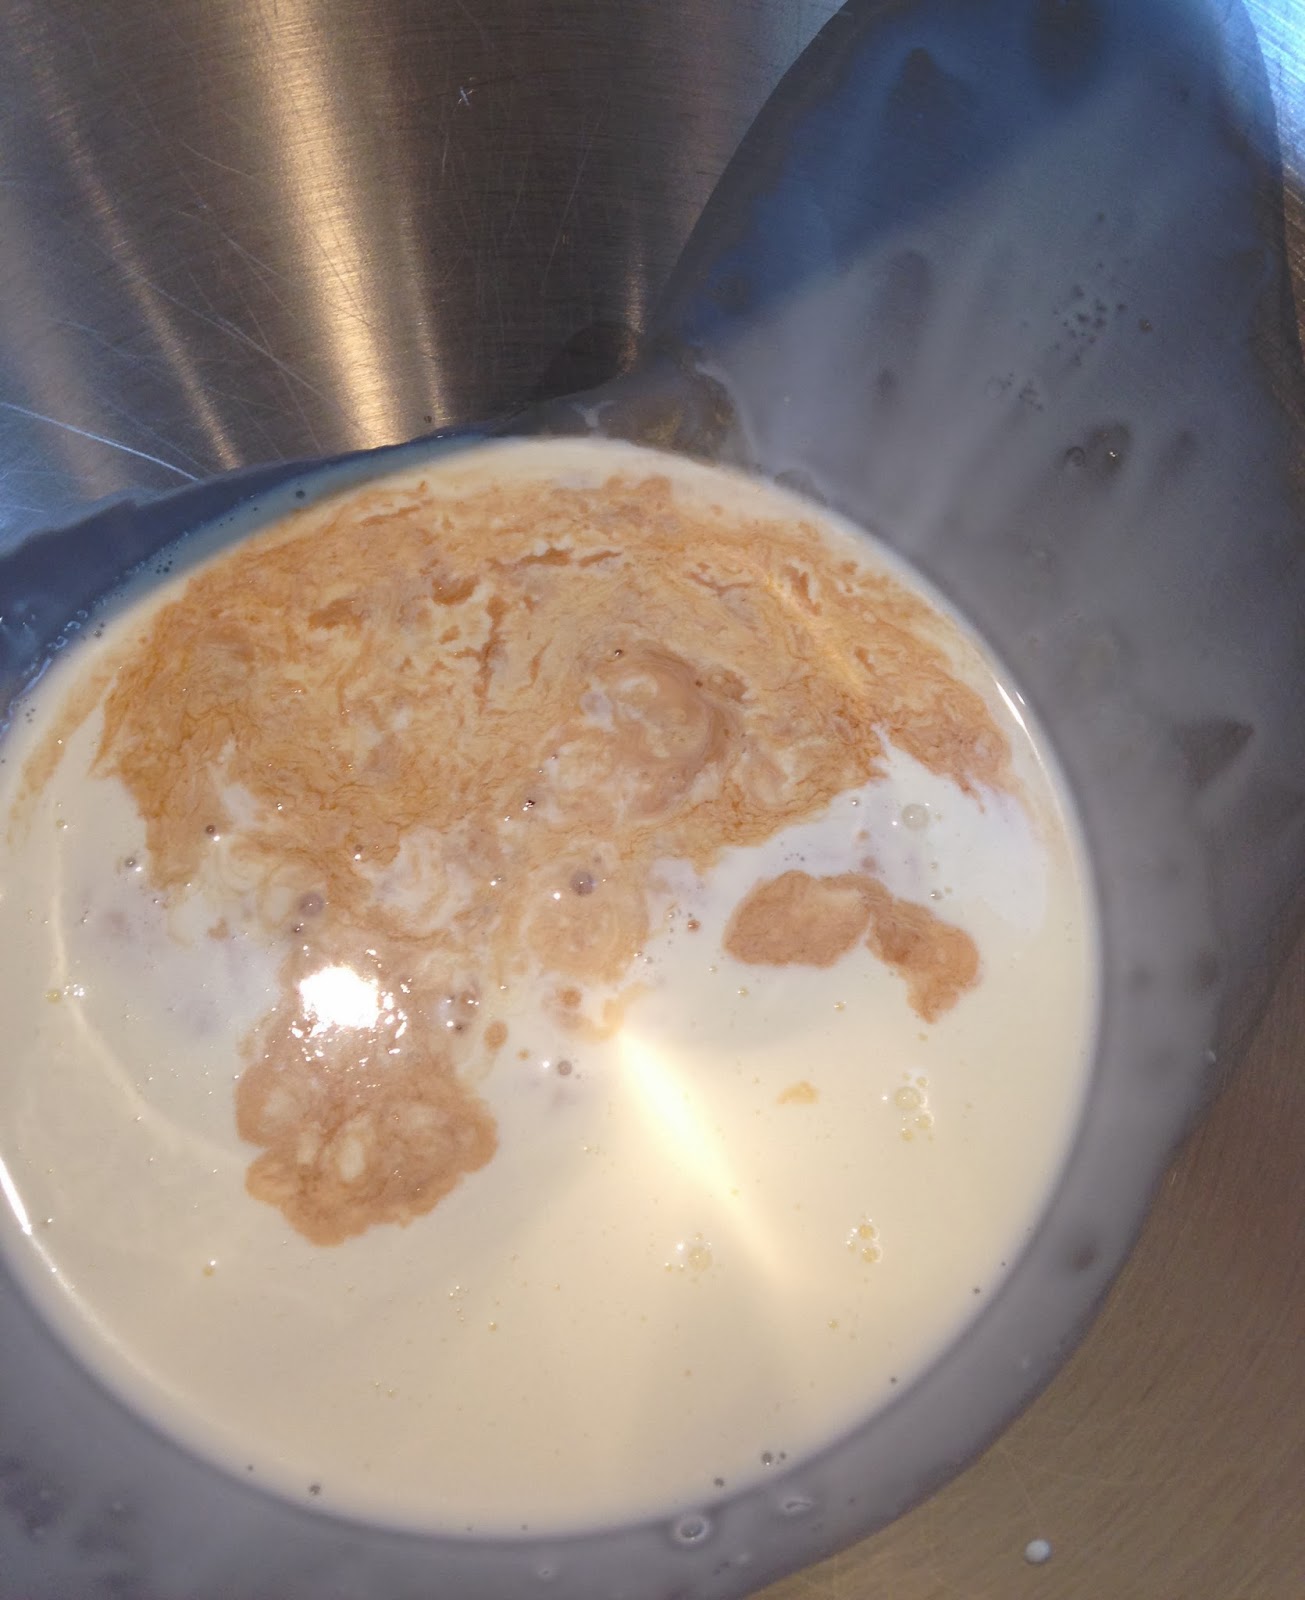
Meanwhile, prepare the peanut butter whipped cream. Place the heavy cream in the bowl of a stand
up mixer (hand mixer ok) and beat on high until soft peaks form. Turn off mixer and add the vanilla, sugar,
and peanut butter. Beat on high until
stiff peaks form. Be sure not to over
beat or the mixture will separate (due to all the extra fat from the peanut butter).

Remove dish from fridge and spoon the whipped cream onto the center and
spread out evenly. I left a small gap
from the whipped cream to the edge of the bowl to place the chopped Peanut
Butter Cups for garnish.

Enjoy!

Cake recipe adapted from The PioneerWoman
Mousse recipe courtesy of Nigella Express


